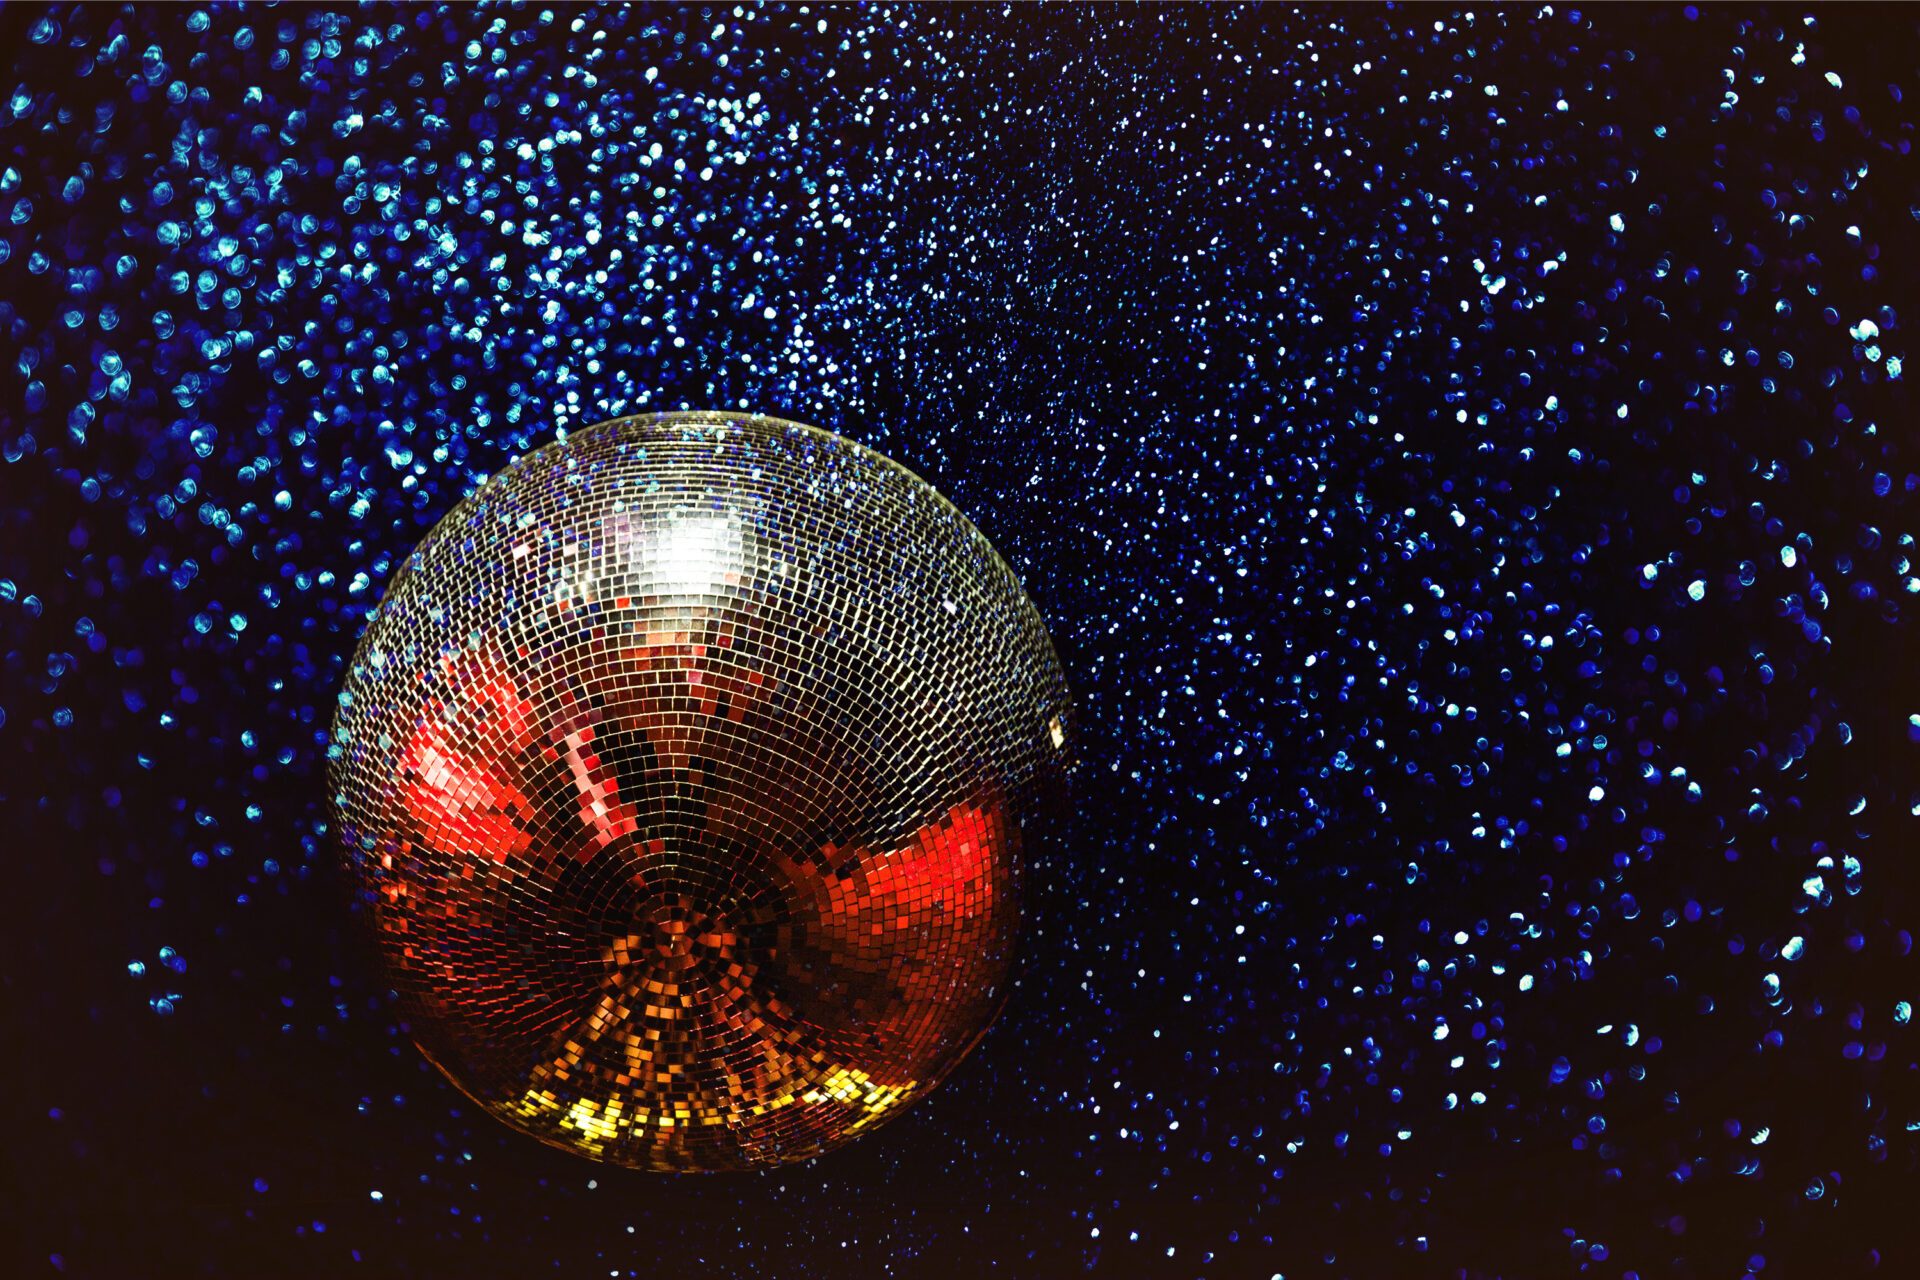
Painting a disco ball is relatively simple and can be a fun, creative project. It’s a great way to spice up any room in your home or even to create a unique prop for a special event. With the right materials, some patience, and an eye for detail, you can easily paint up your own funky and eye-catching disco ball.The supplies needed to paint a disco ball include: a disco ball, paint, paintbrushes, painter’s tape, and newspaper or drop cloth.
Preparing The Disco Ball For Painting
Preparing a disco ball for painting can be a tricky task. Depending on the size and material of the disco ball, the preparation process may vary. If you have a plastic disco ball, it’s best to start by cleaning it with a cloth dampened with warm water and detergent. Once the surface is clean, you can use painter’s tape to mask off any areas that you don’t want to paint. If your disco ball is made of metal or glass, you’ll need to use sandpaper to roughen up the surface so that the paint adheres better. After this step, use a damp cloth to carefully wipe away any dust or debris generated from sanding. You should also consider applying a primer before painting your disco ball. A primer helps protect the surface of your disco ball and allows for easier painting.
Once your disco ball is prepped and ready for painting, make sure you select appropriate paints that are designed for this type of material. Acrylic paints work well on plastic or glass surfaces while oil-based paints are ideal for metal surfaces. Depending on the look you’re going for, you may also want to consider using spray paint for a quick and easy application. Keep in mind that you’ll need several coats of paint in order to achieve an even finish.
Finally, make sure you allow the painted surface enough time to dry before handling it again. If done correctly, your disco ball will be ready for its debut in no time!
Choosing The Right Paint For A Disco Ball
When it comes to decorating a disco ball, the paint you choose is essential. The right paint can create a bright, sparkly effect that really brings the disco ball to life. On the other hand, the wrong paint can leave your disco ball looking dull and unimpressive. So how do you choose the right paint for a disco ball?
The first thing to consider is what kind of look you are going for. Are you looking for something reflective and shiny, or something more muted and subtle? Depending on your aesthetic preference, there are several different types of paints to choose from. For example, metallic paints are great for creating a bright and sparkly effect on a disco ball.
If you want your disco ball to have a more muted look, then consider using matte or semi-gloss paints. These types of paints create a softer, less reflective appearance that is perfect for subtle ambiance lighting in a room or party setting. You may also want to think about adding some glitter or holographic elements to your disco ball if you are looking for an especially eye-catching effect.
Finally, when choosing paint for your disco ball make sure to consider its durability. You want something that will last through multiple uses without fading or chipping off. High-quality acrylics and enamels are usually good options as they provide good coverage while also being resistant to wear and tear over time.
Applying The Paint To Your Disco Ball
Applying paint to your disco ball is a relatively simple process, but it is important to take the time to do it correctly. The first step is to make sure that the surface of the ball is clean and free of any dirt or dust. This can be done with a damp cloth or paper towel. Once the ball is clean, you will need to apply a coat of primer. This will help ensure that the paint adheres properly and that it lasts longer. After the primer has dried, you can then begin painting your disco ball. Using a brush or roller, apply a thin layer of paint in an even manner. Allow each coat of paint to dry before applying another one. Depending on how many coats you choose to use, this process could take several hours to complete. Once all of the coats have been applied and dried, you can then begin to enjoy your newly painted disco ball!
Finishing Touches For Your Disco Ball
Adding some finishing touches to your disco ball are the best way to make it look attractive and complete. With the right decorations, you can create a unique and eye-catching design for any special occasion. Here are some ideas for adding the perfect finishing touches to your disco ball:
1. Hang colorful streamers from the ceiling around the disco ball. These will add a festive feel to your space and will help draw attention to the ball itself.
2. Use bright or glittery garlands to decorate around the room and around the ball itself. This will create an eye-catching effect that will have everyone admiring your work.
3. Hang small disco balls from ribbons or strings from various places in the room, such as from light fixtures or doorways. These little balls will help draw even more attention to your primary centerpiece, creating a truly dazzling display that will be sure to impress everyone at your party or event.
4. Place small LED lights around the room and around your disco ball for an extra touch of sparkle and shine. These bright lights will make everything look more vibrant and fun, adding an extra layer of atmosphere to your gathering space.
5. Add colorful balloons or even balloons with LED lights inside them for an extra festive feel! This is a great way to really bring out all of the colors in your design scheme, creating a vibrant and exciting atmosphere that is sure to be enjoyed by all who attend.
With these simple yet effective ideas, you can easily give your disco ball the perfect finishing touches that it needs! Whether you’re hosting a birthday party or simply want to add some pizzazz to a special event, these decorations are sure to make everything look even more impressive and beautiful than ever before!

Adding Glitter to Your Disco Ball
Adding glitter to your disco ball can make it sparkle and shine in the light. It is a great way to add some glitz and glamour to your dance party. There are a few different ways you can add glitter to your disco ball, depending on how much sparkle you want and how long you plan to keep it up.
The easiest way to add glitter is with a spray adhesive. You can purchase this type of glitter in any craft store or online. Spray it onto the surface of the disco ball and let it dry for several minutes before adding the glitter. You should use a light touch when applying the spray adhesive so that it doesn’t obscure any of the details on the disco ball.
You can also add glitter directly onto your disco ball using glue or tape. This method will require more time, but will provide a longer lasting effect than using spray adhesive. Apply a thin layer of glue or tape around the edges of your disco ball, then sprinkle the desired amount of glitter over the surface. Once it has dried, shake off any excess glitter that didn’t stick to the surface.
If you want an even more dramatic effect, consider adding holographic film or sequins onto your disco ball. Holographic film is available in sheets at most craft stores, and sequins come in a variety of sizes and colors so you can create whatever look you desire. Use either double-sided tape or glue to adhere them in place; once they are stuck on, they won’t move until removed with solvent or steam cleaning equipment.
No matter which method you choose, adding some sparkle to your disco ball will make it shine brighter than ever before!
Sealing the Paint on Your Disco Ball
When it comes to creating a disco ball, the most important step is sealing the paint. Without proper sealing, your disco ball will look dull and may not last as long. Fortunately, there are several methods you can use to seal your paint and make sure it lasts.
One way to seal the paint on a disco ball is with clear enamel spray paint. This is a great option for a glossy finish that will protect your disco ball from dust, dirt, and other debris. To use this method, simply apply the spray evenly over the surface of the disco ball and let it dry for 24 hours before using it or displaying it.
Another option for sealing your paint is with acrylic varnish. This type of varnish is fast-drying and provides an extra layer of protection against fading and scratches. To use this method, you’ll need to apply two thin layers of varnish over the surface of your disco ball and let each layer dry for at least four hours before applying the next one.
If you’re looking for a more eco-friendly way to seal your paint, you can also use beeswax or carnauba wax. Both of these products are natural waxes that provide an extra layer of protection while also giving your disco ball an eye-catching shine. To use them, simply melt a small amount of wax in a double boiler or slow cooker and then brush it over the surface of your disco ball until evenly covered. Allow the wax to cool before displaying or using your disco ball.
No matter which method you choose, sealing your paint properly is an essential step in creating a beautiful and long-lasting disco ball. With these simple steps, you can easily protect your creation from dust and dirt while still giving it that shiny glow everyone loves!
Creating Patterns On Your Disco Ball
Creating patterns on your disco ball is an easy way to add a little extra pizzazz to any dance floor. With a few simple steps, you can create unique designs that will make your party guests look twice. All you need is some creativity and the right materials. Here’s how to get started:
First, gather together the supplies you’ll need. You’ll need a disco ball, colored cellophane, glitter, and craft scissors. You’ll also want to have a few strips of tape on hand for securing the finished designs.
Next, cut the cellophane into strips of various sizes depending on how intricate you want your designs to be. You can also use different colors of cellophane for added visual impact. Then begin layering the strips onto the disco ball in whatever pattern you choose.
Once your design is complete, secure it in place with tape around the edges of each strip of cellophane. Then sprinkle some glitter over it for an extra twinkle effect when it catches the light from the disco ball.
And that’s all there is to it! Now that you know how to create patterns on your disco ball, get out there and show off your creative side! With just a few simple supplies and a little bit of effort, you can make any party more special with dazzling light displays.

Conclusion
Painting a disco ball is a fun and creative way to add some excitement to any room. It is an inexpensive way to give the room a unique look. With just a few items, you can transform any dull space into an exciting and vibrant atmosphere. The best part is that the process is easy to do and does not require any special skills or tools. All you need is some paint, a brush, and your imagination. With the right technique and supplies, you can have your very own DIY disco ball in no time.
The possibilities are endless when it comes to painting a disco ball. Whether you are looking for something subtle or something bold, there are countless ways to personalize it and make it unique. You can use different colors, patterns, shapes, or anything else that comes to mind. Have fun with this project and let your creativity shine through!


