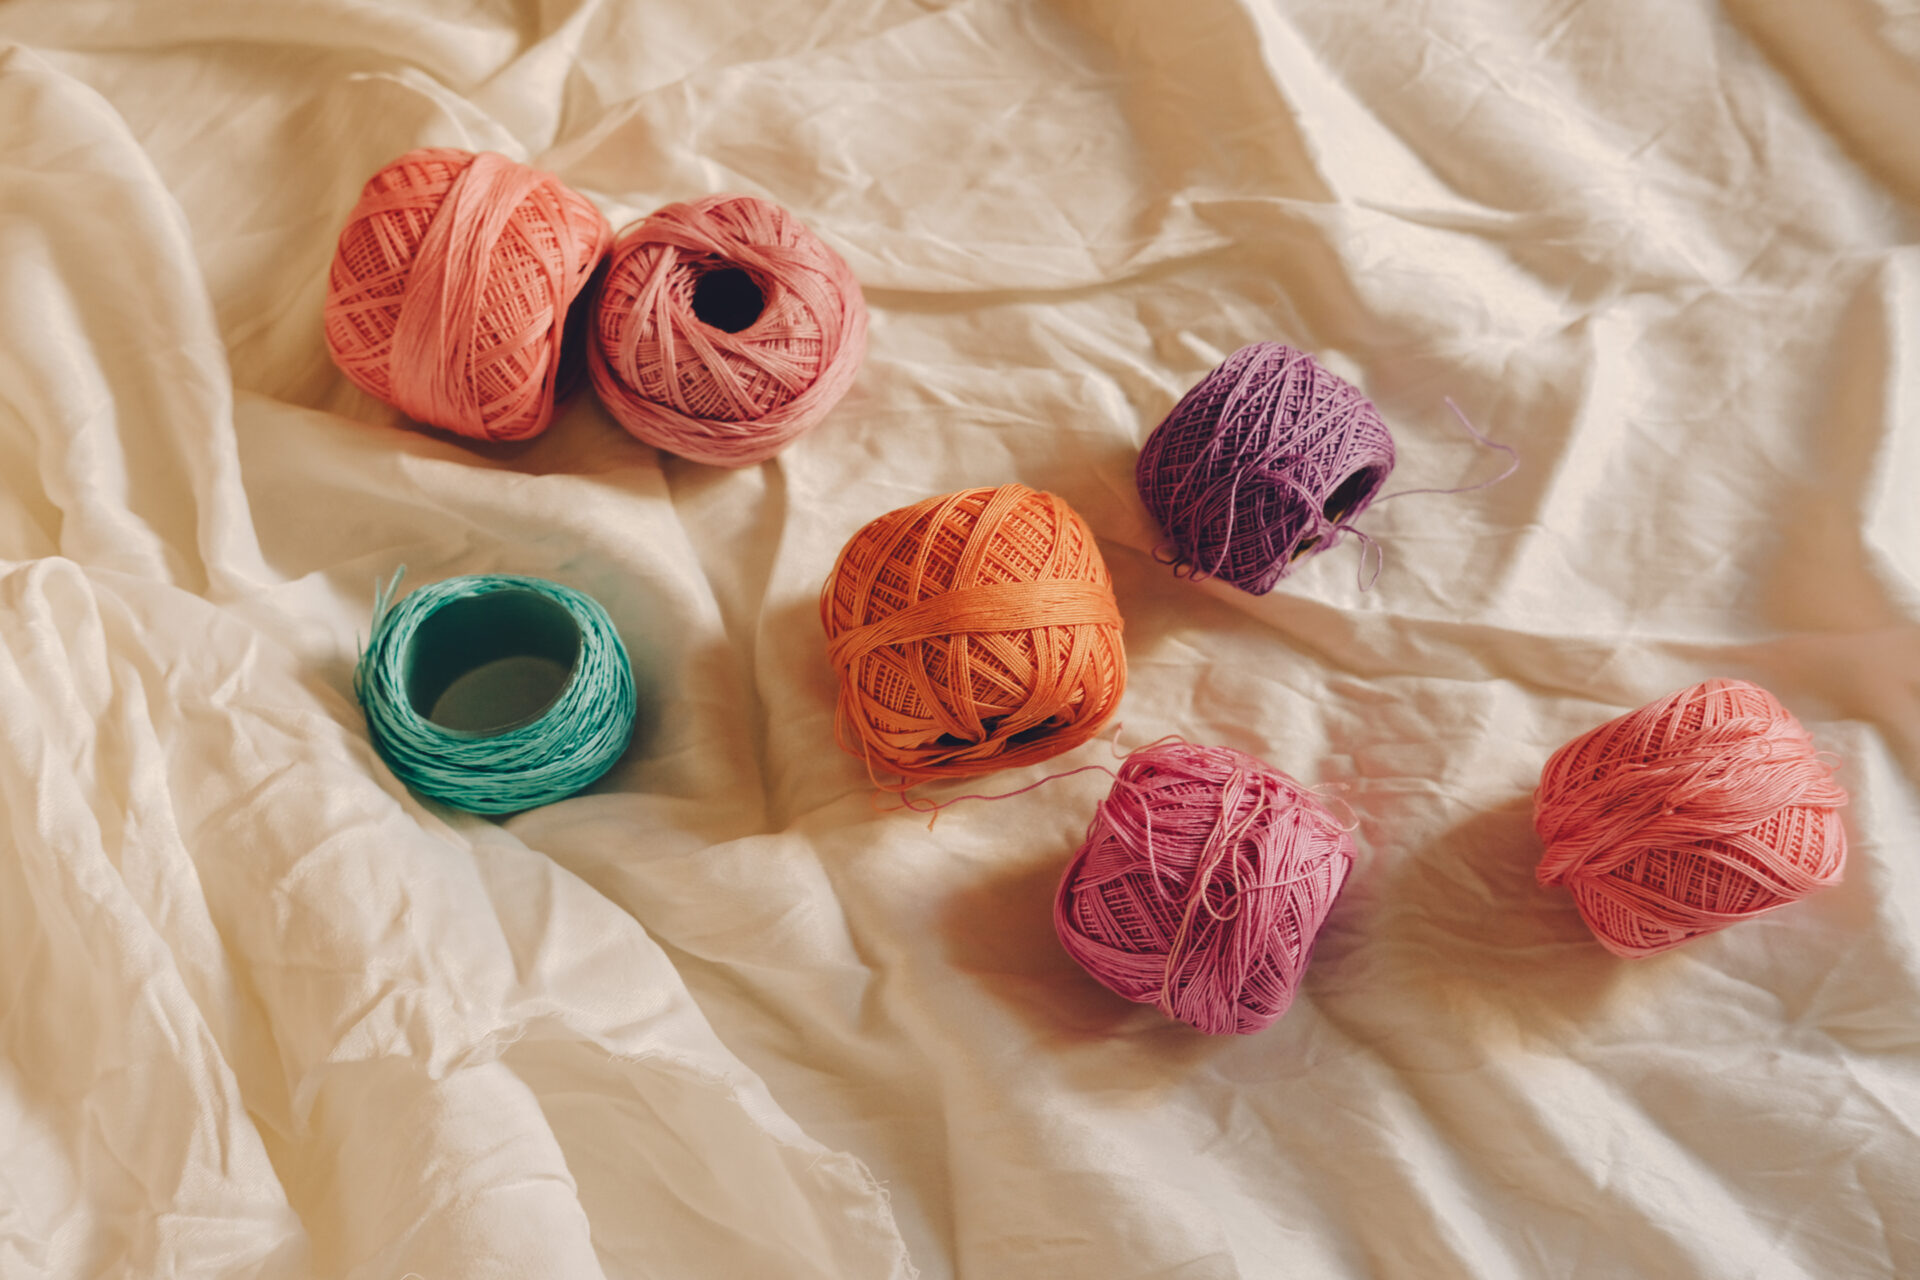
Wool dryer balls are a natural and cost effective alternative to store bought fabric softener. They not only save money, but they also help to reduce static cling, wrinkles, and drying time in the dryer. Making your own wool dryer balls is easy and only requires a few materials that you can find at your local craft store. In this article, we will discuss how to make wool dryer balls for yourself.To make wool dryer balls from scratch, you will need the following items: 100% wool yarn, scissors, a ruler, and an old pair of pantyhose.
1. Cut six strands of wool yarn that are each 16 inches long. Tie the strands together at one end to form a bundle.
2. Wrap the bundle of yarn around your hand approximately 50 times and then tie it off with another piece of yarn. Cut off any excess yarn that is not needed.
3. Place the yarn bundle on a flat surface and use a ruler to measure out four equal sections. Tie off each section with another piece of yarn so that the bundle is now divided into four sections.
4. Take one section at a time and wrap it tightly around your index finger approximately 20 times and then tie it off with another piece of yarn in order to create a small ball shape. Repeat this process for all four sections until you have four balls made from the original bundle of yarn.
5. Place all four balls in an old pair of pantyhose and tie a knot at one end to secure them inside. Place the pantyhose in a washing machine on a warm cycle with laundry detergent, but no fabric softener or bleach, for 30 minutes to felt the wool balls together inside the pantyhose.
6. Remove from washing machine and rinse thoroughly in cold water until no suds remain in the water before taking out of the pantyhose bag and allowing them to air dry completely before using them in your dryer or storing them away for future use!
What Materials Are Needed To Make Wool Dryer Balls?
Wool dryer balls are a great way to reduce the amount of energy needed and time spent while drying clothes. Making your own wool dryer balls is a fun and easy project that requires only a few materials. All you need is some wool yarn, scissors, a ruler or measuring tape, and an optional pair of knitting needles.
The wool yarn should be 100% wool in order for the dryer balls to be effective. It can be any thickness or color you choose, but note that the thicker the wool yarn, the larger and longer lasting the dryer ball will be. It is best to use at least two skeins of wool yarn so that you can make several dryer balls in one go.
You will also need scissors to cut the yarn into strands of equal length and width for wrapping around each ball. A ruler or measuring tape will help ensure that all strands are cut to equal length. You may also want to use a pair of knitting needles if you want to make more complicated patterns with your wool yarn.
Once all of these materials have been gathered, you are ready to begin making your own wool dryer balls!
Preparing the Wool
When preparing your wool to make dryer balls, you need to ensure that you are using a good quality, 100% pure wool yarn or roving. The wool should be free of any synthetic fibers or blends, as these will not felt and will not create a good quality dryer ball. You should also make sure that the wool is clean and free of any dirt or debris before beginning.
Gathering Supplies
You will also need to gather the other supplies necessary for making your wool dryer balls. This includes the yarn or roving, a pair of scissors, an old t-shirt or pair of stockings (for wrapping the roving around), and a large pot for boiling the balls (if you choose to felt them). You may also want to get some essential oils to add a pleasant scent to your dryer balls after they are finished.
Making the Balls
Once you have all of your supplies ready, it’s time to start making your wool dryer balls! If you are using yarn, simply wrap it around itself until it forms into a ball shape. If you are using roving, wrap it tightly around an old t-shirt or pair of stockings until it forms into a ball shape. Once you have your desired number of balls, set them aside.
Felt the Balls (Optional)
If you choose to felt your wool dryer balls, bring a large pot of water to a boil and drop in the balls one at a time. Boil for approximately 20 minutes before turning off the heat and allowing them to cool completely in the water. Once they have cooled off, remove from water and allow them to air-dry overnight.
Adding Essential Oils (Optional)
If desired, you can add essential oils directly onto your finished wool dryer balls for an added scent boost in your laundry. Simply add 5-10 drops of essential oil directly onto each ball and then let them air-dry completely before tossing into your dryer with wet clothes.
Gathering the Materials
To make wool dryer balls, you’ll need wool yarn or roving, a pair of scissors, and a few rubber bands. You can purchase roving and yarn from any craft store, but it’s best to use 100% wool as other materials won’t felt as well. Make sure you have enough yarn or roving to make at least three dryer balls; enough to fill a single load of laundry.
Creating the Core
To start, take your yarn or roving and wrap it around two of your fingers several times. Once you have at least 10-15 wraps, pull the core off your fingers and wrap one more time around the center of the core. Secure the end with a rubber band to hold it in place. Cut off any excess yarn or roving.
Wrapping the Core
Take another length of yarn or roving and begin wrapping around the core in different directions until you have a ball shape about 3 inches in diameter. Make sure to wrap tightly and evenly so that all parts of the ball are covered with yarn or roving. Secure the end with another rubber band.
Felt The Balls
Once your balls are completely wrapped, place them into a sink full of very hot water (as hot as you can stand). Agitate them for about 10 minutes so that they become felted together. This process is what helps them keep their shape when tossed into the dryer.
Drying The Balls
Once they are felted together, remove them from the water and lay them out onto a towel to dry for at least 24 hours. Once they are completely dry, remove any remaining rubber bands and give them one final squeeze to make sure they’re felted together properly.
And there you have it – your very own homemade wool dryer balls! Enjoy using them in place of regular fabric softener sheets during your next load of laundry – they’ll help reduce static cling, speed up drying time, and help save money on fabric softener over time!
Making Perfect Wool Dryer Balls
Wool dryer balls are an ideal and eco-friendly alternative to store-bought fabric softeners and dryer sheets. They are easy to make, inexpensive, and reduce drying time while keeping your clothes soft and static-free. Here are some tips to help you make perfect wool dryer balls every time.
The first step in making wool dryer balls is choosing the right type of wool yarn. For best results, look for 100% wool yarn that is thick and tightly spun. This will help the balls hold their shape and keep them from unraveling during the drying process.
Once you have chosen the right type of yarn, use a measuring tape or ruler to measure out six equal lengths of yarn. You can use any length that works for you, but four feet is a good starting point. Cut the pieces of yarn with scissors and set aside.
Now it’s time to start winding your wool into a dryer ball shape. Take one of the pieces of yarn and start winding it around itself until it forms a tight ball shape with no gaps or holes in it. You can use your fingers or a crochet hook to help pull the yarn tight as you wind it around itself. Once you have formed one wool dryer ball, move on to the next piece of yarn until all six pieces are complete.
The last step in making perfect wool dryer balls is felting them together so that they don’t unravel during washing and drying cycles. To do this, place all six balls into a mesh laundry bag and put them in the washing machine on a hot cycle with some laundry detergent or soap flakes for extra felting power. After washing, let them air dry before using them in your tumble dryer or line drying your clothes.
Making perfect wool dryer balls is easy if you follow these simple steps! Not only will they reduce drying time but they also keep your clothes feeling soft without any static cling!
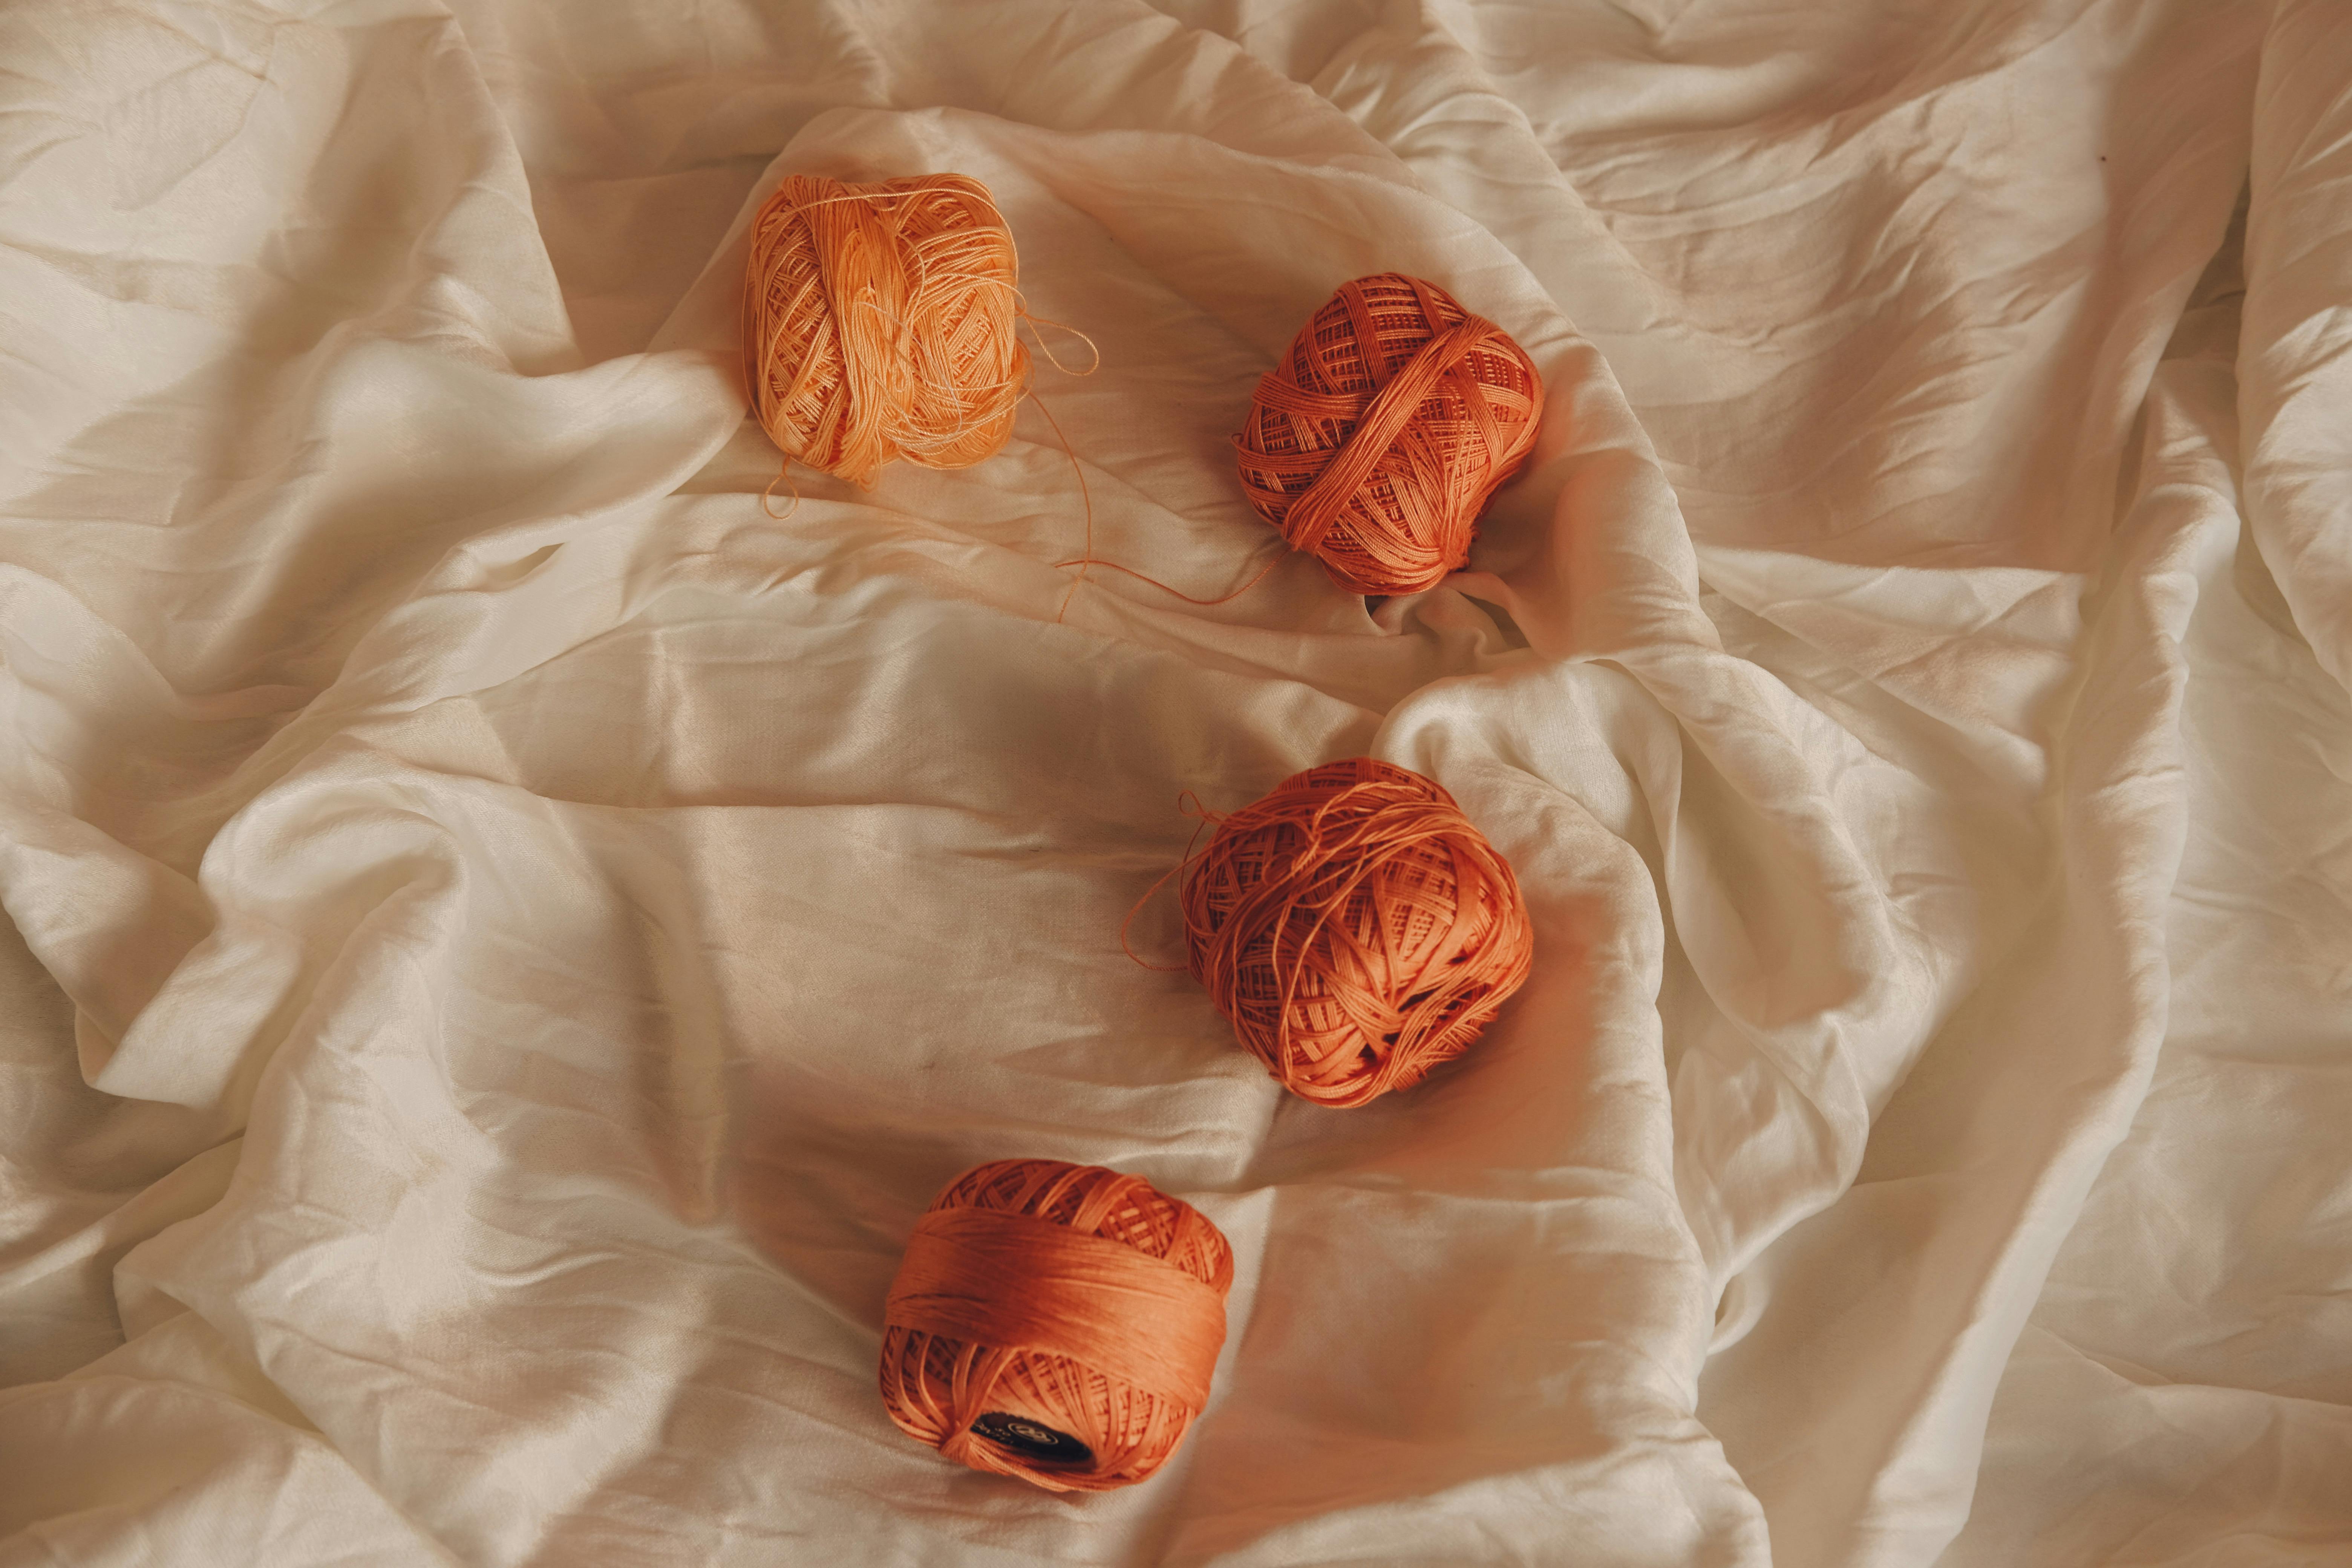
Troubleshooting Issues When Making Wool Dryer Balls
Making wool dryer balls is a great way to reduce waste and save energy. However, there are a few common issues that may arise when making them. Here are some troubleshooting tips to help you make the perfect wool dryer balls.
The first issue is that the wool may be too wet when it goes into the dryer. This can cause the wool to shrink or become misshapen in the process. To prevent this from happening, make sure to remove all excess moisture from the wool before placing it in the dryer. You can do this by simply squeezing out any excess water or using a paper towel to absorb any extra moisture.
Another issue is that the wool may not be felting properly. To ensure that your wool dryer balls come out looking their best, make sure to use hot water and soap when washing them before you begin felting. You may also want to agitate them in the washing machine for a few minutes to help them felt more quickly and evenly.
Finally, if your wool dryer balls are coming out looking lumpy or uneven, try using a rubber mallet or rolling pin to flatten them out as they come out of the dryer. This will help ensure that they are evenly shaped and smooth on all sides.
By following these tips, you should be able to make perfect wool dryer balls every time. Don’t be afraid to experiment with different techniques until you find what works best for your needs!
Benefits Of Using Wool Dryer Balls Over Synthetic Ones
Wool dryer balls are becoming increasingly popular alternatives to synthetic dryer balls, and for good reason. They’re natural, eco-friendly, and offer a range of benefits that synthetic dryer balls can’t match. Here are some of the key benefits of using wool dryer balls over synthetic ones:
First, wool dryer balls are more effective at softening fabric than their synthetic counterparts. Wool fibers are much more absorbent than synthetic fibers, so they can absorb more moisture from the air inside the dryer to soften clothes. This reduces laundry time and helps clothes stay softer for longer.
Wool dryer balls are also better for the environment than synthetic ones. Wool is a natural material that biodegrades quickly, whereas synthetic materials can take centuries to break down. Plus, wool is naturally hypoallergenic and non-toxic, making them safer for your family’s health than traditional fabric softeners or chemical-laden detergents that can contain harsh chemicals.
Finally, wool dryer balls last longer than traditional synthetic ones. They can be reused hundreds of times before needing to be replaced, so you won’t have to worry about buying new ones every few months like you would with conventional fabric softeners or detergents. Plus, they don’t contain any harsh chemicals like other fabric softeners so they’re safer for your family and won’t harm your fabrics over time.
Overall, wool dryer balls offer a range of benefits over their synthetic counterparts that make them a great choice for reducing laundry time while still keeping fabrics soft and safe for your family’s health. Whether you’re looking to reduce your environmental footprint or save money on laundry products in the long run, wool dryer balls offer an effective and eco-friendly alternative to traditional fabric softeners or detergents.
How To Store And Care For Your Homemade Wool Dryer Balls
Making your own wool dryer balls is a great way to save money and ensure that your laundry is free of harmful chemical additives. The best part is that these natural fabric softeners are reusable, so you can use them over and over again. But in order to keep your wool dryer balls in good condition, you need to take proper care of them. Here are some tips on how to store and care for your homemade wool dryer balls.
The first step in caring for your homemade wool dryer balls is to store them properly. It’s important to keep the balls away from moisture and direct sunlight, as this can cause them to shrink or become discolored. The best place to store them is in an airtight container or zip-top bag. This will help keep the balls from becoming damaged or moldy over time.
When it comes time to use them, make sure they are completely dry before putting them in the dryer. For best results, allow the balls to air-dry on a clean towel or drying rack for several hours before using them. This will help ensure that they don’t shrink or become misshapen during the drying process.
Finally, it’s important to thoroughly clean your wool dryer balls after each use. Start by removing any lint buildup with a lint roller or brush, then give the balls a quick rinse with warm water and a mild detergent. Allow them to air-dry completely before storing them away again.
By taking proper care of your homemade wool dryer balls, you can ensure that they remain in good condition for years to come. With just a few simple steps, you can enjoy natural fabric softening without ever needing to buy another set of conventional fabric softeners again!
Conclusion
Making wool dryer balls is an easy and quick process that can help reduce your energy usage and save you money on drying costs. The best part is that you don’t need any special tools, just some wool yarn and a pair of scissors. Start by cutting several lengths of wool yarn, then wrapping them into tight balls. Make sure you wrap them tightly to ensure the balls will last for many loads of laundry. After wrapping the balls, tie the ends together to secure the shape and give them a good shake to fluff them up. Finally, throw your homemade dryer balls into the dryer with your wet clothes and let them do their magic!
Wool dryer balls are an eco-friendly way to reduce static cling and drying time while also saving energy in the process. Not only that, but they are also reusable which helps you save money in the long run! So next time you’re looking for an easy way to make your laundry routine more efficient, don’t forget to make some wool dryer balls!

