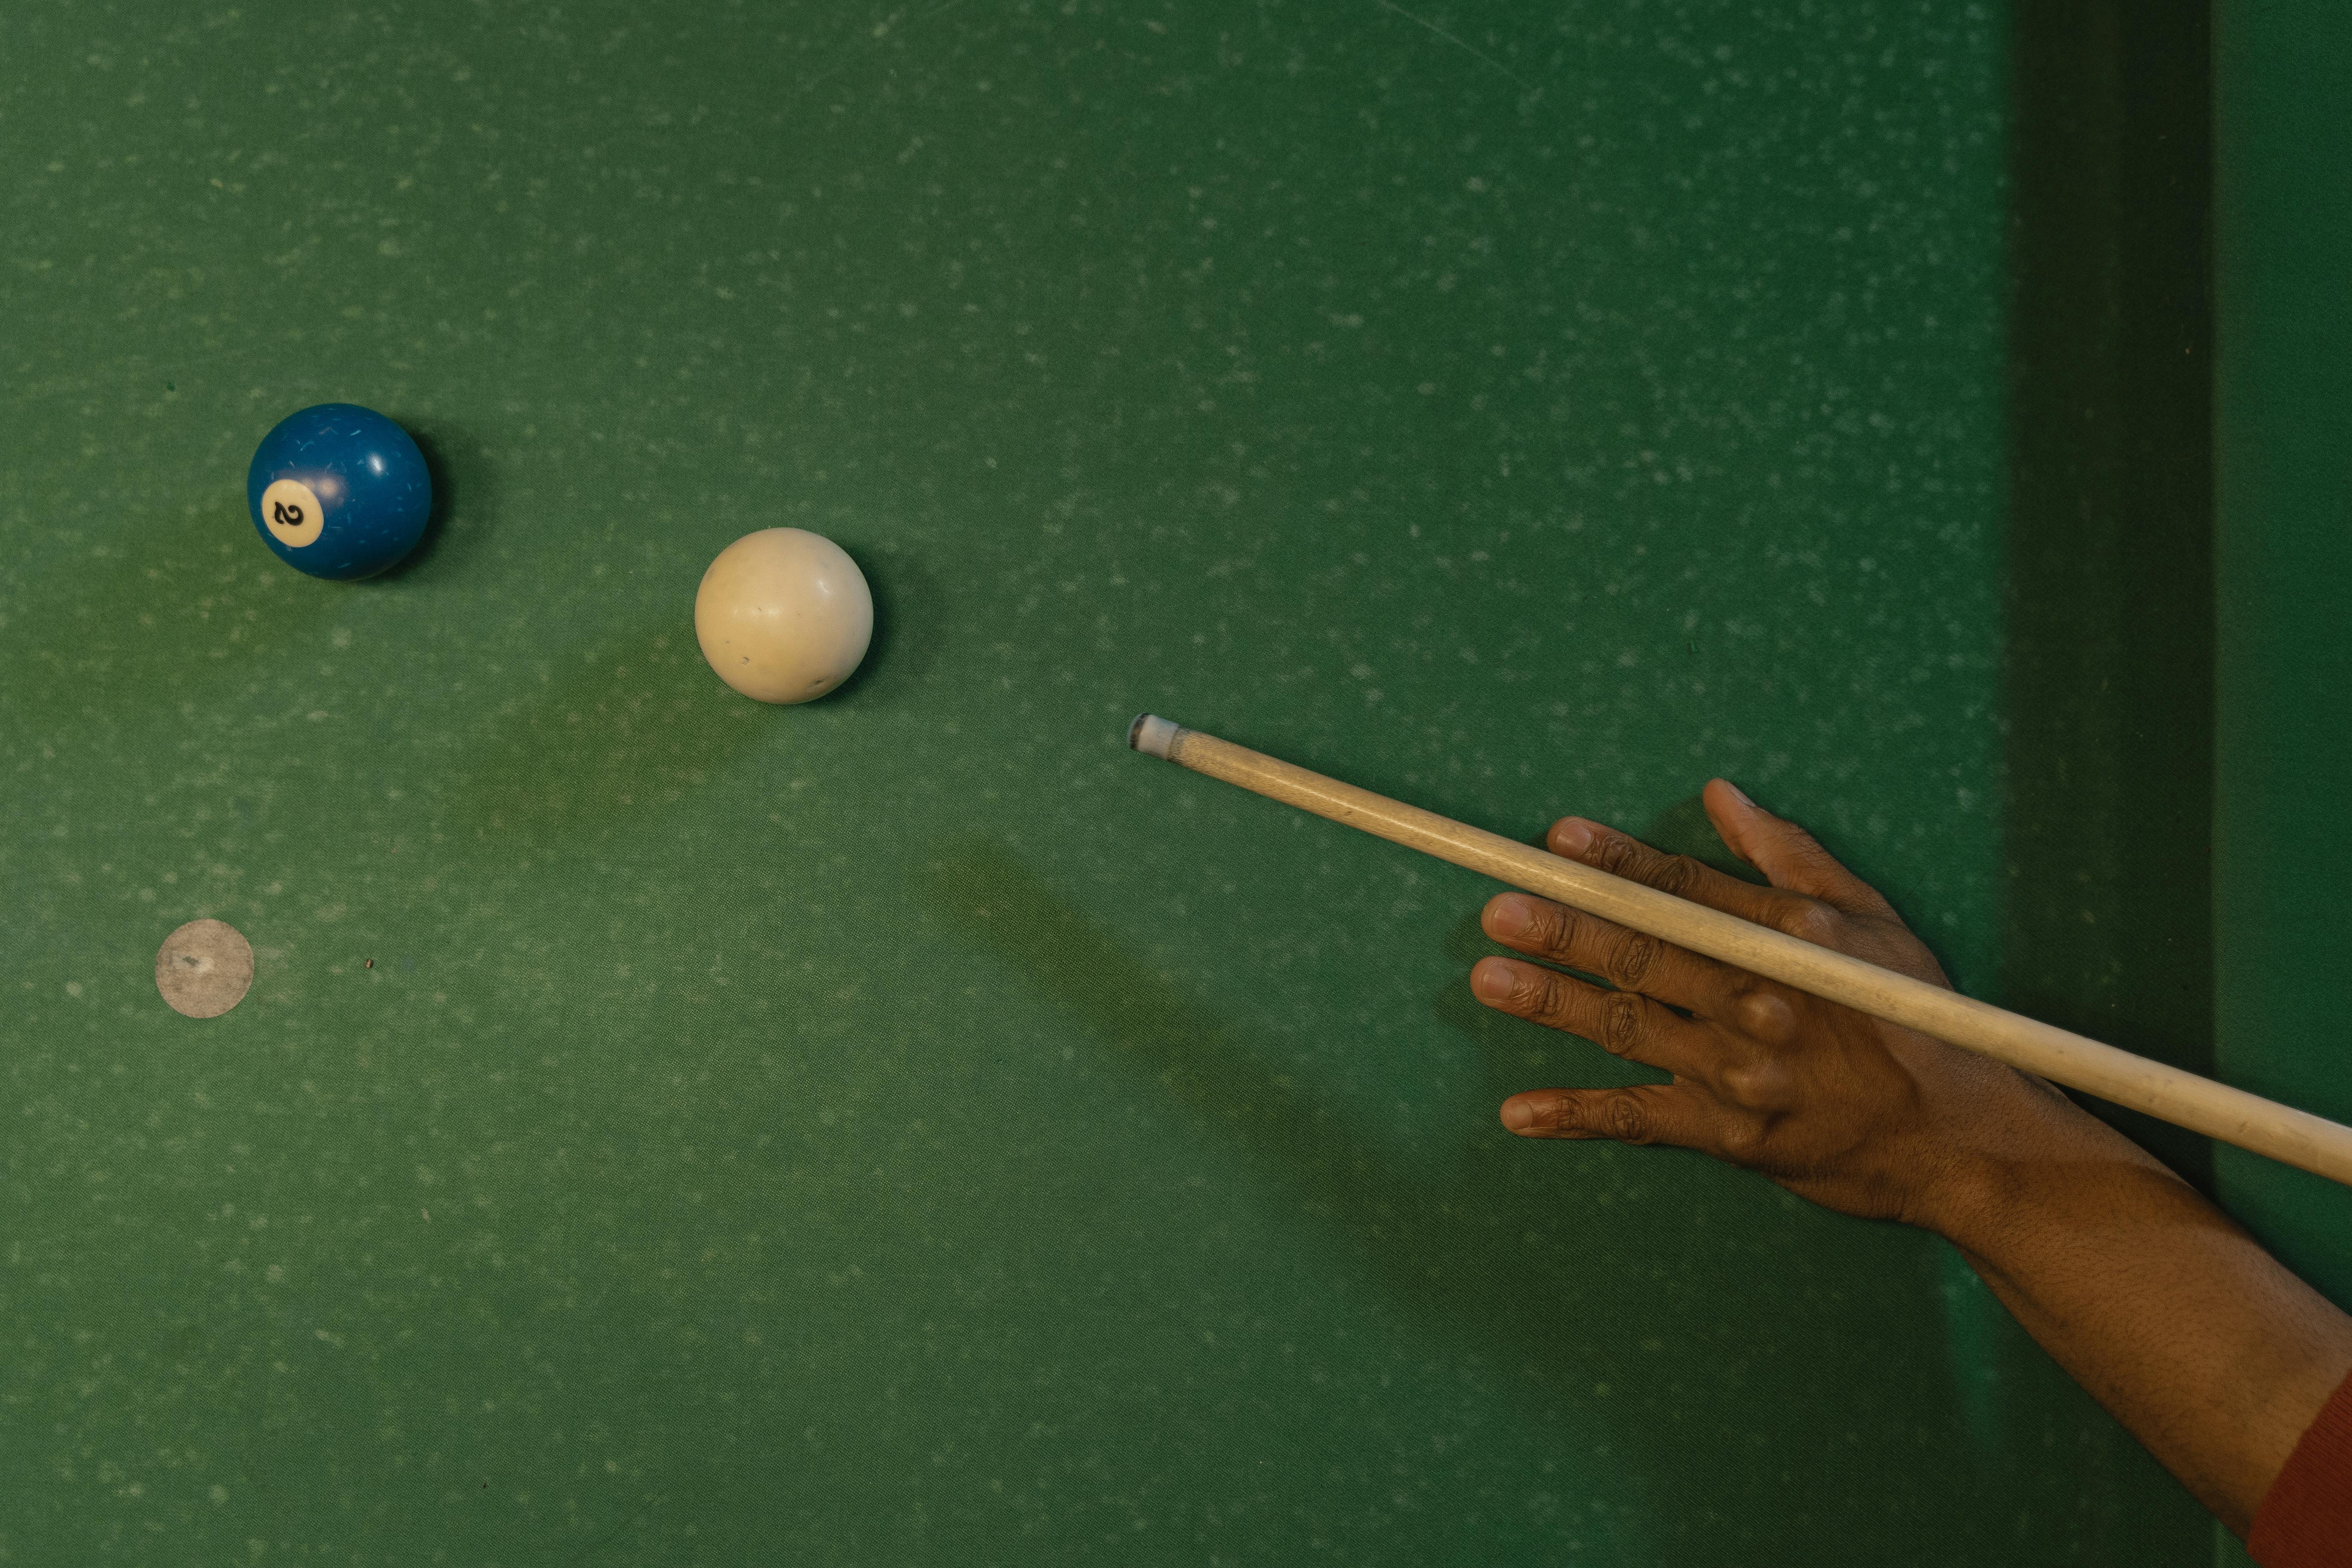
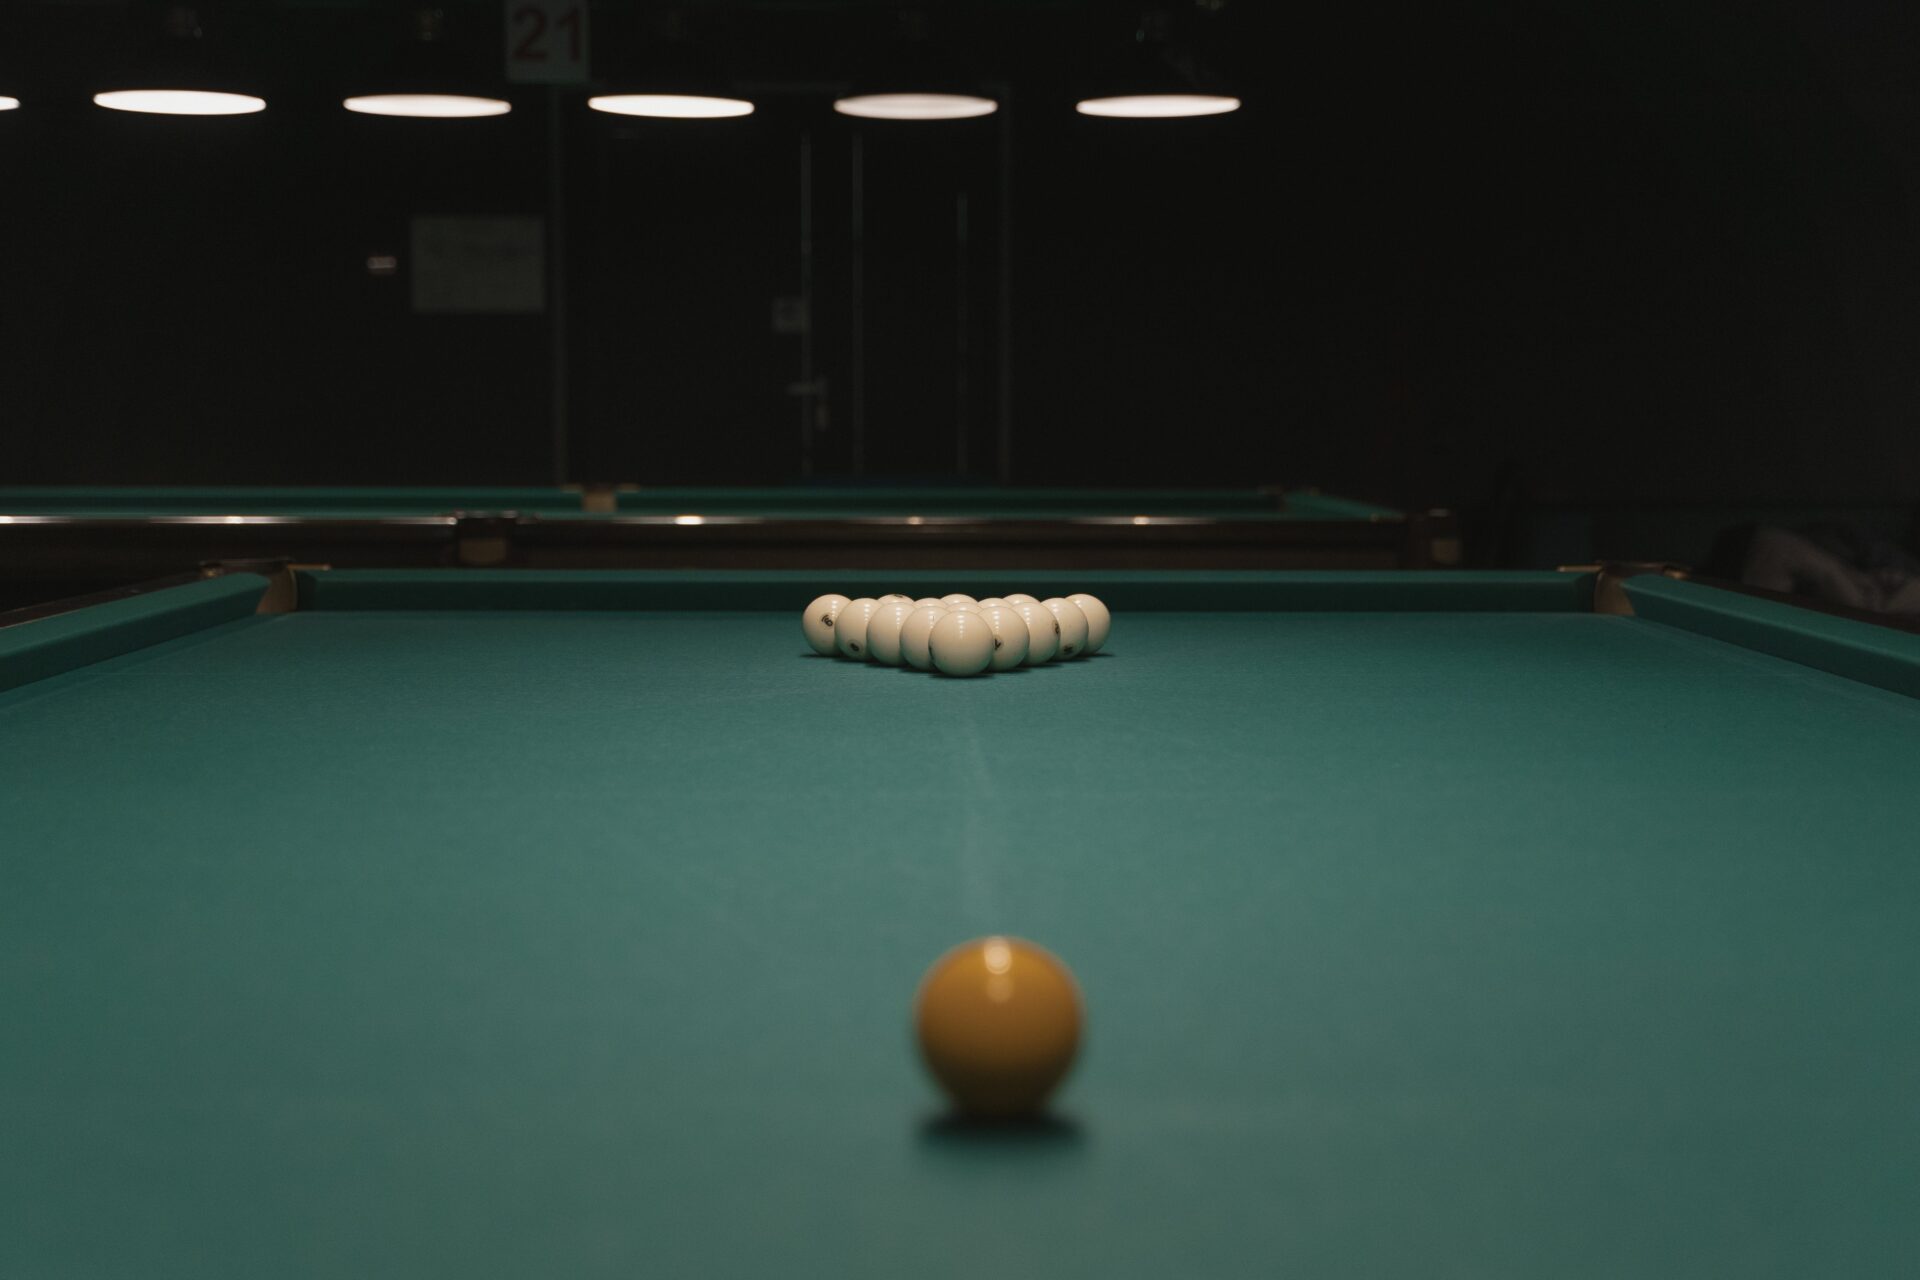
Pool balls are an essential part of a game of pool, and the quality of the balls can have an impact on the game. But have you ever wondered how these balls are made? From start to finish, there is an intricate process that goes into making high-quality pool balls, and this article will explain how it’s done.Pool balls are the round pieces used in the game of pool, also known as pocket billiards. They are typically made from a material called phenolic resin, which is a hard, durable material that can withstand repeated impacts. The standard set of pool balls consists of 16 numbered balls and a cue ball. The numbers on the balls range from 1 to 15, and the cue ball typically does not have a number on it. In addition to their number or lack thereof, each pool ball has its own unique color combination, allowing players to easily distinguish between them.
Materials Used in Making Pool Balls
Pool balls are typically made from a variety of materials ranging from plastics to resin composites. The most common type of pool ball is the phenolic resin ball, which is made from a mixture of crushed stone or chalk particles and phenolic resin. The particles are then compressed into molds and heated to form the shape of the ball. Phenolic resin balls are known for their durability, but they can be quite expensive. Plastic pool balls are also available and come in a variety of colors and sizes. These balls are generally more affordable than phenolic resin balls but have a shorter lifespan. Clay and ceramic pool balls are also available, but these tend to be quite expensive and break easily.
In addition to the materials used in the making of pool balls, there are other factors that can affect their performance. The size and weight of the ball can affect how it bounces off the walls or how it rolls on the table surface. Pool cues with softer tips may also help reduce friction between the cue stick and the ball, thus improving accuracy during play. Finally, proper maintenance is essential for maintaining good playing conditions for any type of pool table or equipment used in play.
Designing the Pool Ball
The design of the pool ball is an important factor in the game of pool. Pool balls, also known as billiard balls, must be designed with precision in order for them to function properly and provide an enjoyable playing experience. The size, shape, weight, and material used to create the balls all play a key role in their performance.
The size of a pool ball is typically between 2.25 and 2.37 inches in diameter. This ensures that all balls fit snugly inside the pockets of a standard pool table. The diameter must also be uniform across all balls. If any one ball is slightly bigger or smaller than another, it could cause problems when attempting to make shots or bank shots off other balls.
The shape of a pool ball is almost always spherical. This allows for them to roll easily across the surface of the table and helps keep them from becoming stuck in pockets or other tight spaces around the table. The surface finish should also be uniform on all balls so that they produce consistent performance when rolling across the felt.
Weight is also an important factor when designing pool balls. The average weight for these types of balls ranges from 5 ounces to 5 ½ ounces per ball. If any ball falls within this range, then it should provide enough momentum when struck with a cue stick to move across the table and sink into desired pockets.
Finally, material selection plays a key role in determining how durable a pool ball will be over time. Most manufacturers choose either polyester or plastic resin materials for their construction because these are durable yet still lightweight enough to produce good speed and accuracy when rolling across a standard pool table felt surface.
By carefully selecting factors such as size, shape, weight, and material used for construction, manufacturers can ensure that their pool balls will perform well and provide an enjoyable playing experience for their customers.
Preparing the Pool Ball
Cutting and shaping a pool ball is a delicate process that requires a steady hand and patience. Before you begin, you’ll need to make sure you have all the necessary tools and materials. You’ll need a cutting tool such as a jigsaw or rotary saw, as well as sandpaper, an abrasive cloth, and some form of lubricant. Additionally, you’ll need protective eye wear, gloves, and other safety gear to protect yourself while working.
Once you have all the necessary components, it’s time to begin prepping the pool ball for cutting. First, use the sandpaper or abrasive cloth to remove any dirt or debris from the surface of the pool ball. This will help ensure that your cuts are smooth and accurate. Next, apply lubricant to the area that will be cut with your saw – this will help reduce friction while cutting and minimize damage to both your equipment and the pool ball itself.
Cutting and Shaping the Pool Ball
Now that you have prepped your pool ball for cutting, it’s time to begin making your cuts. Depending on what type of cuts you are making – such as curves or shapes – you may need to mark off areas with a pencil first in order to make sure your cuts are accurate. Once marked off, use your saw of choice (jigsaw or rotary) to cut through the pool ball along those lines. Take care not to put too much pressure on your saw while working – this can lead to inaccurate cuts as well as damage to both your equipment and the pool ball itself.
Once all of your cuts are complete, use sandpaper or an abrasive cloth again to smooth out any rough edges left by cutting. This will help ensure that when finished your pool ball looks its best! Finally, apply another layer of lubricant before use – this will help keep it looking great for longer.
Adding Weight to the Core of the Pool Ball
Adding weight to the core of a pool ball is a simple process that can help improve the performance of your cue ball. By increasing the weight of the core, you can help give your cue ball more mass and contribute to its overall energy transfer. This can be done by using a weight insert that fits snugly inside the core of your pool ball, or by using an adhesive-backed weight system. Both methods are relatively easy to do and can have a significant impact on your game.
The most common way to add weight to the core of a pool ball is through a weight insert. These inserts are typically made from either lead or tungsten and come in various sizes and weights. The insert is inserted into the center of the pool ball, with its ends protruding slightly from either side. The weight should be evenly distributed within the core, with no more than 10% on either end. The insert should also fit snugly, so as not to cause any damage or disruption to the performance of your cue ball.
Another method for adding weight to the core of a pool ball is through an adhesive-backed weight system. These systems consist of small pieces of metal or plastic that are affixed to the surface of your pool ball using an adhesive backing. The weights come in various sizes and weights, allowing you to customize how much additional mass you want your cue ball to have. Be sure not to apply too much adhesive as this could damage or discolor your pool table felt.
Adding weight to the core of a pool ball can be an effective way to improve its performance and overall energy transfer when striking other balls on the table. If done correctly, it can help give you an edge in competition play or just make playing at home more enjoyable by helping keep spin control consistent between shots. Be sure not to overdo it though; too much extra mass on one side could cause unbalanced spin patterns on shots and potentially throw off your game completely!

Applying Paint to the Pool Ball
Painting a pool ball is not as difficult as it may seem at first. The key to success is having the right tools and materials, as well as taking your time to ensure a quality finish. Before you begin, make sure that the pool ball is clean and free of any dirt or debris that could interfere with the paint adhesion. Once it’s clean, you’re ready to start painting.
Start by applying a base coat of primer. This will help the paint adhere better and provide a nice even coverage for your design. Once the primer has completely dried, it’s time to start applying your paint colors. Use a small brush for detailed work and larger brushes for larger areas. Make sure to apply an even coat of each color, allowing each one to dry before starting on the next one.
Once all of the colors have been applied, it’s time to add any designs or patterns you would like on your ball. Use stencils or freehand your design; whichever method works best for you. Once you’re finished with this step, let everything dry completely before moving on to the next step.
Finally, apply several coats of clear sealer over the entire ball in order to protect it from fading or chipping over time. Allow each coat of sealer to dry completely before adding another one. When all coats are dry, your pool ball is now ready for use!
Making the Mold
Pool balls are made with a two-part mold. The inner part is where the shape of the ball is formed, and the outer part is used to hold it together while it cools. The first step in making a pool ball is to create this two-part mold. This is done by pouring liquid rubber into a form that has been designed to produce the desired shape and size of the pool ball. Once the rubber has set, it can then be removed from the form and used as the inner part of the mold. The outer part of the mold can then be created by pouring more liquid rubber around it to create a solid casing.
Injecting Polyester Resin
Once the two-part mold has been created, polyester resin can then be injected into it. This resin will form the main body of the pool ball and give it its hardness and durability once it has set. The resin should be injected slowly so that it fills all areas of the mold evenly before hardening. Once all areas have been filled with resin, any excess should be removed from around the edges with a sharp knife.
Adding Color Pigment
Next, color pigment can be added to give each pool ball its own unique color and design. This pigment can either be mixed into the polyester resin before injection or added directly onto its surface after injection but before hardening. When adding color directly onto its surface, care should be taken not to damage any existing designs as this could alter how they appear once finished.
Baking and Finishing
Once all these steps have been completed, it’s time for baking and finishing. The two-part mold should be put into an oven at a specific temperature for a certain amount of time in order to allow all components to fully set together as one piece. After baking, any excess material or rough edges should then be removed with sandpaper or other tools in order to create a smooth finish on each pool ball before they are ready for use.
Quality Testing of Pool Balls
Pool balls are an important part of the game of pool and have to be maintained in order to ensure a good quality game. Quality testing of pool balls is essential to make sure that they are safe and fit for use. Every manufacturer must ensure that their pool balls meet the necessary safety standards and regulations before they can be used in a game.
Quality testing of pool balls involves checking for any defects or signs of wear and tear. This includes looking for chips, cracks, discoloration, fading, and other signs of wear. The size and weight of the pool ball should also be checked to make sure it meets the required specifications. Other factors such as the type of material used in manufacturing should also be taken into consideration when conducting quality tests.
The testing process can involve both visual inspection and physical tests such as hardness testing or impact tests. Hardness testing is usually done using a durometer which measures the hardness of the ball surface. Impact tests involve dropping the ball from a certain height onto a hard surface to determine its durability. The results from these tests can then be compared against industry standards in order to determine if the ball meets the necessary safety requirements or not.
In addition to physical tests, manufacturers should also conduct chemical tests on their pool balls to ensure that they have not been contaminated with any harmful substances such as lead or other toxins. Chemical tests can involve measuring levels of lead, arsenic, mercury, chromium, cadmium, copper, zinc, and other heavy metals that may be present in the material used in manufacturing pool balls.
Quality testing is an important part of ensuring that high-quality pool balls are produced for use in games all over the world. It is essential for manufacturers to conduct regular quality checks on their products in order to guarantee safety and performance standards are met when people play with their equipment.

Conclusion
Pool balls are made from a variety of materials, depending on the manufacturer. The most commonly used material is polyester resin, which is molded into shape and then cured in an oven. This process ensures that the balls are tough and durable enough to withstand the rigors of pool play. The end result is a smooth, seamless ball that rolls true and looks great on the table.
Manufacturers also use a variety of techniques to give the balls their desired finish, such as painting, staining, or engraving. This allows for various patterns and designs to be created on the balls, making them look more appealing and adding a unique touch to any game.
Overall, pool balls are made with precision and care to ensure that they look great and roll true. With proper maintenance and storage procedures in place, these balls can last for years and help provide countless hours of fun for anyone who enjoys playing pool.
So next time you’re at your favorite local spot or tournament hall enjoying a game of pool, take a moment to appreciate all the hard work that went into creating each one of those beautiful little spheres!


