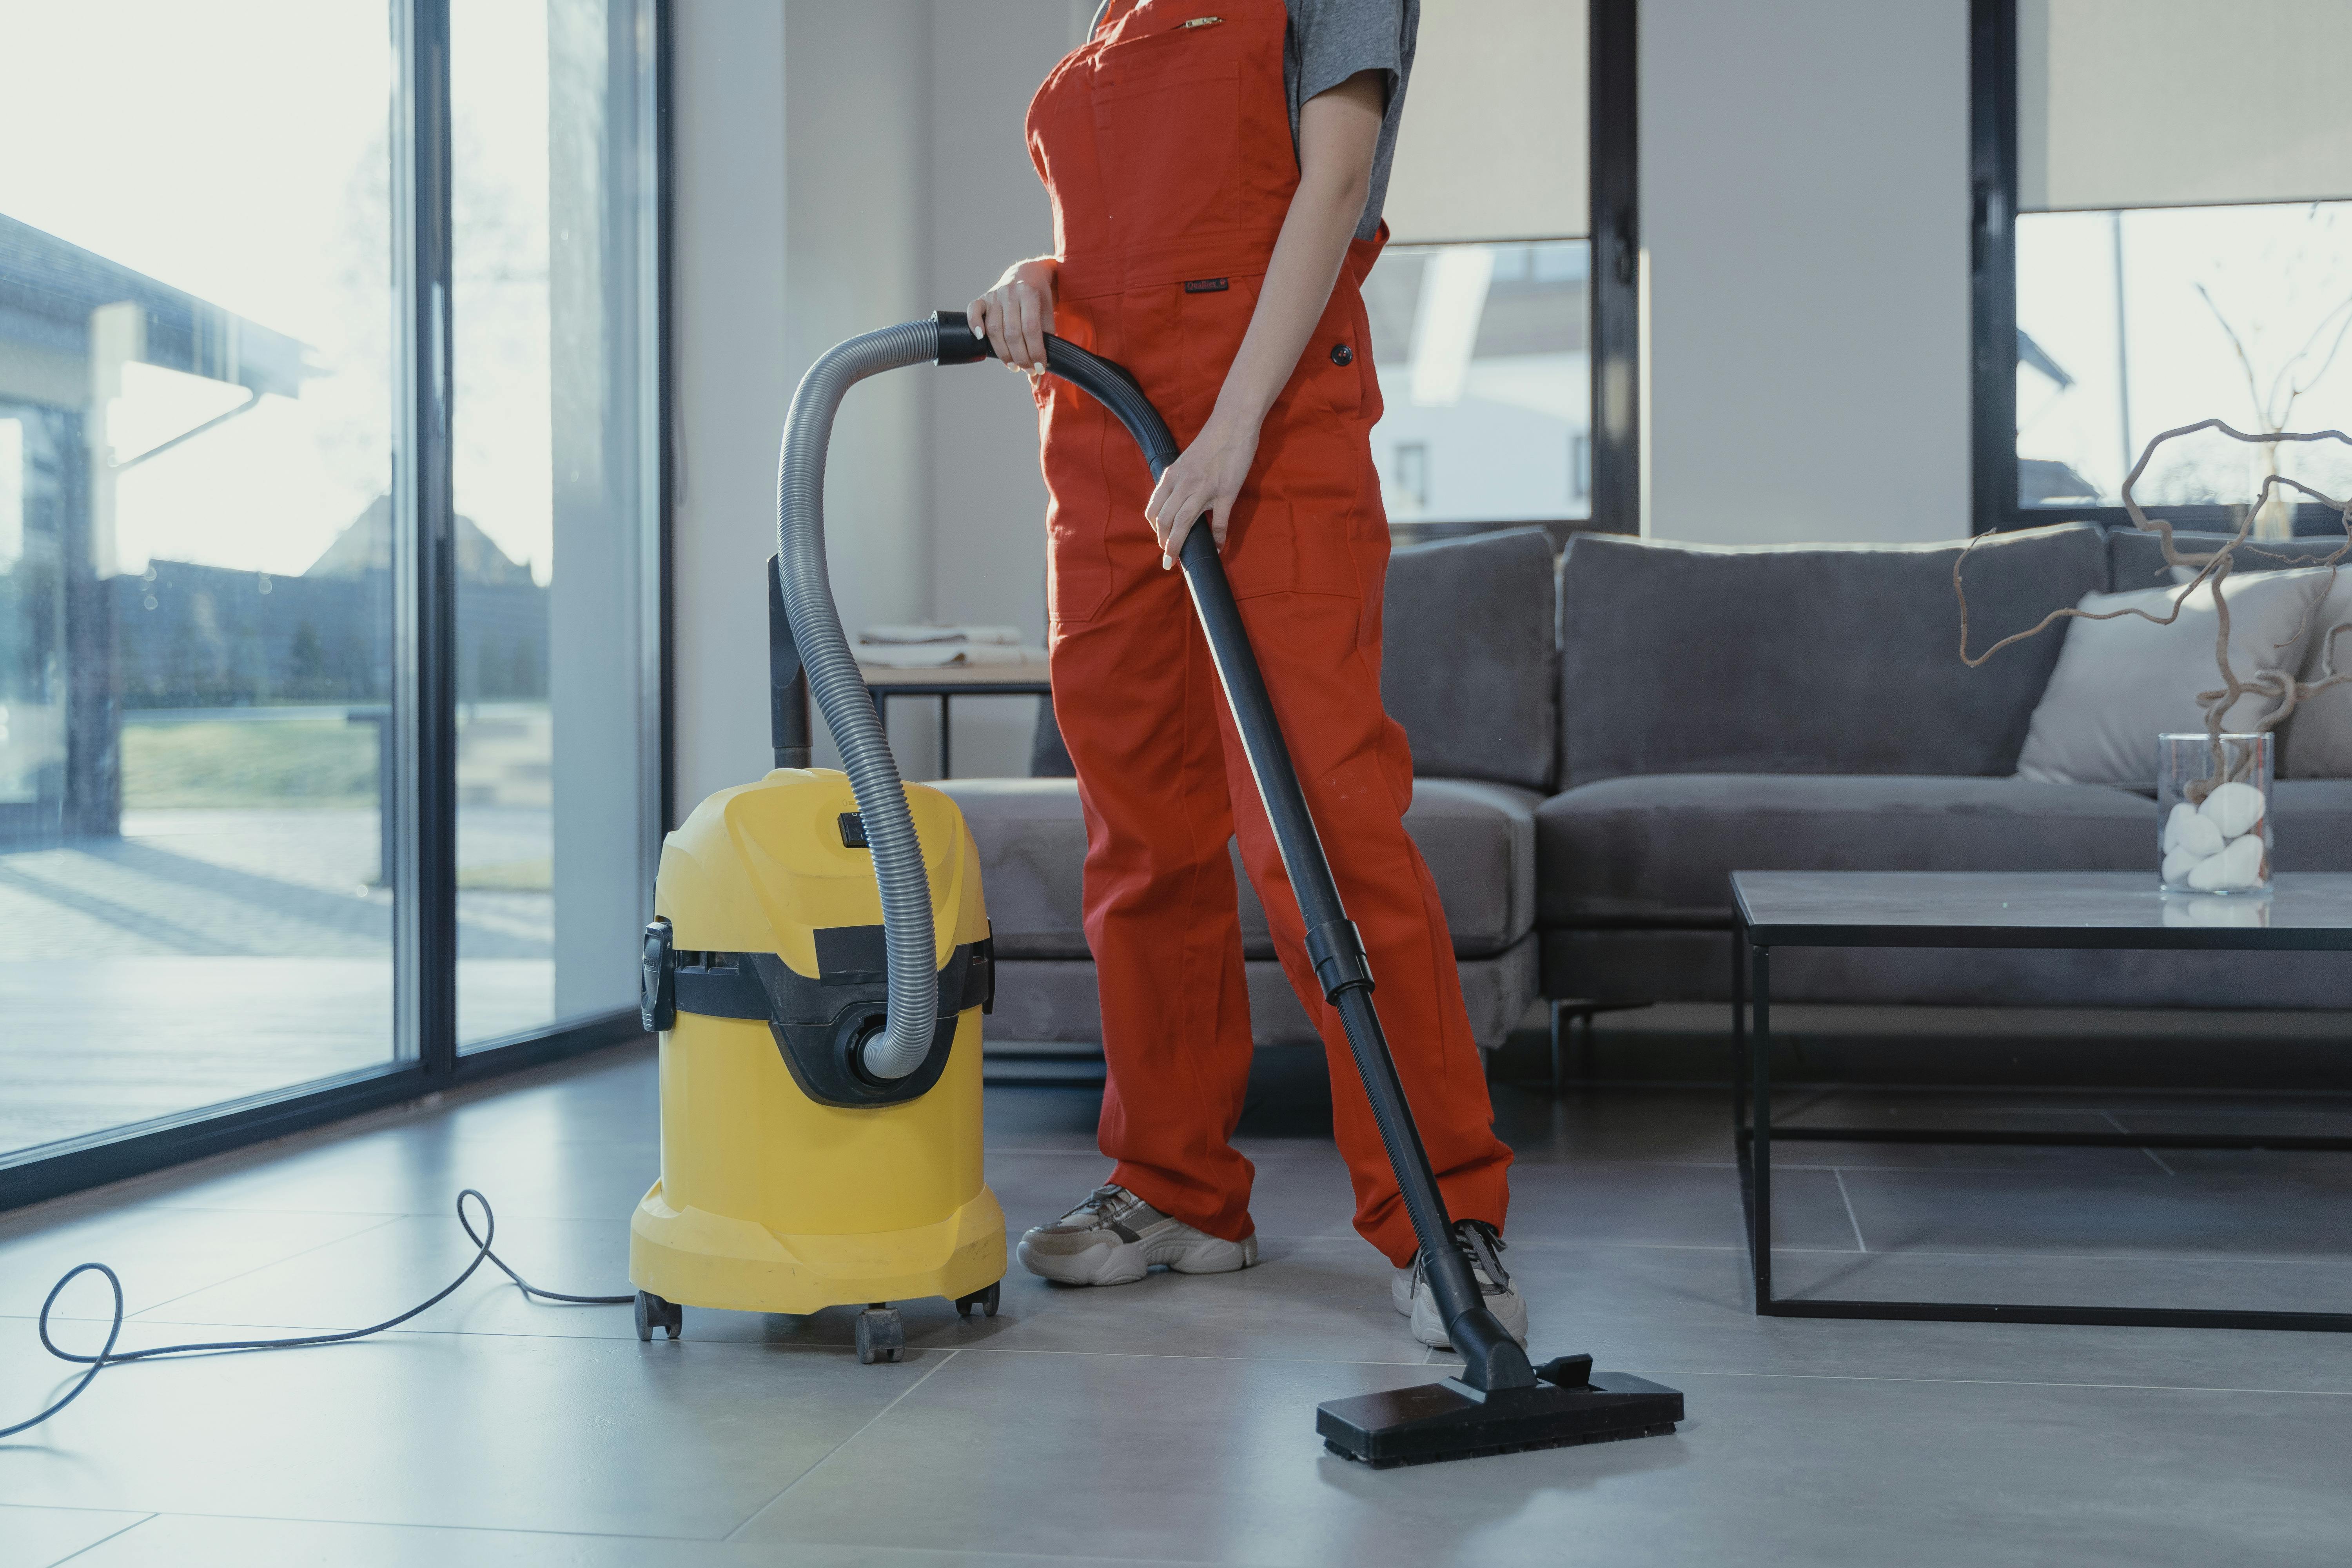
Cleaning your Dyson Ball vacuum is essential in order to ensure that it performs to its full potential. Regular cleaning will keep your vacuum running smoothly and efficiently for years to come. In this guide, we’ll walk you through the process of how to clean your Dyson Ball vacuum. From removing dirt and debris from the brush bar, to changing the filter, we’ll show you all the steps you need to take in order to keep your Dyson Ball vacuum in top shape.1. Unplug the vacuum from the power outlet.
2. Empty the dust bin and discard any debris.
3. Remove any visible dust or dirt from the outside of the vacuum, using a damp cloth or soft brush.
4. Check the filter and clean or replace as necessary.
5. Clean the beater bar by removing any hair and debris that have become embedded in it, using a pair of scissors or tweezers if necessary.
6. Wipe down any removable parts with a damp cloth to remove dust and dirt particles.
7. Reassemble the vacuum and plug it back into an outlet to test it out!
Preparing the Vacuum for Cleaning
Before you begin cleaning, it is important to make sure that your vacuum cleaner is properly prepared. This includes checking to see that all of the components are securely in place and that the hose and attachments are working properly. You should also make sure that the filter is clean and free of debris, as this can affect its performance. Once everything is in order, you can start vacuuming.
The first step in preparing your vacuum for cleaning is to empty any dirt or debris from the dustbin or bag. This should be done before each use to ensure that your vacuum works at its best and does not become clogged with dirt or dust. Once the dustbin or bag has been emptied, you should check to make sure that all of the attachments are securely in place and working properly. This includes checking for any blockages in the hose, as well as making sure that all of the brushes and other attachments are securely attached to the vacuum.
You should also check to make sure that the filter is clean and free of debris. If there is a lot of dirt or dust buildup on the filter, it could affect how well your vacuum works. If necessary, you can replace the filter with a new one before beginning to vacuum. Once everything has been checked and cleaned, your vacuum cleaner is ready for use!
Emptying the Dust Bin
It is important to keep your dust bin emptied regularly. Emptying the dust bin can help prevent odors from forming and allow for proper waste management. This will also help reduce the risk of pests such as mice, rats, and other insects from entering your home.
When emptying the dust bin, it is important to take precautions to avoid accidents or messes. Wear gloves if possible and make sure you remove all debris from inside the bin. If you have a large bin, it may be necessary to use a broom or vacuum cleaner to clean out the larger pieces of debris.
After emptying the dust bin, it is important to properly dispose of any waste materials. Make sure that any plastic bags are securely tied before disposing of them in a designated area. It is also important to rinse out any remaining food particles or liquids before disposing of them in order to prevent pests from being attracted by these items.
Finally, it is important to clean and disinfect your dust bin after each use. This will ensure that no harmful bacteria or germs are present in your home which could cause health issues for you and your family members. To do this properly, use a damp cloth with warm water and a mild detergent solution or an antibacterial spray cleaner to wipe down the inside of the bin after each use.
Cleaning the Pre-Filter
Cleaning your pre-filter is essential for maintaining the efficiency of your HVAC system. It helps to keep the air in your home or office clean and free of dust, pollen, and other airborne particles. Cleaning your pre-filter also extends the life of your HVAC system by removing dirt and debris before it can reach other components in the system. To clean your pre-filter, you will need to remove it from the HVAC unit and vacuum both sides using a crevice tool or brush attachment. You may also need to use a damp cloth to remove any debris that has become stuck in the filter material. Once you have finished cleaning, make sure to replace the filter correctly so that it is properly sealed and secured. Regularly cleaning your pre-filter will help ensure that your HVAC system runs efficiently and keeps the air in your home or office clean.
Replacing the Pre-Filter
The pre-filter is an important component of a water filtration system, and should be replaced regularly to ensure that the system is running efficiently. It is important to follow the instructions provided with the pre-filter when replacing it, as incorrect installation can lead to reduced filtration efficiency or even damage to the system.
To replace the pre-filter, first turn off the power to the system and disconnect any electrical connections. Unscrew or loosen any clamps that hold the filter casing in place, and carefully remove the old filter. Clean away any dirt or debris from inside the casing before inserting a new filter. Make sure that it is properly seated in place, then tighten or replace any clamps that were used to hold it in place.
Reattach any electrical connections and turn on the power to the system. Finally, check for proper operation by running water through it for a few minutes and checking for any signs of leakage. If everything seems okay, your pre-filter has been successfully replaced!

Cleaning the Post-Motor Filter
The post-motor filter of your vacuum cleaner is an important component of the appliance. It helps to capture dust and dirt from the air, and it should be cleaned regularly for optimal performance. Regularly cleaning your post-motor filter will help to maintain the suction power of your vacuum cleaner as well as help reduce the amount of dust and dirt that gets released back into the home. To clean your post-motor filter, first turn off and unplug your vacuum cleaner. Then remove the filter from the appliance and tap it gently on a non-abrasive surface to remove any excess dust or debris. Use a soft brush or cloth to wipe away any remaining particles that may be stuck in the filter. Once done, place the filter back into your vacuum cleaner and plug it back in. Your post-motor filter is now clean and ready for use!
Replacing the Post-Motor Filter
Replacing the post-motor filter of your vacuum cleaner is an important part of keeping it running in top condition. The post-motor filter helps to keep the air inside your vacuum cleaner clean and free from dust and dirt particles. It is also important for maintaining good indoor air quality. To ensure that your post-motor filter is working properly, it should be replaced every 6 months or as needed. Here are some steps to help you replace your post-motor filter:
1. Before you begin, make sure to unplug the vacuum cleaner from the power outlet. This will help prevent any electric shocks while replacing the filter.
2. Remove the old post-motor filter from the vacuum cleaner by gently pulling it out from its housing.
3. Install the new post-motor filter by inserting it into its housing and pushing it firmly into place.
4. Once you have installed the new filter, reassemble all of the parts of your vacuum cleaner before plugging it back into a power outlet.
By following these simple steps, you can easily replace your post-motor filter and keep your vacuum cleaner running in top condition for many years to come.
Brushing and Wiping Out Clogs and Debris
Clogs and debris can be a nuisance when they build up in your pipes, preventing proper water flow. Regularly brushing and wiping out your pipes is the best way to keep them clear of clogs and debris. To do this, you’ll need a brush or wire brush, a cloth or rag, some pipe cleaner, and a pair of gloves. Start by using the wire brush to scrub away any built-up debris or clogs from the inside of the pipe. Then, wipe down the walls of the pipe with a cloth or rag to remove any loose dirt or residue. Finally, use some pipe cleaner to sanitize the area and remove any remaining dirt or residue. Be sure to wear protective gloves during this process to protect your hands from any hazardous materials that may be present in the pipes.
Regularly brushing and wiping out your pipes is an important part of maintaining proper water flow through your plumbing system. This simple task can help prevent costly repairs down the road, as well as ensure that your pipes are functioning properly.

Conclusion
Cleaning your Dyson Ball Vacuum is a simple and efficient process that can be done with ease. Regularly cleaning the vacuum filter, hose, canister, and other parts of the vacuum will help to maintain its performance and extend its life. To ensure you are properly cleaning your vacuum, refer to your user manual for specific instructions.
As long as you are diligent about cleaning your Dyson Ball Vacuum regularly, it should provide you with years of service and performance. Enjoy the convenience of having a powerful tool that makes keeping your home clean easier!
Happy Cleaning!


