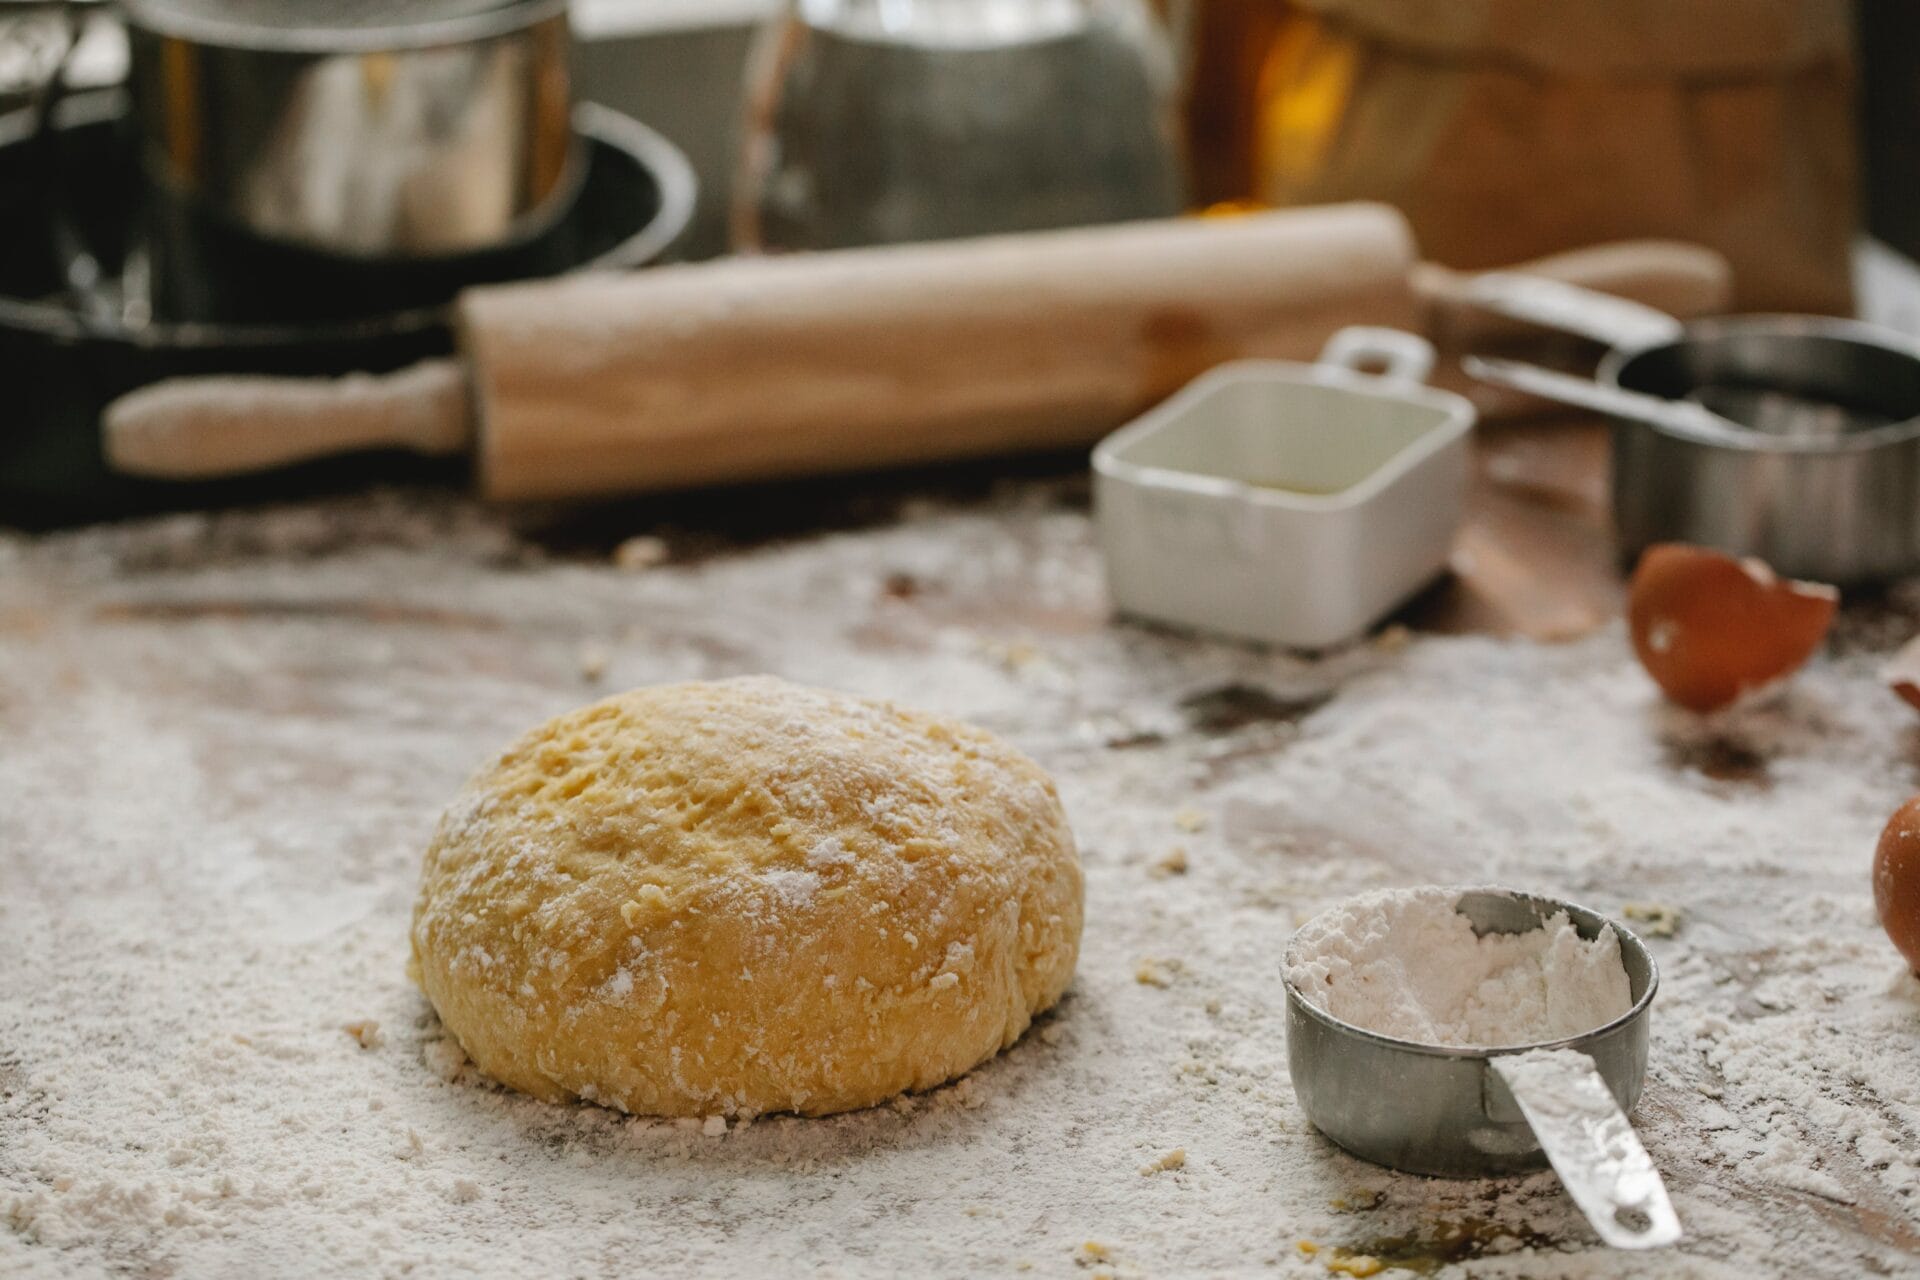
Making a felted ball is a fun and easy craft that can be done with just a few materials. This project is great for children and adults alike, as it allows you to get creative with color, size, and texture. With just some wool roving, soap, and hot water you can create something beautiful that will last for years. By following these simple steps you will soon have your own felted ball in no time!To make a felted ball, you will need some wool roving, a bar of soap, warm water, some knee-high stockings, and a large bowl or bucket.
How to Prepare the Wool for Felt-Making
Felt-making is an ancient craft that uses raw wool to create beautiful, functional textiles. In order to make felt, the wool needs to be prepared properly before it can be felted. The process of preparing the wool for felt-making is relatively simple and straightforward. Here are the steps that you need to take in order to prepare the wool:
1. Start by sorting your wool. You’ll want to sort it by color and texture so that you have all of your materials ready for felting when you start working on your project.
2. Next, you’ll need to card the wool in order to remove any tangles or knots. This can be done with a hand carder or a drum carder, depending on how much wool you need to process and what type of result you’re looking for.
3. Once you’ve finished carding the wool, it’s time to roll it into roving or batts. This will help keep all of the fibers aligned and make them easier to work with when you start felting your project.
4. Finally, you’ll need to pre-felt your wool before starting your project. Pre-felting helps reduce shrinkage and gives your end result a more even finish. To pre-felt your wool, use warm water and a small amount of detergent or soap and gently rub or agitate the fibers in order to create an initial layer of felt fibers before starting your project.
By following these steps, you’ll be able to prepare your raw fiber for felt-making quickly and easily so that you can get started on your projects right away!
Materials Needed
Felting requires specific materials to be used in order to achieve the desired effect. To make a felted ball, you will need wool roving, a felting needle, a foam pad or block and scissors. Wool roving is a type of unspun wool that can be easily shaped into different forms. The felting needle is a special tool used to shape and compact the wool roving into shape. The foam pad or block is used as a base for the felting process and helps to protect your work surface from damage. Finally, scissors are needed to cut off excess wool roving before beginning the felting process.
Steps for Making a Felted Ball
Making a felted ball is an easy process that can be completed in just a few steps. Begin by taking some of your wool roving and rolling it into the desired shape of your ball. Then use your felting needle to stab through the wool roving repeatedly until it starts to form an even shape. Next, place the ball onto the foam pad or block and continue stabbing with your needle until it is securely held together. Finally, use scissors to trim off any excess pieces of wool roving before you are finished with your project.
Finishing Touches
Once you have finished shaping your felted ball, there are some finishing touches that you can add in order to make it look even better. You can add small details like eyes or other features by using small pieces of yarn or other materials that will hold up when wet-felted. You can also use different colors of wool roving to create stripes or patterns on the surface of your ball for added interest.
Wet-Felting Your Ball
The final step in creating your felted ball is wet-felting it in order to secure all of its components together and give it its finished look. To do this, fill a container with warm soapy water and submerge your ball into it for several minutes until all of its components have fused together tightly. Once complete, rinse off your ball with cold water and allow it to air dry completely before using or displaying it.
Materials Needed
Making a felted ball is an easy and fun project for both adults and children. Before you begin, make sure you have all the materials you need. You will need some wool roving, a few inches of wool yarn (about 4-5 yards), a felting needle, and some soap or detergent. You may also want to have a sponge handy to help with the felting process.
Step 1: Prepare the Wool Roving
The first step in making a felted ball is to prepare the wool roving. Take your wool roving and roll it into a small ball about the size of a golf ball. Make sure that all of the fibers are evenly distributed around the ball so that it will felt evenly. Once you have rolled your roving into a ball, wrap it in some wool yarn to secure it in place.
Step 2: Start Felting
Once you have your wool roving prepared, it’s time to start felting. Begin by wetting your sponge with water and adding some soap or detergent. Rub your sponge over the wool yarn covered ball until it starts to felt together. Once you have worked up some lather, use your felting needle to start poking at the felt. This helps to compact the fibers together so they will hold their shape when dry.
Step 3: Keep Felting
Continue using your sponge and felting needle until the felt has reached your desired thickness. If necessary, add more soap or detergent as needed while felting. When you are finished, rinse off any remaining lather with clean water.
Step 4: Let It Dry
Once you have finished felting your ball, let it dry completely before handling it again. This can take several hours depending on how thick your felt is and how humid your environment is.
Step 5: Enjoy Your Felted Ball!
Once your felted ball is completely dry, it’s ready for use! You can use them as decorations in vases or other containers; they make great gifts for friends and family; or even use them as stress balls! Enjoy!
Gather the Supplies
The first step to making a perfect felted ball is to gather all of the supplies you need. You will need some wool roving, a piece of foam, an embroidery needle, and some yarn or thread. Make sure to have enough wool roving to cover your foam so that your felted ball will be thick and round. You can find all these items at most craft stores or online.
Prepare the Wool Roving
Once you have all the supplies, it’s time to prepare the wool roving for felting. Start by tearing off small pieces of roving and rolling them into tight balls. Make sure they are tightly rolled so that they will hold together when being felted. Once you have enough balls made, it’s time to start felting them together.
Begin Felting
Now that you have your wool balls ready, it’s time to begin felting them together. Place your foam on a flat surface and begin poking the wool balls into the foam with your embroidery needle. As you do this, use a circular motion so that each ball is securely attached to the others in order to create a round shape. Keep going until you have covered most of the foam with your wool roving.
Tighten Up The Ball
Once you have finished poking in all of your wool balls, it’s time to tighten up the ball by using yarn or thread. Take a piece of yarn or thread and begin wrapping it around the entire ball in a crisscross pattern until it is securely held together. Be sure not to pull too tight as this could cause the felt ball to lose its shape.
Finishing Up
Finally, cut off any excess yarn or thread from around the ball and trim off any loose pieces of wool roving that may be sticking out from underneath. Your perfect felted ball is now ready for use!

Materials Needed to Make a Felted Ball
Making a felted ball is a fun and easy project that is perfect for crafters of all ages. To make your own felted ball, you will need some basic materials. These include: wool roving, felting needles, foam pad, and needle felting tool or a thin, sharp needle. Wool roving is the raw material used to make felted balls. It is available in various colors and textures and can be purchased at most craft stores. Felting needles are necessary to create the felt ball itself. They are specially designed with barbed points that help the fibers of the wool roving intertwine as they are worked together. A foam pad provides a soft surface to work on, which helps protect the needle from becoming dull too quickly. Finally, a needle felting tool or thin sharp needle can be used to attach small pieces of roving together or to add detail to your creation.
Tools Needed to Make a Felted Ball
In addition to materials, you will also need certain tools when making your own felt ball. These include scissors for cutting the wool roving into small pieces; tweezers for picking up and removing small fibers; and an embroidery hoop for stretching out the piece while it’s being worked on. You may also find it helpful to use an awl or other pointed tool when manipulating the felt ball into shape. Finally, having an extra pair of hands nearby can come in handy when attaching pieces together or adding intricate details.
With these tools and materials at hand, you can easily create your own unique felt ball!
How to Choose the Right Wool for Making a Felted Ball
When it comes to making a felted ball, selecting the right wool is an important step. The right type of wool will determine the quality of the finished product. The most common types of wool used in felting are Merino, Corriedale, Blue Faced Leicester, and Shetland. Each has its own characteristics and benefits that make it suitable for felting projects.
Merino wool is one of the softest wools available and can be blended with other fibers to create a unique texture. It’s also resistant to matting and pilling, so it’s perfect for making felted balls that will stay looking good over time. It’s also lightweight and easy to work with, making it ideal for beginners.
Corriedale wool is a medium-grade wool that is slightly more coarse than Merino but still soft enough to be comfortable against the skin. It’s more resilient than Merino and won’t pill as easily, which makes it great for items that will get a lot of wear or use such as felted balls or hats. It usually comes in a variety of natural colors which makes it perfect for creating unique designs with your felt creations.
Blue Faced Leicester (BFL) wool is one of the finest types of wools available and has a beautiful luster that makes it ideal for creating luxurious felt items such as balls or slippers. It has excellent elasticity so you can create shapes without worrying about your work stretching out too much during feltmaking process. BFL is also more resistant to dirt and dust than other wools, so you don’t have to worry about your creations looking dirty over time.
Finally, Shetland wool is a coarser type of wool that creates beautiful textures when used in felting projects such as balls or sculptures. It is very strong but also lightweight so you can create bigger items without them being too heavy or bulky when finished. Shetland also takes dye very well so you can create vibrant colors with your felting projects.
When selecting the right type of wool for making a felted ball, consider what qualities are most important to you in terms of texture, color, durability, and weight. With the variety of wools on the market today, there’s sure to be one that meets your needs perfectly!
Felting Alternatives for Making a Felted Ball
Felting is a popular and enjoyable craft activity that involves using wool fibers to create beautiful designs. However, sometimes the traditional felting process can be time-consuming and require a lot of patience. For this reason, many crafters are looking for alternative methods of creating felted items such as felted balls. There are several ways to make a felted ball without using traditional felting techniques.
One of the most popular alternatives for making a felted ball is using needle-felting. Needle-felting uses special barbed needles to push the wool fibers into a desired shape. This method is much faster than traditional felting, but it does require some skill and practice to get the desired effect. The benefit of needle-felting is that it allows crafters to create intricate designs with relative ease.
Another alternative method for making a felt ball is wet-felting. Wet-felting uses warm water and agitation to cause wool fibers to interlock and form shapes. This method produces more consistent results than needle-felting because it removes any inconsistencies in the wool before it is shaped into a ball. Wet-felting also requires less skill than needle-felting, making it an ideal choice for beginners or those with limited time on their hands.
A third alternative option for making a felted ball is to use pre-made felt balls or circles. These pre-made shapes can be purchased in craft stores or online and then stitched together with yarn or thread to form larger shapes such as balls or flowers. This option requires little skill and can produce beautiful results quickly and easily.
Finally, crafters can also use other materials such as fabric scraps, yarn, buttons, beads, or other embellishments to create unique felt balls without having to use traditional felting techniques at all! This method is great for adding extra texture and dimension to existing felt projects or creating entirely new designs from scratch.
No matter which method you choose, making a felted ball can be an enjoyable way to utilize your creativity while learning a new craft technique! With the right materials and a bit of patience, you’ll soon be able to create beautiful works of art that will last for years!

Conclusion
Making a felted ball is a fun and easy craft that anyone can do. It’s a great way to create something unique and beautiful that can be used for decoration or as a special gift. With just a few supplies, you can make your own felted ball in no time at all. You can even get creative and make different colors and sizes to add some personality to your project. The possibilities are endless!
No matter what you decide to use your felted balls for, it is sure to bring joy and smiles to those around you. So don’t wait any longer, grab some wool, a needle and thread, and get creative with making your own felted ball!


