Making a ball from fabric is a fun and creative activity that you can do with a few simple supplies. Whether you’re looking for a unique gift for a loved one, or you want to create something special for yourself, making a fabric ball is an easy and enjoyable way to express your creativity. With just some fabric scraps, stuffing, needles, thread and scissors, you can make a beautiful fabric ball in no time. In this article, we’ll go over the steps to make your own unique fabric ball.To make a ball from fabric, you will need the following materials: fabric of your choice, scissors, thread, needle, stuffing material (such as cotton batting or polyester fiberfill), and a ruler. Optional materials include ribbon or other decorative items.
Materials Needed
When cutting fabric, it is important to have the right materials. Getting the right scissors or rotary cutter, as well as the correct type of ruler and cutting board, can make all the difference when it comes to accuracy and precision. For most fabrics, a pair of sharp dressmaker shears will work best, but for heavier fabrics like upholstery or outdoor fabrics, a rotary cutter may be needed. A self-healing cutting mat and a long ruler are also helpful tools when cutting fabric.
Layout and Measurement
Before beginning to cut the fabric, it is important to lay out the pattern pieces on the fabric correctly. This means that any lines that need to be matched up or pleats that need to be centered should be marked with pins before anything is cut. Once everything is laid out properly on the fabric, measurements should be taken to ensure accuracy. If using a commercial pattern, follow all instructions carefully; if creating your own pattern pieces measure twice before making any cuts.
Cutting Fabric
Once everything is measured and marked correctly, start cutting small pieces first in order to get used to how the scissors move through the fabric. Then move onto larger pieces of fabric. When cutting with scissors try using a gentle sawing motion; this will help keep your cuts even and consistent. When using a rotary cutter use an even pressure as you roll it along the line you are marking in order to create a clean cut edge.
Finishing Up
Once all of your pieces have been cut it is important to finish them up by serging or zig-zagging around each piece’s edges. This will help prevent fraying and give your project a professional look. It is also important not to forget about pressing! After sewing each piece together press them with an iron for best results and a polished finish.
How to Sew the Pieces Together
Sewing pieces together is a great way to create a finished product. Whether you are making a quilt, a dress, or curtains, sewing is an essential skill. To sew pieces together correctly, you’ll need to know the basics of threading a needle, knotting thread, and straight stitching. Here are some tips for getting started:
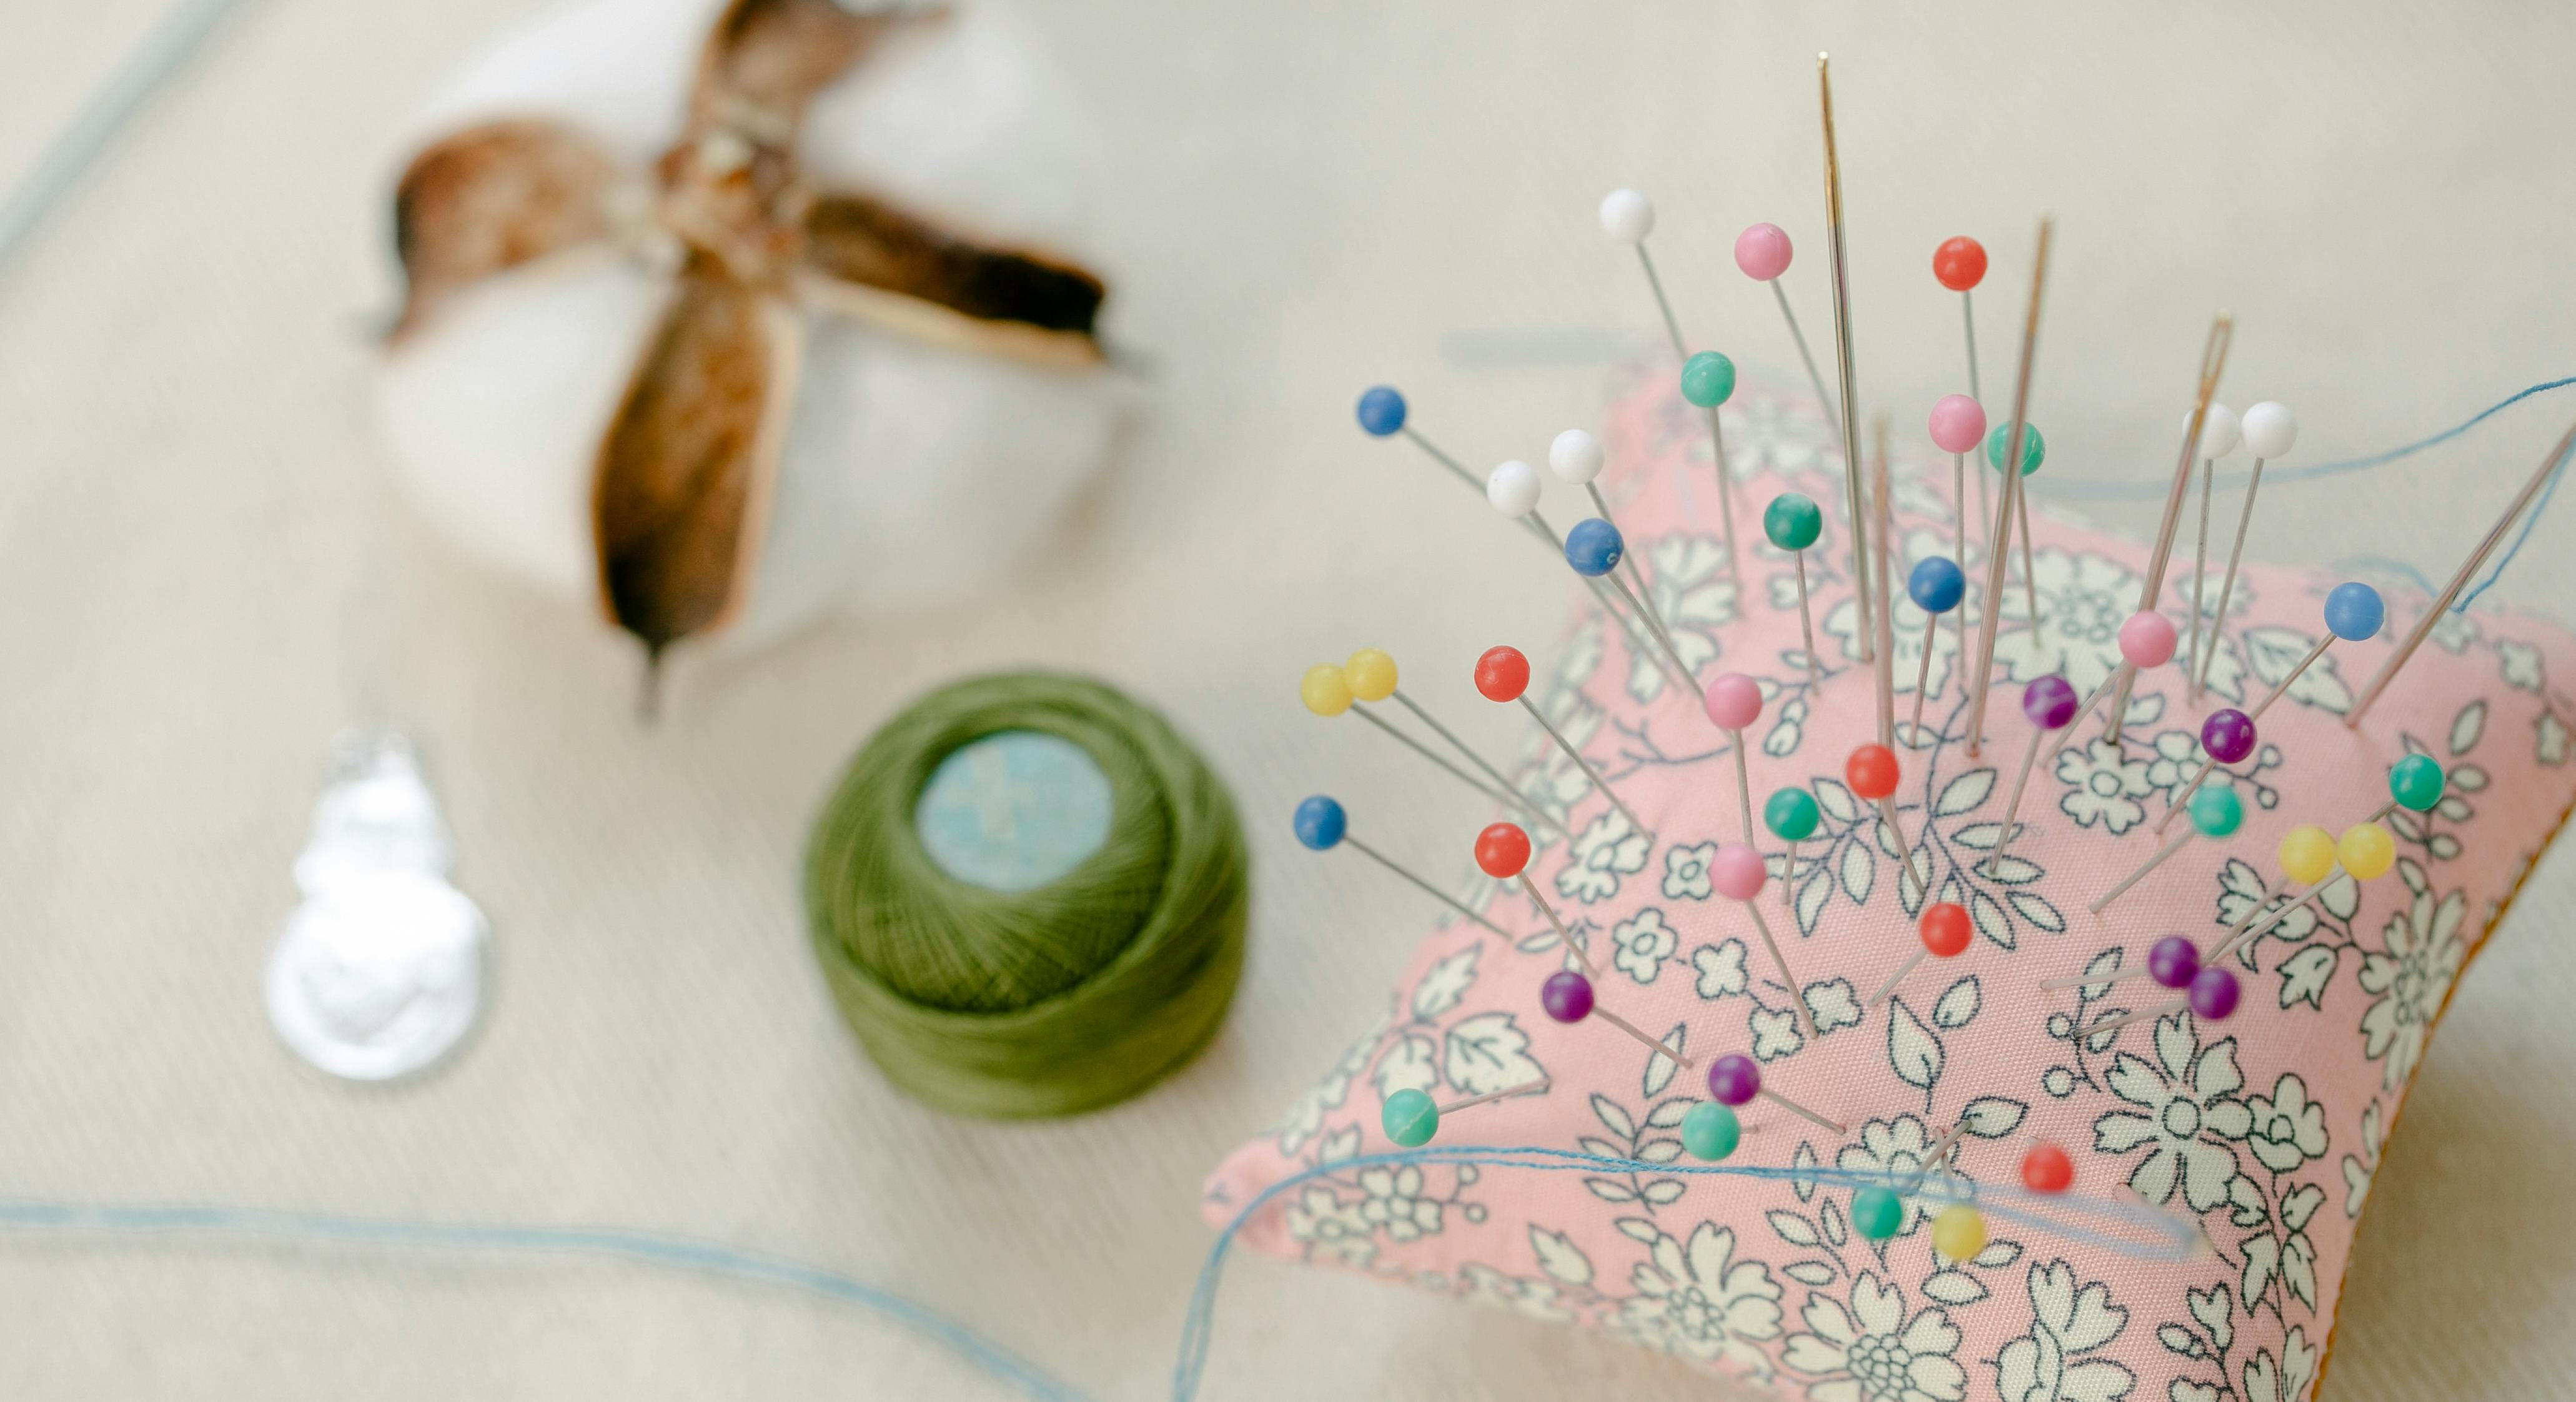
First, you’ll need to gather your supplies. Items such as fabric, scissors, pins, and thread will all be necessary for completing your project. You should also have an appropriate sewing machine for the project you’re working on.
Once you have your supplies ready, it’s time to start threading your needle. Make sure that the thread is securely fastened through the eye of the needle. You may need to use tweezers if it’s difficult to do on your own.
Next you’ll want to tie a knot at the end of your thread so that it doesn’t come undone while stitching. This can be done by making a loop at one end of the thread and then pushing the other end through it. Pull tight until it forms a secure knot.
Finally, begin sewing straight lines on either side of where you want the two pieces to be joined together. Make sure that your stitches are even in length and spacing and that they line up with each other on both sides of the fabric. Once you’ve completed this step, your pieces will be securely joined together!
How to Stuff the Ball With Polyester Fiberfill
Stuffing a ball with polyester fiberfill is a great way to create a soft and durable toy for children. The process is simple but requires patience and attention to detail. Here are some steps you can take to ensure your stuffed ball is filled with the right amount of polyester fiberfill:
First, measure the circumference of the ball you are planning to stuff. This will give you an idea of how much polyester fiberfill you’ll need. Then, cut the fiberfill into small pieces that will easily fit into the ball. Be sure not to overstuff it, as it will lead to an uneven surface and may cause it to burst when played with.
Once you have cut the necessary pieces of fiberfill, begin stuffing them into your ball using a spoon or other tool. Start from one side and gradually fill up the rest of the space until it’s completely filled up. Make sure there are no empty spots or air pockets in between the pieces of fiberfill.
When you have finished stuffing your ball with polyester fiberfill, use a needle and thread to close up any open seams or edges. This will help prevent any of the stuffing from coming out when your child plays with their toy. Finally, fluff up any remaining bits of cotton batting so that your stuffed creation looks its best!
With these simple steps, you’ll be able to create a soft and durable toy that your child can enjoy for years to come.
Closing the Opening of the Ball
Closing the opening of the ball is an important part of any basketball game. It can determine whether a team wins or loses, and requires skill and strategy. The first step in closing the opening of the ball is to make sure that all players are in their proper positions on the court. Each player must be aware of their role, whether it is to defend, rebound, or shoot. Once all players are in their proper positions, it’s important to communicate with one another so that everyone is on the same page. This helps ensure that each player knows what they need to do in order to close out the opening of the ball successfully.
The next step in closing out an opening is defensive strategy. It’s important for teams to have a good understanding of their opponent and what types of plays they tend to run. Players must be aware of where their opponents are at all times and how they can be taken advantage of. Knowing when and how to switch on defense can help teams shut down opposing offenses quickly.
Finally, offensive execution can help close out openings and secure wins. Teams need to be able to move the ball quickly and efficiently around the court in order to create open shots for their players. Knowing when and where to pass, cut, screen, or drive can make a huge difference in any game’s outcome. By properly executing on offense, teams can put themselves in a position where they can take advantage of openings and secure victories.
Closing out an opening is an essential part of basketball success. By ensuring proper positioning, communication between players, defensive strategy, and offensive execution teams can put themselves in a position where they can close out openings and secure victories.

Choosing Fabric and Needles
When it comes to working with fabric and sewing needles, the first step is choosing the right materials. You’ll want to select a quality fabric that won’t fray or tear easily, as well as a needle that is suitable for your project. Different types of fabric require different types of needles, so be sure to check the label before you buy. Make sure the needle size and length are appropriate for your project.
Preparing Your Fabric
Once you have chosen the fabric and needles, it’s time to prepare your workspace and fabric for sewing. Start by pre-washing your fabric if necessary; this will help prevent shrinking later on. Then cut your fabric into the desired shape or size using sharp scissors or a rotary cutter. It’s important to make sure that all pieces are cut perfectly straight, as this will affect how smoothly they fit together when sewn.
Threading Your Needle
Now that you have all your materials ready, it’s time to thread your needle! Start by cutting an arm’s length of thread from the spool. Threading a sewing needle can be tricky, so take your time and make sure all of the thread is through the eye of the needle before knotting it off at one end. If you want extra security, tie a second knot at the other end of the thread as well.
Types of Stitches
When working with fabrics and needles, there are several different types of stitches you can use depending on your project: running stitch, backstitch, blanket stitch, French knot stitch, satin stitch and basting stitch are all popular options. Each one has its own purpose and technique; practice each type until you feel comfortable with them before tackling any projects!
Sewing Basics
Once you’re familiar with some basic stitches and techniques, it’s time to start sewing! Take care when pushing the needle through both layers of fabric; too much pressure can cause tearing or fraying. Make sure each stitch is even in length for a neat finish; use pins if necessary to keep everything in place while stitching. Finally, don’t forget to tie off each section securely when you’re finished!
Variations on Making a Ball From Fabric
Making a ball from fabric is a great way to create a unique and special gift for any occasion. With just a few supplies, you can create a beautiful and unique piece of art that will be cherished for years to come. There are several different variations on making a ball from fabric, so you can customize the design to fit the recipient’s style and personality.
The first step in creating your ball is to select the fabric that you would like to use. Depending on how large you would like your ball to be, you may need multiple pieces of fabric in various colors or patterns. Cut each piece of fabric into strips about one inch wide. You can also cut the strips into different lengths if desired, as this will give your ball an interesting texture when it is completed.
Once all of your strips are cut, it is time to begin assembling the ball. Start by taking two strips and tying them together in a knot at one end. Then take another strip and tie it onto the first two strips at the same end, continuing until all of your strips are tied together in this manner. Once all of your strips are connected, begin wrapping one strip around another until all of the pieces are intertwined with each other. Be sure to wrap them tightly so that they hold their shape when finished.
Once your ball is completely wrapped, tie off the ends by looping them together and knotting them tightly so that they won’t come undone. You can also add embellishments such as ribbons or sequins if desired to give your ball an extra special touch. Finally, tuck in any loose ends and trim away any excess fabric for a finished look.
With just a few simple steps, you can create a unique and special gift that will be cherished for years to come! Variations on making a ball from fabric allow you to customize it with different colors or patterns so that it perfectly reflects the recipient’s personality and style. With some imagination and creativity, you can make an unforgettable gift that will bring joy for many years!
Step 1: Choosing the Fabric
When decorating your fabric ball, the first step is to choose the fabric that you want to use. There are many different fabrics available, from cotton to silk, and each one has its own unique look and feel. You can choose a patterned fabric that will give your ball a bright and cheerful look, or you can choose a plain fabric for a more subtle effect. Make sure you pick something that is lightweight and easy to work with, as this will make sewing much easier. If you’re feeling creative, you could even try dyeing your own fabric for an even more unique look!
Step 2: Preparing the Ball
Once you have chosen your fabric, it’s time to prepare your ball for decoration. Start by cutting out a piece of the fabric that is large enough to cover the entire ball. Make sure it’s big enough so that it stretches around the whole of the ball without any gaps. Then, pin the fabric in place on top of the ball and start sewing it into place using a needle and thread.
Step 3: Adding Embellishments
Once you have finished sewing your fabric onto the ball, it’s time to get creative! You can add all sorts of embellishments such as buttons, beads or even feathers to give your ball an extra special touch. You can also use ribbons or laces to create patterns around the outside of your ball. Have fun with it and be as creative as you like!
Step 4: Finishing Touches
Finally, once all of your embellishments are in place, it’s time to finish off your decoration. If there are any gaps in the stitching then these need to be filled in with extra stitches so that everything looks neat and tidy. Once this is done, all that’s left to do is sit back and admire your handiwork! Your beautiful fabric ball is now ready for display!

Conclusion
Making a beautiful ball from fabric is not only a fun and creative activity, but it also provides an opportunity to explore new sewing techniques. With some knowledge and practice, you can make a ball from fabric that is both durable and attractive.
The process of making a ball from fabric begins by cutting the fabric into circles. Then you sew the circles together with a running stitch to create the body of the ball. You then use stuffing material to fill your ball, and then hand-sew the opening closed. Finally, you attach ribbon or string for decoration.
Making balls from fabric is an enjoyable activity that can bring out your creativity while providing a unique gift or home décor item. With some practice and patience, anyone can create their own beautiful balls from fabric.


