Making ball jointed dolls (BJD) can be a fun and rewarding project for anyone looking to create a unique and beautiful work of art. BJD are highly customizable figures that can be created from a variety of materials including PVC, resin, vinyl, and other plastics. The basic concept behind making a BJD is to create an articulated figure with joints that move freely in all directions. The process of creating a BJD requires careful planning, precision cutting, and some basic sculpting skills. With the right tools and supplies, anyone can learn how to make their own ball jointed doll. In this guide, we will discuss the basics of creating a BJD from scratch as well as the various materials needed for the project.To make a ball jointed doll, you will need some basic materials such as a doll body (which can be 3D printed, purchased online, or handmade), joint parts (usually made of plastic or metal), a variety of tools for cutting and shaping the parts, glue, and paint. You may also need supplies like wigs, clothes, and accessories to customize your doll.
Materials
Ball jointed dolls (BJD) are made from a variety of materials, including vinyl, resin, and polymer clay. Vinyl is the most common material used to make BJDs, as it is relatively inexpensive and easy to work with. Resin is a more expensive option but provides a higher level of detail and durability. Polymer clay is often used for sculpting the details of the doll, such as facial features and clothing designs. BJDs can also be made from other materials such as fabric or metal.
Tools
The tools needed for making a BJD vary depending on the material chosen. For vinyl dolls, the tools needed include an oven, scissors or a craft knife, needle-nose pliers, sandpaper, and paint brushes. For resin dolls, more specialized tools are required such as casting molds and silicone rubbers for creating detailed parts. For polymer clay dolls, sculpting tools such as clay knives and wire cutters are necessary for shaping the clay into desired shapes.
Assembly
Once all of the necessary materials have been gathered and tools have been acquired, it’s time to assemble the BJD. The first step is to create the head by sculpting a basic shape with polymer clay or casting a head in resin using molds and silicone rubbers. After that’s finished, it’s time to assemble the body parts which can be made out of vinyl or resin depending on what type of doll you’re making. Once all of the pieces have been assembled together with their appropriate joints, it’s time to give your BJD life by painting its face and details with acrylic paints or airbrushing if desired.
Finishing Touches
After painting has been completed, finishing touches can be added to your BJD such as wigging its hair or adding clothing accessories like jewelry or hats if desired. Finally once all of these steps have been completed your BJD is ready for display!
Choosing the Right Type of Clay for a Ball Jointed Doll
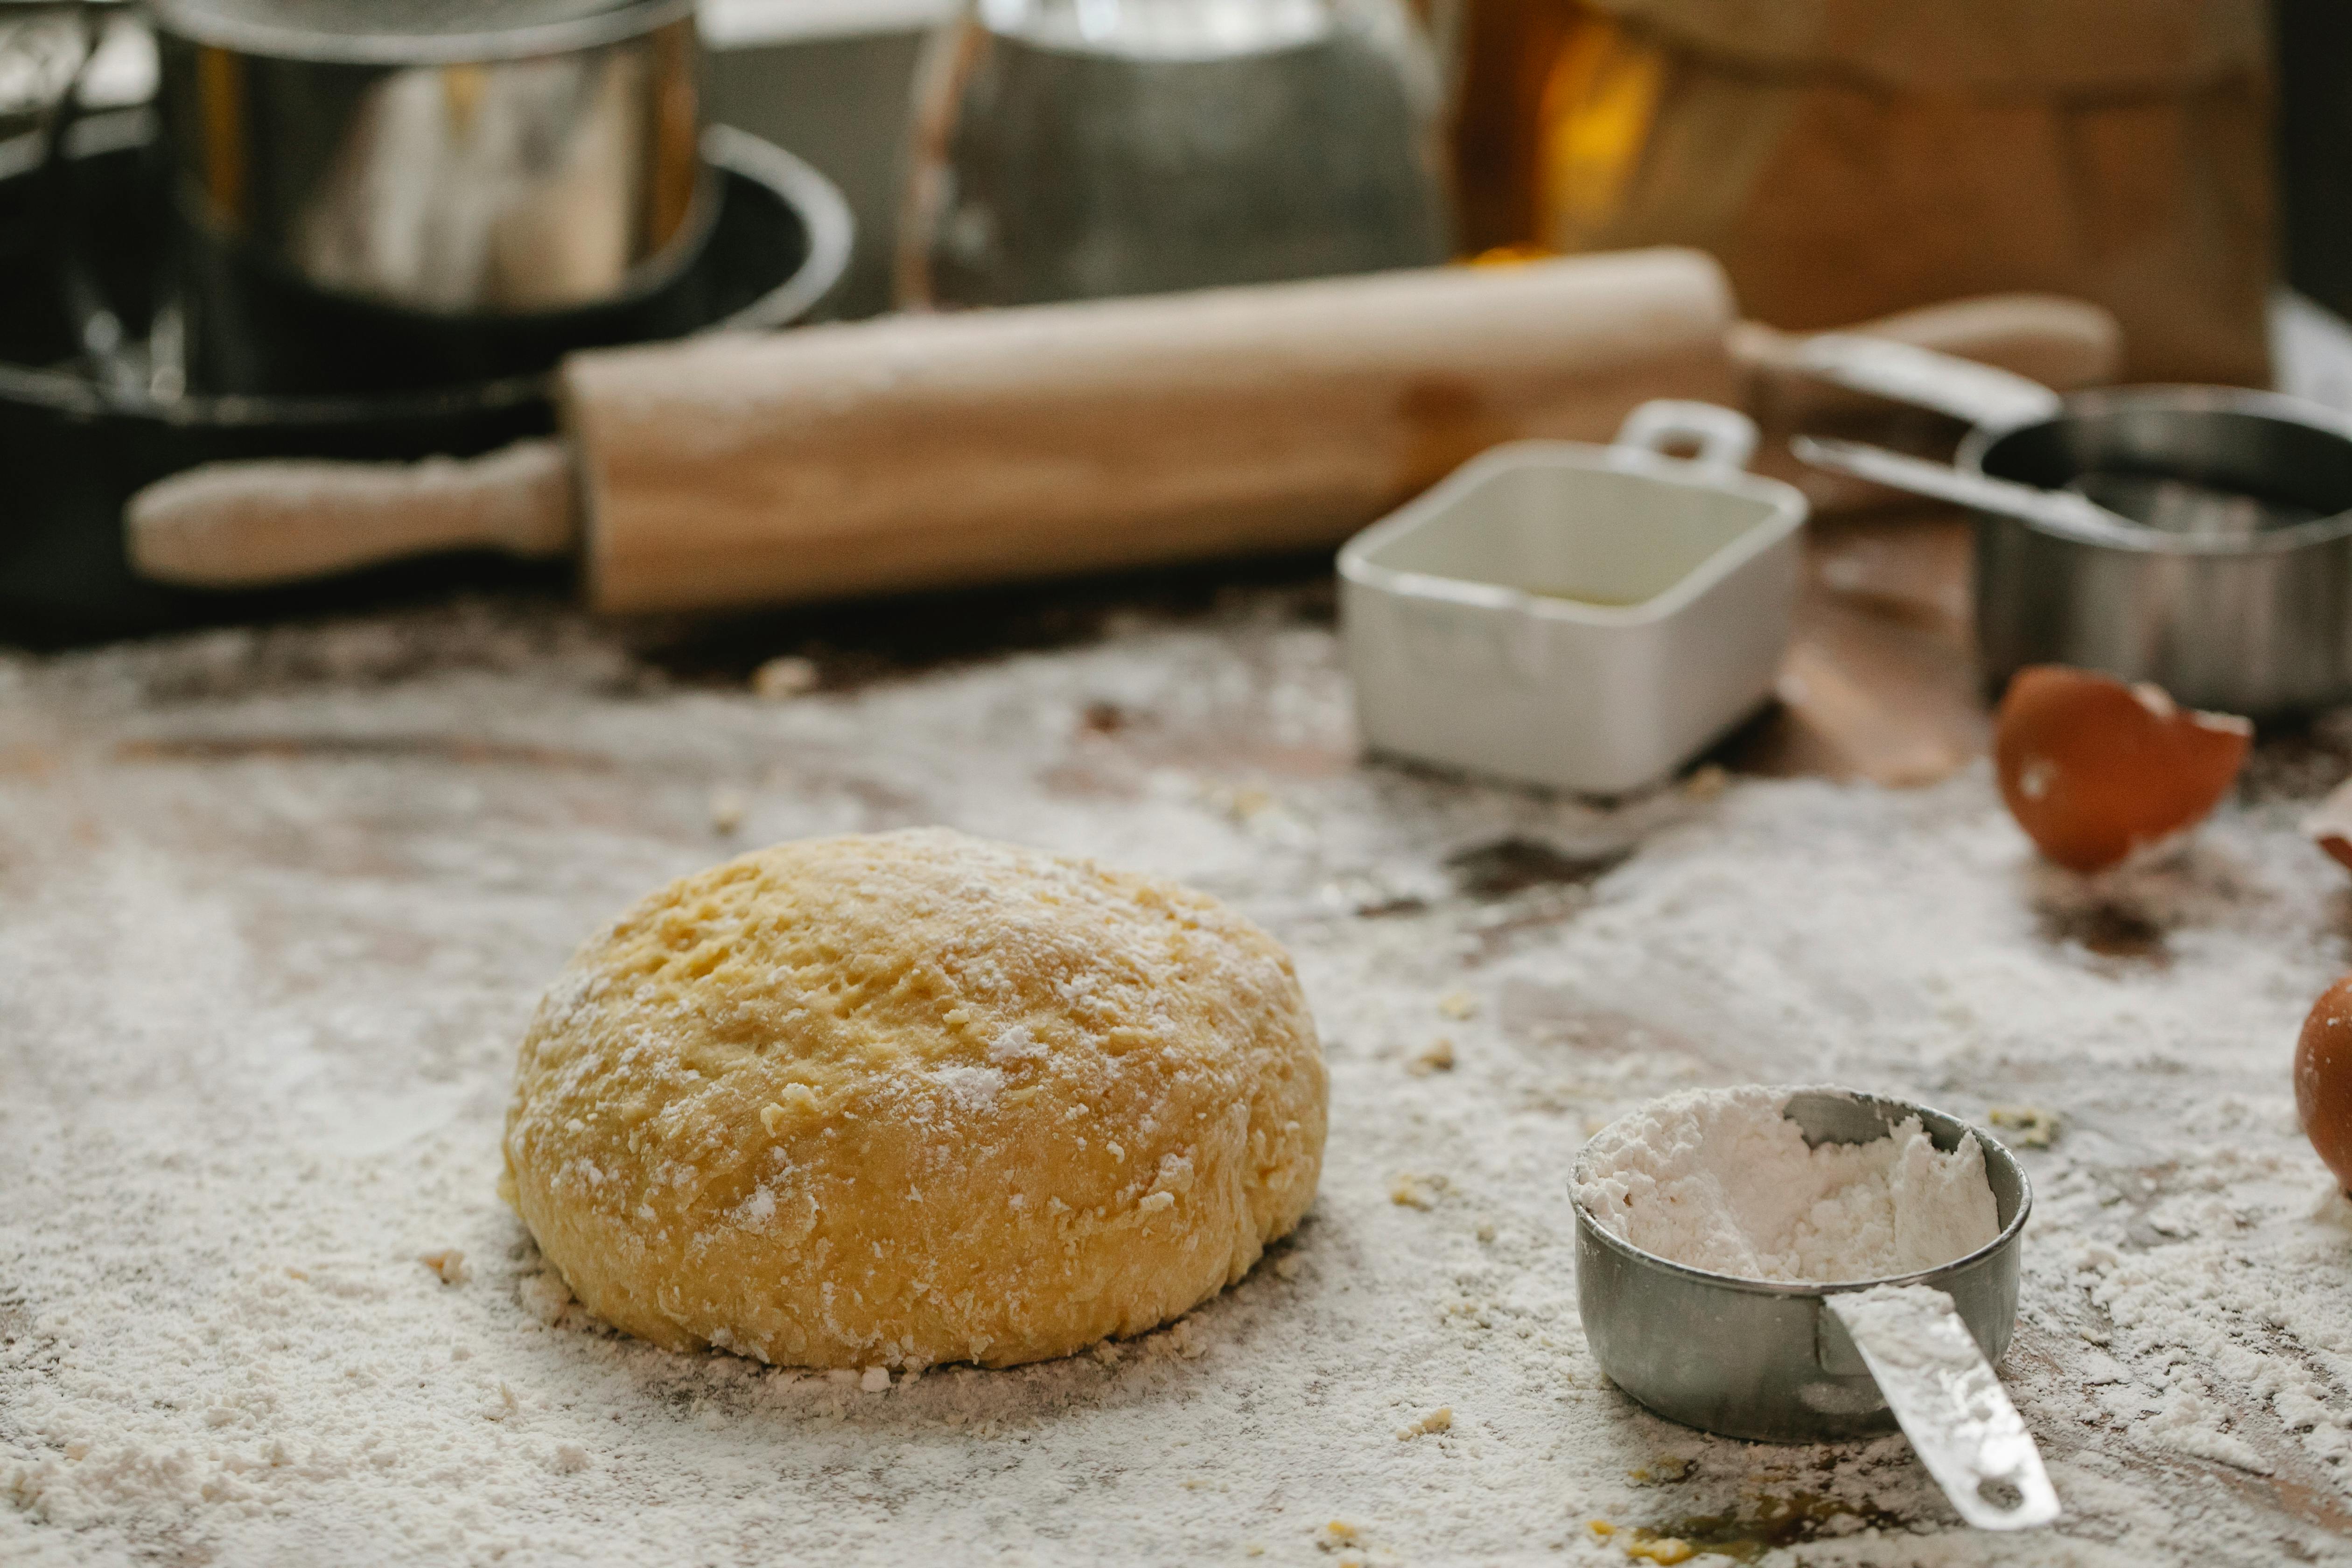
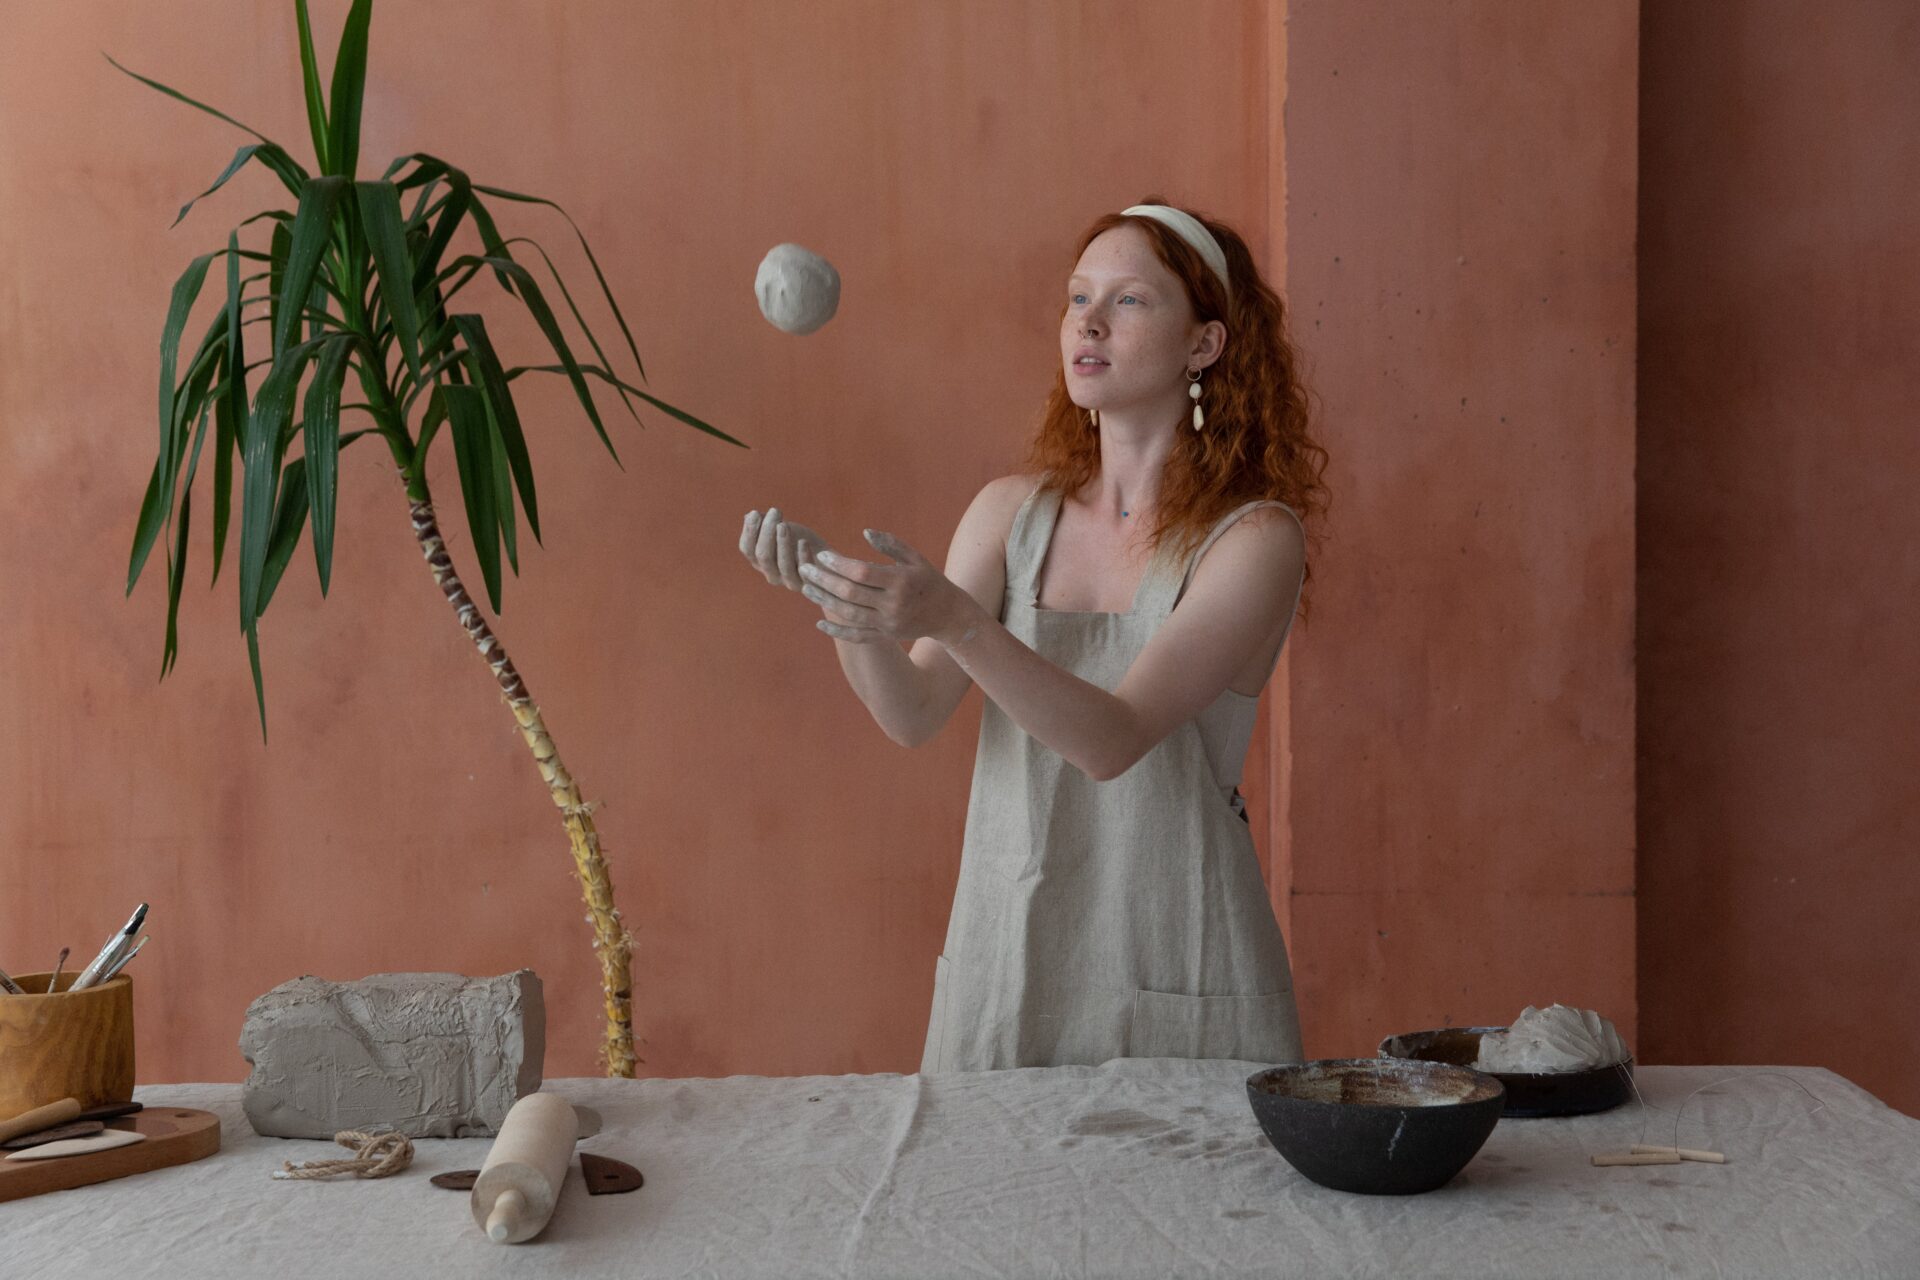
Choosing the right type of clay for a ball jointed doll is an important decision that can have a lasting impact on the look and feel of your finished product. There are several factors to consider when selecting a clay, including how much time you have to work with it, how much detail you want to achieve, and what kind of finish you’re looking for.
The type of clay will also affect the overall strength and durability of your doll. Generally speaking, firmer clays will be more durable than softer clays. Firmer clays are also easier to work with since they won’t deform or collapse easily. Soft clays can achieve more fine details, but they may not hold up as well over time.
When it comes to color and finish, there is a wide variety of clays available on the market. Some are available in premixed colors and some require mixing your own colors or adding pigments to achieve specific results. Clays also come in different finishes such as matte, glossy, or semi-glossy.
You should also consider how much time you have available for working with clay when selecting a type. Soft clay can be worked quickly but may not hold its shape as well over time as firmer clay would. Harder clay takes more time to work with but will last longer once completed.
Finally, consider any special effects or textures that you want to add to your ball jointed doll when choosing a type of clay. Clays are available in various forms such as putty-like pastes and smooth liquids that allow you to create unique textures and effects on your doll’s body parts or clothing accessories.
Overall, the type of clay that is best for your ball jointed doll depends on the look you are trying to achieve and how much time you have available for working with the material. Consider all factors before making your selection so that you can create a unique and long-lasting doll!
Tools Needed for Making a Ball Jointed Doll
Making a ball jointed doll (BJD) requires several tools in order to create the unique look and style of the doll. The materials needed will vary depending on the size and type of BJD being made, but some basic tools are essential for any project. These tools include wire cutters, needle-nose pliers, sculpting knives, craft glue, sandpaper, paintbrushes, woodworking tools, and sewing needles. These will help you assemble and sculpt the doll’s body parts. Additionally, if you are using resin or clay for your BJD’s body parts, you’ll need a few extra items such as molding compound or oven-bake clay.
You’ll also need various materials to complete your BJD’s look. Depending on the size of your doll and the type of fabric you’d like it to be clothed in, you may need sewing supplies such as thread and fabric scissors. You may also want to buy some eyes or wigs for your dolls if they don’t already come with them. Additionally, if your BJD will be wearing jewelry or other accessories, you’ll need additional supplies such as clasps and findings to assemble them with.
Finally, if you’re looking to make more intricate details on your BJD such as facial features or clothing patterns, you may want to invest in some air dry polymer clay or other modeling materials. This can help you create more intricate details that would otherwise be difficult to achieve with traditional sculpting methods.
Overall, while there are many different types of tools needed for making a ball jointed doll (BJD), these basics are essential for any project. With the right supplies and materials at hand, anyone can create an amazing looking BJD!
Creating the Base Structure for a Ball Jointed Doll
Creating the base structure for a ball jointed doll is an important step in the dollmaking process that requires careful planning and attention to detail. The base structure is what gives the doll its shape and form, and it is also what will support the joints and other components that you will be adding onto the doll later. The main components of the base structure are the head, torso, limbs, hands, and feet.
The first step in building your base structure is to plan out how you want your doll to look. This includes deciding on a size, shape, and proportion for your doll. You can use reference images or other dolls as a guide for creating your own design. Once you have a clear idea of what you want your finished doll to look like, it’s time to start building!
The best way to begin creating your base structure is by creating a “skeleton” with wooden dowels or metal rods. This skeleton acts as a frame for which you can attach all of the components of your ball jointed doll. Depending on how complicated you want your final product to be, you might need multiple pieces of wood or metal rods in order to create enough joints and connection points for all of your desired parts. Make sure that all of these pieces are securely attached together so that they won’t come apart when manipulating them later!
Once you have created your skeleton frame, it’s time to begin attaching the different parts of your ball jointed doll. This includes attaching the head, torso, limbs, hands, and feet onto the skeleton frame using glue or pins. Be sure to take care when handling these pieces so that they don’t crack or break while being attached onto the frame! After all of these pieces are securely attached onto the skeleton frame, you can then begin adding any additional details such as hair or clothing if desired.
Creating a base structure for a ball jointed doll is an important step in any dollmaking project that requires careful planning and attention to detail. By following these steps outlined above, you should have no trouble creating a sturdy base structure for any ball jointed doll project that will be able to withstand manipulation later on!

Step 1: Preparing the Doll
The first step in painting and finishing a ball-jointed doll is to prepare the doll. This includes cleaning off any residue or dirt from the doll and giving it a good scrub with warm soapy water. Once the doll is clean, it should be allowed to dry completely before any painting or finishing can begin. To ensure a smooth finish, sanding should also be done to the surface of the doll. This will help create an even surface for the paint to adhere to.
Step 2: Priming
The next step is priming. Primer is a special type of paint that helps protect against weathering and helps create an even surface for other paints and finishes to adhere to. It also helps create a uniform look over the entire surface of the doll. After applying primer, it is important to allow it to dry completely before proceeding with any additional steps.
Step 3: Painting
Once the primer has dried, it is time to begin painting your ball-jointed doll! Paint can either be applied by brush or airbrush depending on your preference and experience with painting dolls. When painting, it is important to use several thin layers rather than one thick layer, as this will help ensure an even finish. Allow each layer of paint to dry completely before adding additional layers.
Step 4: Finishing Touches
Once your ball-jointed doll has been painted, you can add finishing touches such as eyes, hair, clothing, and accessories. Depending on your preferences, these elements can be added either by hand or with a machine such as a sewing machine or embroidery machine. If you are using fabric for clothing or accessories on your ball-jointed doll, you will need to make sure that it has been pre-washed in order for it not to shrink when being applied.
Step 5: Varnishing
The final step in painting and finishing your ball-jointed doll is varnishing. Varnish helps protect against weathering and provides an extra layer of protection over the painted surfaces of your doll. Before applying varnish, make sure that all paints have been allowed to dry completely in order for them not to be affected by the varnish. Ball jointed dolls (BJD) are popular among collectors for their poseability and realism. Assembling and attaching the limbs of a BJD is an important step in making sure your doll looks its best. As with any craft project, it’s important to take your time and pay attention to detail when putting together the limbs of your doll. Here are some tips on how to assemble and attach the limbs of a BJD. The first step in assembling limbs is to make sure you have all the pieces you need. Each limb should have two ball joints, one upper arm or leg joint, and one lower arm or leg joint. Make sure none of these pieces are missing before you begin assembling. Once you’ve gathered all the pieces, it’s time to start assembling them. Begin by connecting the upper arm or leg joint to one of the ball joints. Make sure that they fit snugly together before continuing on to the next step. Once secure, attach the lower arm or leg joint to the other ball joint in the same manner. Now that you have connected both joints with ball joints, it’s time to attach them together. To do this, use a small amount of glue on each side of the joints and press them together firmly until they stay in place. Be careful not to overdo it as too much glue can damage your doll’s body parts. Once you have successfully attached both arms or legs together, make sure that they move freely without any resistance from either side. If everything is working properly, your BJD should be able to move its arms and legs naturally without any difficulty. Finally, it’s time to attach your newly assembled limbs onto your BJD’s body! To do this, simply insert each limb into their respective holes on either side of your doll’s body. Make sure that each limb is secure before continuing on with other steps in creating your perfect BJD! Adding hair to a ball jointed doll can be a fun and creative way to customize your doll and give it a unique look. There are several different ways to add hair to a ball jointed doll, depending on the type of material you want to use and the look you’re going for. Perhaps the most popular way to add hair to a ball jointed doll is with wigs. Wigs come in all sorts of styles, colors, and lengths, allowing you to customize your doll’s look just the way you want it. Wigs are also relatively easy to install—simply place the wig on the head of your ball jointed doll and secure it with glue or tape. Hair pieces are another great option for adding hair to a ball jointed doll. Hair pieces come in various lengths and styles, making them great for creating a variety of looks. To install hair pieces, you’ll need to attach them individually using glue or tape. You can also use small elastics or clips if desired. Thread weaving is another popular method for adding hair to a ball jointed doll. To do this, you’ll need thread in the color of your choice as well as some needles with large eyes for easy threading. Start by threading one end of the needle with your chosen thread, then carefully weave it through individual strands of your ball jointed doll’s scalp until it’s securely in place. This method will give your doll an authentic-looking hairstyle that won’t easily slip out or fall off over time. Synthetic fibers are yet another great option for adding hair to a ball jointed doll. Synthetic fibers come in all sorts of colors and textures, making them perfect for creating unique looks for your dolls without having to worry about damaging their scalp with glue or other adhesives. To install synthetic fibers onto your ball jointed dolls scalp, simply adhere them using glue or tape and style as desired! Making your own ball-jointed doll can be an incredibly rewarding experience. Not only do you get to create a unique piece of art that you can be proud of, but it also gives you the opportunity to gain valuable skills and knowledge in the process. Although this type of project is challenging and involves a substantial amount of time and effort, the satisfaction that comes with finally achieving your goal makes it all worth it. With the right tools, materials, and techniques, anyone can create their own beautiful ball-jointed doll. Once you have completed your doll, take some time to admire your hard work and creativity. Ball-jointed dolls aren’t just for display—they can become treasured companions that bring joy to your home for years to come.Adding Hair to Ball Jointed Dolls
Wigs
Hair Pieces
Thread Weaving
Synthetic Fibers

Conclusion


