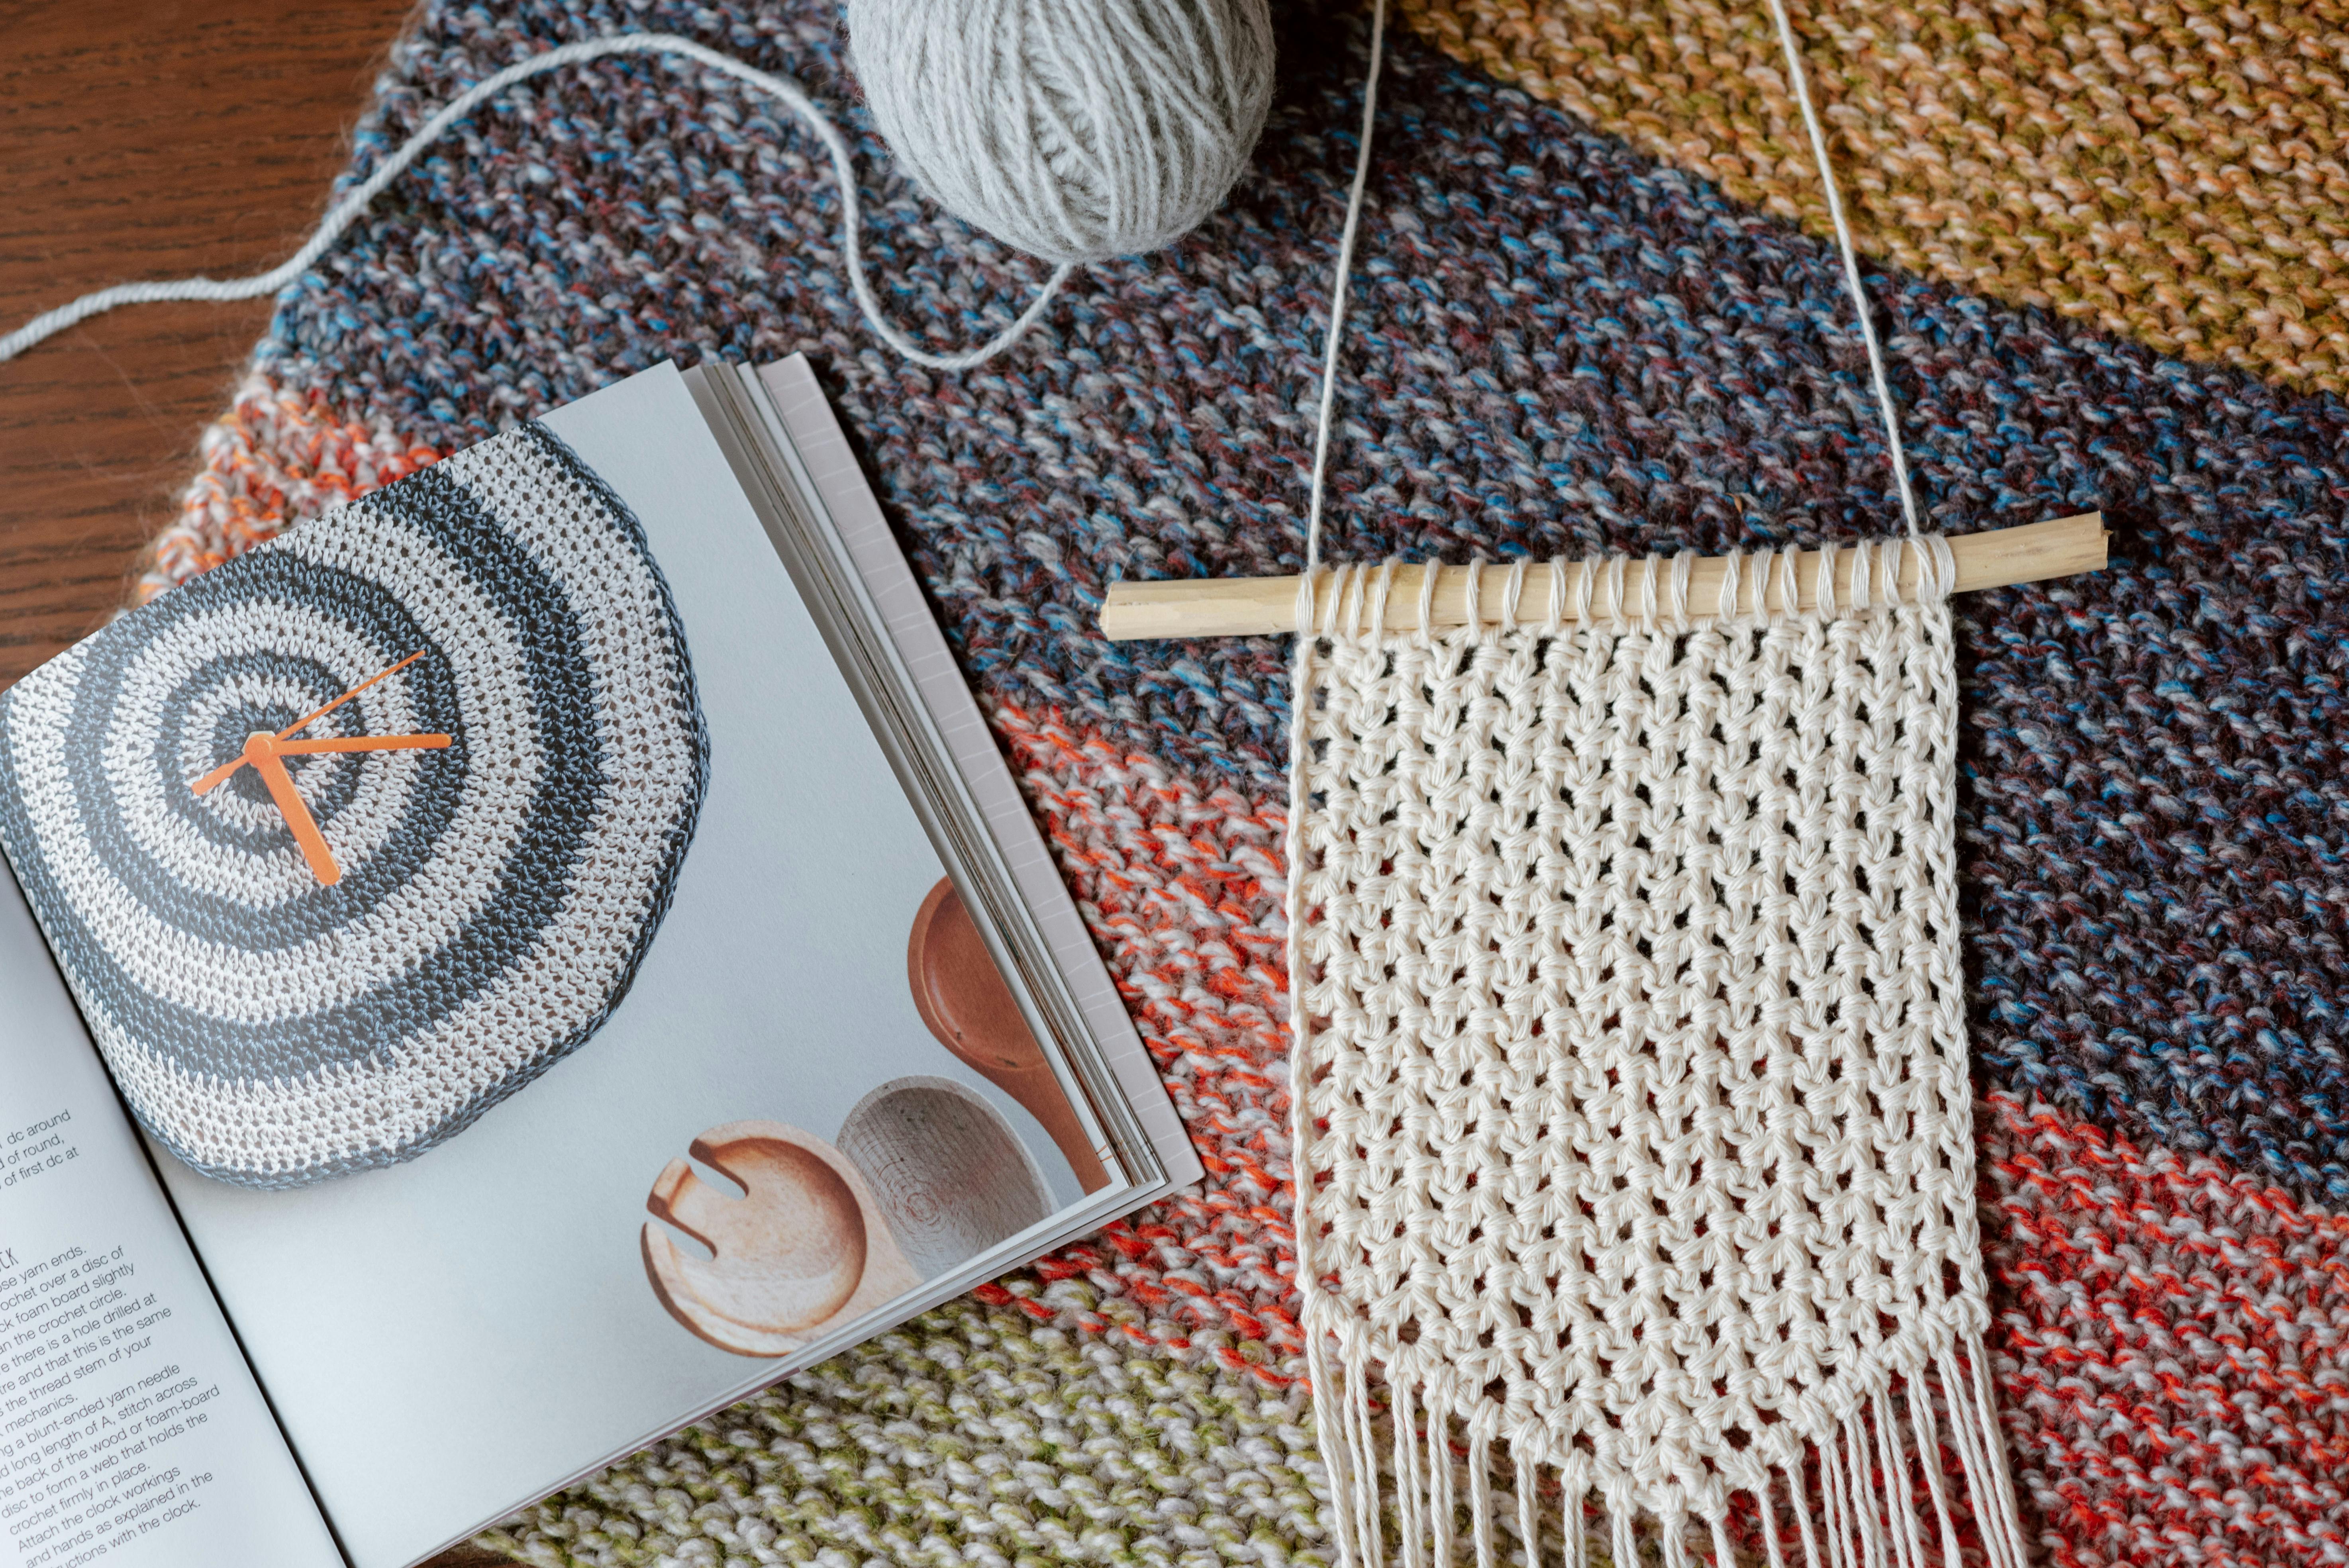
Knitting a ball is a great way to create a useful household item or a stylish piece of apparel. It is also an enjoyable and rewarding activity, as it requires patience and skill to complete. With the right tools and techniques, anyone can learn how to knit a ball. This guide will provide instructions on how to knit a ball, as well as helpful tips for successful completion.Step 1: Gather the supplies. You will need a skein of yarn, a pair of knitting needles, and a tapestry needle.
Step 2: Cast on the stitches. To make a small ball, cast on 24 stitches. To make a medium ball, cast on 36 stitches. To make a large ball, cast on 45 stitches.
Step 3: Knit in the round. Once you’ve cast on your stitches, join them in the round and begin knitting in rounds. When you get to the end of each round, slip your last stitch to the right-hand needle and bring your yarn around to the front before beginning the next round.
Step 4: Decrease your stitches. As you continue knitting in rounds, gradually decrease your stitches until you only have 6 or 8 remaining. To do this, knit two of your stitches together as one after every few rows until you reach the desired number of remaining stitches at which point you can stop decreasing.
Step 5: Finish off your work. Once you’ve reached 6 or 8 remaining stitches use a tapestry needle to weave through these last few loops to close up your ball tightly and secure it with an invisible knot or two at the end of your work.
Step 6: Weave in any loose ends and enjoy! Finally weave in any loose ends and give it one final tug to ensure that everything is secure before enjoying your handmade knitted ball!
What You Need To Start Knitting A Ball
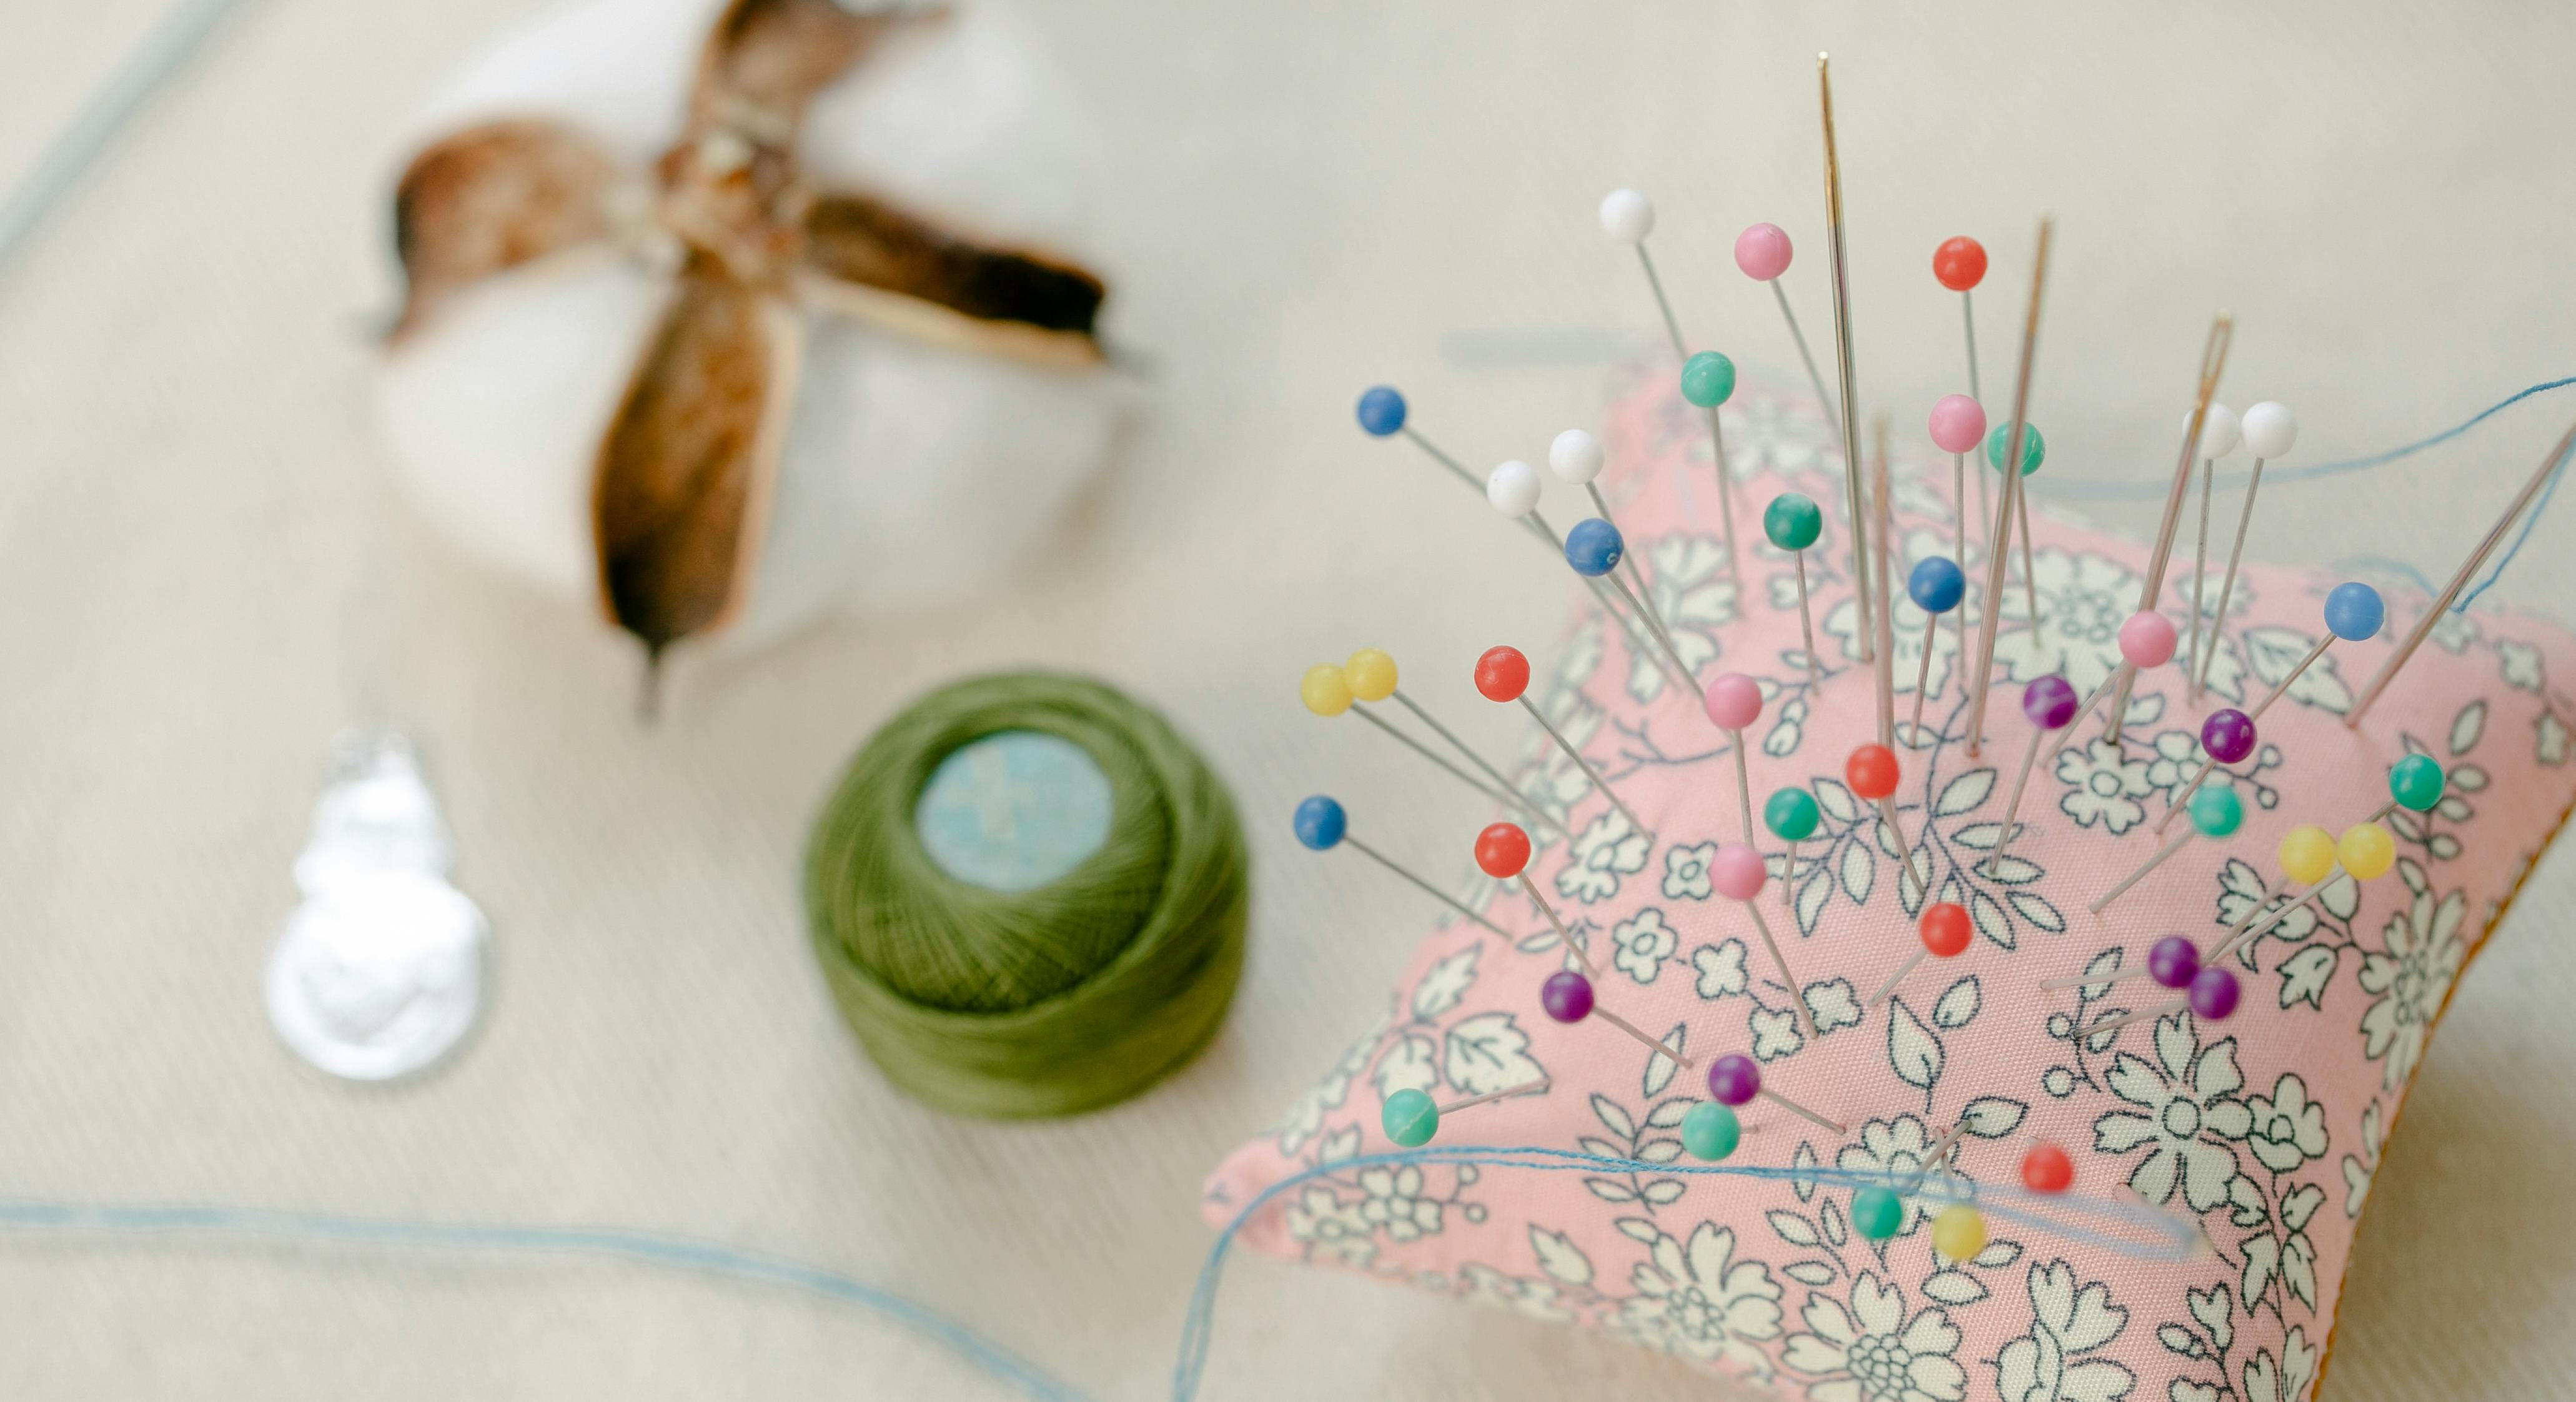
Knitting a ball is a great way to get creative and make something unique. It’s also a great way to relax and unwind. But before you can start knitting a ball, you’ll need some basic supplies. You’ll need yarn, knitting needles, scissors, stitch markers, and a tapestry needle.
Yarn is the most important part of any knitting project. You’ll need to decide what type of yarn you want to use for your project. There are many different types of yarn available, from wool to cotton to acrylics. You’ll also need to consider the weight of the yarn, as this will determine how thick or thin your finished project will be. Once you’ve chosen the type and weight of yarn that suits your project best, you’ll be ready to start knitting.
Knitting needles come in different sizes and materials. The size of needle you choose will depend on the weight of your yarn and the type of stitch you plan on using. For example, thinner needles are better suited for finer yarns while thicker needles are better for thicker yarns. It’s also important to choose needles that are comfortable for you to use.
Scissors are used for cutting the yarn once your project is finished. Make sure that you choose sharp scissors that aren’t too large or too small for your project.
Stitch markers help keep track of where each row starts and ends while knitting. These markers come in various sizes and materials so it’s important to find ones that fit comfortably in your hand and don’t slip out easily.
Finally, a tapestry needle is used for weaving in any loose ends after your project is finished. This helps give it a neat and professional look when it’s done.
Once you have all these supplies gathered together, you’re ready to start knitting a ball! With some practice and patience, soon enough you’ll be able to create beautiful handmade projects with ease!
How To Cast On For Knitting A Ball
Casting on is the first step in any knitting project. It’s the process of creating the initial stitches that will be used to begin a piece of knitting. It’s important to learn how to cast on properly, as it sets the foundation for your entire project. There are several different methods for casting on, but the most commonly used is the long-tail method. This method creates a strong, neat edge that is perfect for many projects.
To begin, you’ll need two pieces of yarn: one for your working yarn and one for your tail yarn. The tail yarn should be approximately three times longer than the width of your project. Start by making a slip knot with both yarns on your needle, leaving a tail at least six inches long. Pull up the loop until it’s snug but not too tight.
Next, hold both strands of yarn with your right hand and use your left thumb and index finger to hold onto the slip knot loop on your needle. Then, insert the tip of your right-hand needle between the thumb and index finger (of your left hand) and wrap the working yarn around it clockwise (from front to back). Pull this loop through and slide it onto your left-hand needle, bringing both needles together in front of you with two loops on each needle.
Finally, use your right-hand needle to pull one loop through the other to create a new stitch on the left-hand needle. You have now created one cast-on stitch! Repeat steps 2–4 until you have reached desired number of stitches on your left-hand needle before moving onto next step in pattern.
Practicing this technique regularly will help you become comfortable with casting on so that you can begin any project without hesitation or difficulty!
Increasing the Number of Stitches
When making a ball, increasing the number of stitches is an easy way to make it larger. The more stitches used, the bigger the ball will be. To increase the number of stitches, start by counting how many stitches you currently have. Then add more one at a time until you reach your desired size. Depending on your pattern, you may need to add several extra stitches for each round or every few rounds in order to create a larger ball.
When increasing the number of stitches, it’s important to consider how much yarn will be needed for each stitch. If you’re working with a specific amount of yarn, adding too many extra stitches can lead to running out before the ball is complete. It’s also important to make sure that each new stitch is added in the same direction as the previous ones so that the ball maintains its shape and structure.
Additionally, pay attention to how tight or loose each stitch is when creating your larger ball. Too tight of a stitch could make it difficult to stretch and shape the ball into its desired shape, while too loose could cause gaps or weak spots in its structure. If you find that some of your stitches are too tight or too loose, adjust them accordingly before moving onto more rounds and adding additional stitches.
By increasing the number of stitches in your project gradually and paying attention to tension and yarn usage, it’s possible to create a larger ball that maintains its shape and structure throughout its construction process. With practice and patience, this technique can be mastered so that any size ball can be created with ease!
Different Types Of Yarns Used For Knitting Balls
Knitting balls can be made using a variety of yarns which are available in the market. The type of yarn used for knitting balls depends on the project, the desired end result, and the level of difficulty. The most common types of yarns used for knitting balls are wool, cotton, acrylic, and mohair. Wool is one of the most popular materials for knitting because it is strong and durable. It also has a natural elasticity which makes it ideal for creating intricate patterns. Cotton is another popular material for making knitting balls because it is lightweight and breathable. It is also relatively inexpensive compared to other types of yarns. Acrylic fibres are popular because they are very soft and come in a wide range of colors and textures. However, acrylic yarn can be difficult to work with due to its slippery texture. Mohair is a luxurious material that has a silky texture but can be difficult to work with as well due to its tendency to stretch and unravel when knitted.
No matter what type of yarn you choose, it is important to consider the weight or thickness when selecting a particular type of yarn for your project. Generally speaking, lighter weight yarns are easier to work with than heavier ones as they require less effort when knitting. Additionally, you should choose your yarn based on the desired end result, as some types may produce better results than others based on their unique properties. Ultimately, choosing the right type of yarn can make all the difference between an enjoyable experience while knitting or a frustrating one!

Changing the Color of Yarn for Knitting Balls
Knitting balls are a great way to add a unique and creative touch to your knitting projects. Whether you’re making a baby blanket, scarf, hat, or something else entirely, changing the color of your yarn can make all the difference. Although it may seem complicated at first, changing the color of yarn for knitting balls is actually quite simple. All you need is some basic knowledge and the right supplies.
The first step in changing the color of your yarn for knitting balls is to choose a new color or colors that you’d like to use. Consider how the colors will work together and what kind of effect they’ll have on your finished project. Once you’ve picked out the new colors, it’s time to start winding your new balls of yarn.
To do this, you’ll need a ball winder and a swift (unless you plan on winding by hand). Start by unrolling the old ball of yarn onto the swift so that you can easily access it. Then, attach one end of it to your ball winder and start winding up the new ball. As you wind, keep an eye on how much yarn is left so that you don’t run out before finishing your project. When you’re done winding up the new ball, tie off the end and cut away any excess yarn if needed.
Now that you have your new balls of yarn in different colors, it’s time to start knitting! As always when knitting with multiple colors, be sure to keep track of which color is which so that you don’t get confused mid-project. With just a few simple steps and some extra supplies, changing the color of yarn for knitting balls doesn’t have to be difficult – it can actually be quite fun!
Shaping the Ball By Decreasing Stitches
Knitting is an enjoyable and therapeutic activity, but it can also be quite challenging. One of the most difficult aspects of knitting is learning how to shape the ball by decreasing the number of stitches. This is a crucial skill for creating a variety of garments and accessories, and it takes practice to master it. Fortunately, there are a few tips and techniques that can help you become better at this important skill.
The most important thing to remember when decreasing stitches is that you should always keep count of your stitches as you go. This will help ensure that you don’t accidentally end up with too few or too many stitches in your final product. It’s also important to pay attention to how your stitch pattern looks after each step, as this will give you an indication of whether or not you’re doing it correctly.
When decreasing stitches, it’s also important to be aware of the direction in which you’re knitting. In general, decreases should always take place in the same direction as your yarn is working in – either right-to-left (for right-handed knitters) or left-to-right (for left-handed knitters). This will ensure that your decrease looks even and uniform throughout your project. Additionally, if you’re working with multiple colors in one project, make sure you decrease each color at the same rate so that they stay consistent throughout.
Finally, when decreasing stitches for shaping a ball, use decreases that are appropriate for the type of fabric being created. For example, if you’re working on a ribbed pattern, use k2tog or ssk decreases; if you’re working on stockinette stitch or garter stitch (where each round has a different orientation), then use k2tog tbl or ssk tbl decreases instead. Understanding which types of decreases work best for different fabrics will help ensure that your finished product looks neat and professional!
With these tips in mind, practicing how to shape the ball by decreasing stitches can be easier than ever before! With enough practice and patience, anyone can learn how to master this skill and create beautiful pieces!
Types of Needles Used for Making Knitted Balls
Knitting is a great way to make beautiful garments, home decorations, and other items. It can be a relaxing and creative hobby that anyone can enjoy. To knit successfully, you need the right tools. One of the most important tools for knitting is needles. There are several different types of needles used for making knitted balls, each with its own advantages and disadvantages.
The most common type of needle used for making knitted balls is straight needles. These are two long metal or plastic rods with pointed tips, which are held in the hands while the yarn is wrapped around them to form stitches. Straight needles are often the best choice when working on larger projects, as they provide more room and flexibility when knitting.
Circular needles are also popular among knitters who work on smaller projects, such as hats or mittens. These consist of two pointed tips connected by a flexible cable that allows the user to comfortably hold both tips at once while wrapping yarn around them to form stitches. Circular needles allow for more even tension when knitting and are ideal for projects that require shaping or curves.
Double-pointed needles (DPNs) are similar to straight needles but have four or five points instead of two. These short needles are used in a set to create tubular shapes such as socks or sleeves by working in the round from one end to the other without having to join two pieces of fabric together at any point in the process. DPNs can be tricky to work with at first but they become much easier with practice.
Finally, there is also a type of needle known as an interchangeable needle set which includes several different sizes and lengths of circular and straight needles in one package along with cables that can be connected together using special connectors to create any size circular needle required for a project. This type of needle set is ideal for knitters who frequently switch between different sizes and lengths of needles when working on multiple projects simultaneously or who need different sizes for specific patterns or projects.
No matter what type of needle you choose, it’s important that you have the right tools when starting your next knitting project so you can create beautiful knitted items with ease!

Conclusion
Knitting a ball is a great way to practice your knitting skills. It is also a great way to practice with different colors or textures of yarn. You can make many different sizes and shapes of balls with this method. You can also add embellishments or decorations to the ball with this method.
Knitting a ball is not difficult, but it does require patience and practice. Take your time and follow the directions closely for the best results. Once you get the hang of it, you’ll be able to create beautiful balls in no time!
Happy knitting!


