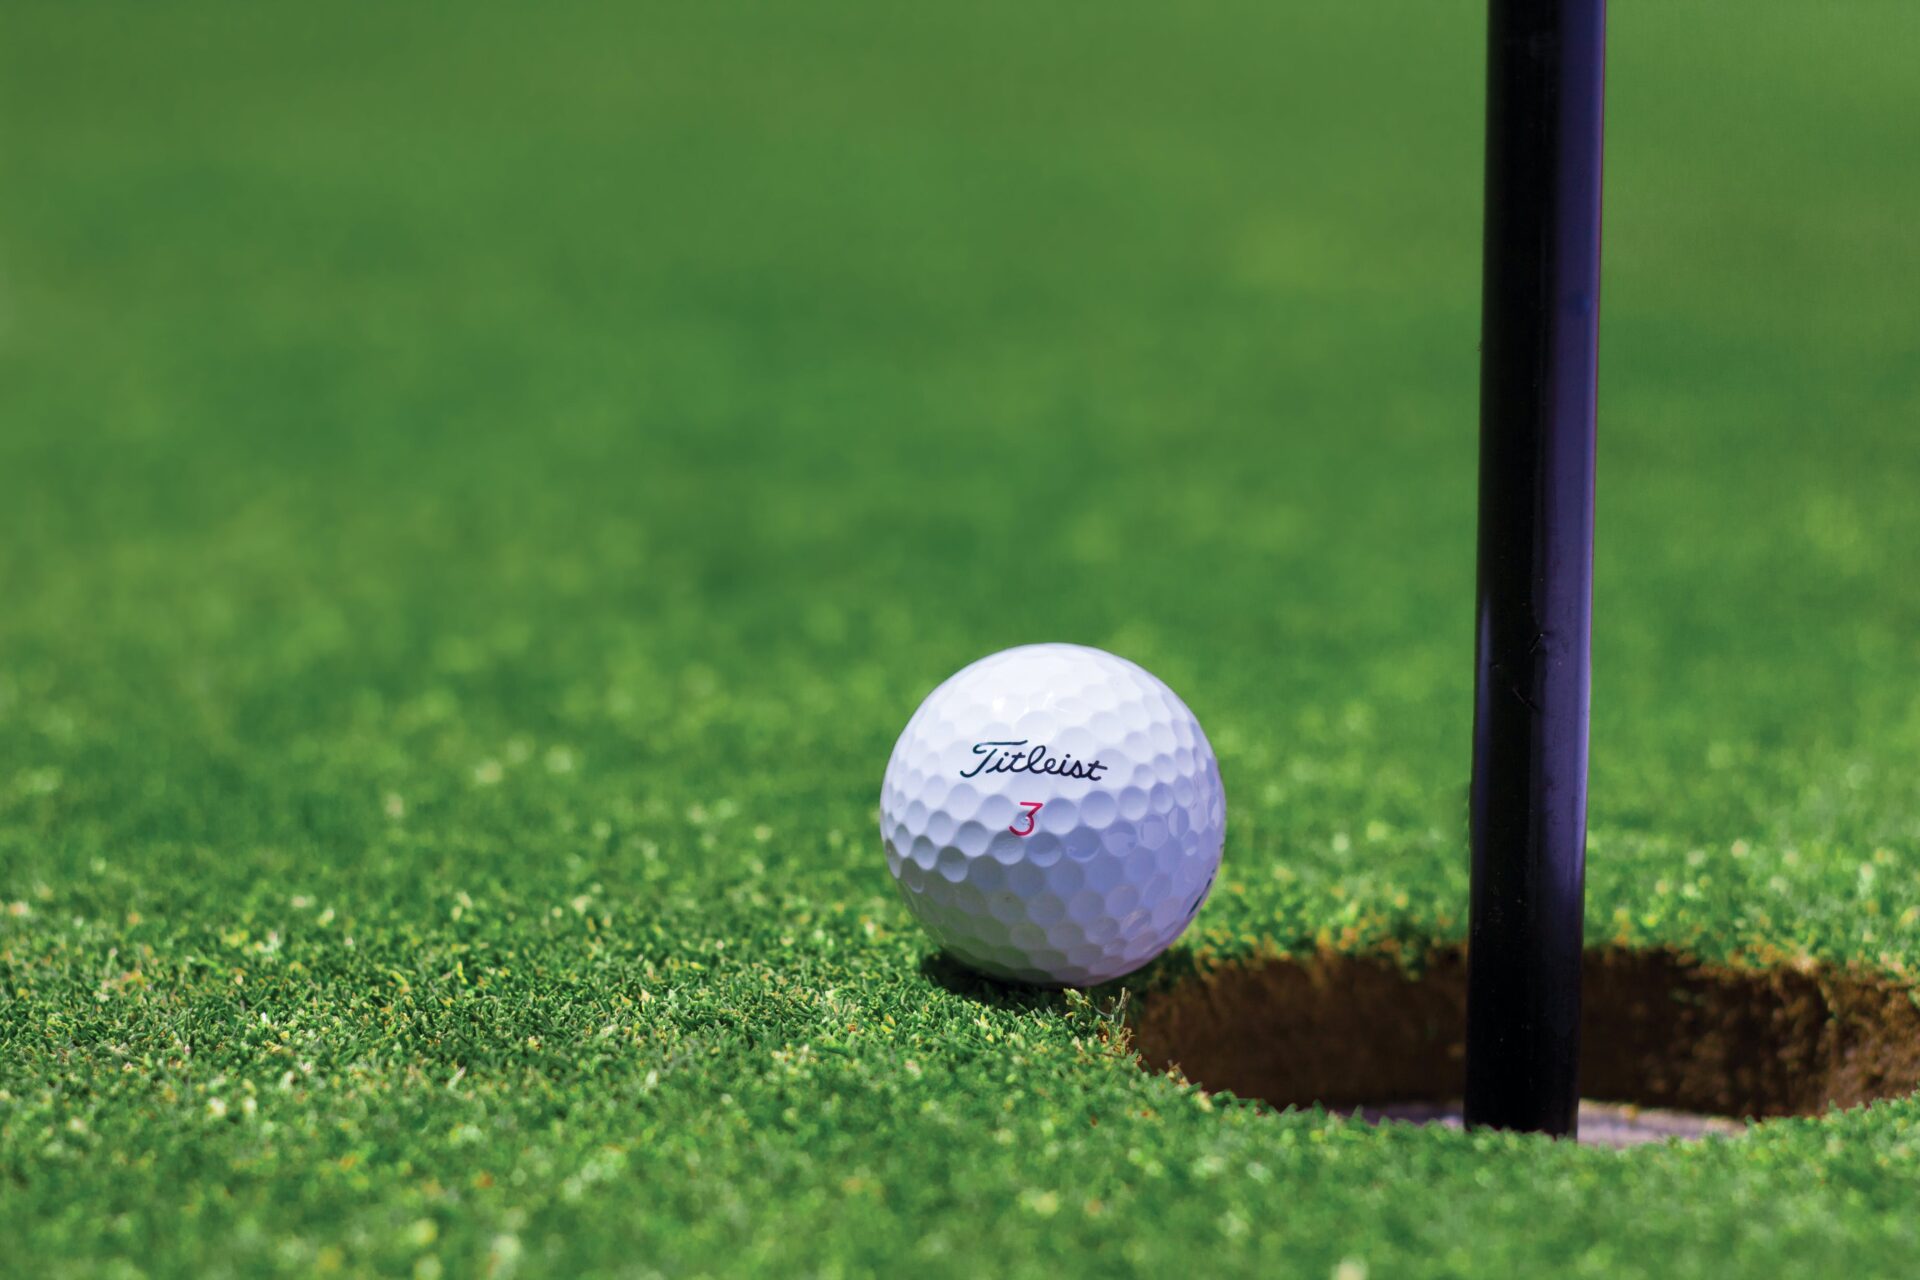
Golfers often need to mark their golf ball when playing a round of golf. Marking your golf ball allows you to easily identify it when playing with multiple players. This article will provide an overview of how to mark your golf ball correctly.To mark your golf ball for easy identification, you should make sure to use something that is unique and easy to spot. You can use a permanent marker to write your initials on the ball, or you could use a brightly-colored sticker with a unique pattern. Additionally, you could use a stamping tool to make an indentation in the ball which will remain visible even after the ball has been in play. No matter what method you choose, make sure it is something that will be easily recognizable so you can quickly identify your ball when playing.
What You Will Need to Mark Your Golf Ball
When marking your golf ball, there are a few items that you will need. First, you’ll need a permanent marker or paint pen. This will provide the best coverage for your mark and will be able to withstand the elements better than other materials. You’ll also want to have some kind of template or stencil to help you create a consistent design on each ball. Additionally, you may want to have a towel or rag handy to clean off any excess ink or paint from the surface of the ball. Finally, if you’re using a paint pen, make sure it has enough ink for the job and that it is properly sealed so that it won’t leak. With these items in hand, you’ll be ready to start marking your makes-kirkland-golf-balls/” title=”Who Makes Kirkland Golf Balls”>golf balls!
How to Identify Your Golf Ball on the Course
Golfers often find themselves in a situation where they need to identify their golf ball on the course. Whether you’ve lost your golf ball or you’re hitting someone else’s ball, it can be difficult to determine which one is yours. Fortunately, there are a few tips and tricks that you can use to help you identify your golf ball on the course.
The first tip is to look at the markings on the golf ball. Most golf balls have some kind of identifier such as a logo, pattern, or even initials. If your ball has some kind of marking, it should be easy to spot and identify.
Another way to identify your golf ball is by looking at its color. Many manufacturers make colored golf balls that are easy to spot out on the course. If you know what color of ball you’re playing with, then it should be easy to find your own ball in a sea of other colors.
You can also use your clubs to help identify your golf ball on the course. Each type of club will produce a different sound when striking a golf ball and this sound can be used as an identifier for your own golf balls if necessary. If you’re playing with multiple people who have similar clubs, then this method may not work as well but it’s still worth trying if all else fails.
Finally, if all else fails, then you may need to rely on trial and error in order to find your own golf ball. It may take some time but it will be worth it in the end so that you don’t hit someone else’s shot or lose out on a hole due to an unidentifiable ball.
No matter what method you choose, having some way of identifying your own golf balls is essential for any golfer who wants to avoid confusion or disputes out on the course. Taking the time to mark or otherwise identify each of your balls will save you time and hassle in the long run so make sure that you always have an identifier ready when needed!
Marking a Golf Ball with a Sharpie
Golfers may want to mark their golf balls with a Sharpie for a variety of reasons, such as making them easier to identify or to indicate which golf ball belongs to which player. Here are the steps for marking a golf ball with a Sharpie:
1. Make sure the golf ball is clean and dry. Any dirt, grass, or moisture will prevent the ink from adhering properly.
2. Use a non-permanent marker such as a Sharpie and make sure it is not running out of ink. This will ensure that the markings on the golf ball are clear and legible.
3. Place the golf ball on a flat surface and hold it firmly in place while you draw your desired marking on it. If you’re using multiple colors, make sure you wait for each color to dry before adding another.
4. Once you’ve finished drawing your desired markings, let the ink dry for at least 5 minutes before handling the golf ball again.
5. After 5 minutes have elapsed, your golf ball should be marked and ready to use! Be sure to store your marked golf balls away from direct sunlight and extreme temperatures so that the markings don’t fade over time.
Marking your golf balls with a Sharpie is an easy way to make them easier to identify or indicate which one belongs to which player – just follow these steps and you’ll be set!
Techniques for Using Stencils or Stamps to Mark a Golf Ball
Marking a golf ball with a stencil or stamp is an important part of improving accuracy on the golf course. Marking a ball correctly can help you keep track of your shots and make sure you hit the correct shot every time. Here are some tips for using stencils or stamps to mark a golf ball:
First, make sure you clean the golf ball before marking it. Dirt and debris can get in the way of the stencil or stamp, making it difficult to make a good mark. Use a damp cloth to gently wipe away any dirt, then let the ball dry completely before marking.
Next, hold the stencil or stamp firmly against the surface of the golf ball. You want to make sure that it is pressed firmly down so that it doesn’t move when you apply pressure. You can use your thumb for additional pressure if needed.
Third, use an ink pad to apply ink to the inside of the stencil or stamp. You want to make sure that you cover all areas of the design so that it will show up clearly on the golf ball. Once you’ve done this, carefully press down on the design and lift quickly off of the golf ball.
Finally, let your marked golf ball dry completely before using it on the course. This will ensure that your design won’t smudge or rub off during play.
Using stencils or stamps is an easy way to mark your golf balls quickly and accurately. Just remember to clean your balls before marking and let them dry completely afterwards for best results!

Benefits of Having Your Own Uniquely Marked Golf Ball
Having your own uniquely marked golf ball can be a great way to improve your game and stand out from the crowd. It can help you keep track of your shots, make it easier to find your ball if it’s lost, and give you a slight edge in competition. Here are some of the benefits of having your own uniquely marked golf ball:
First, having a unique marking on your golf ball makes it easier to track each shot. You can easily tell which shots are yours without having to search through a pile of unmarked balls. This is especially helpful when playing in tournaments or other competitive settings, as it helps eliminate confusion about who hit which shot.
Second, having a unique marking on your golf ball makes it much easier to find if it’s been lost during play. If you’ve ever had to search for an unmarked ball on the course, you know how frustrating and time consuming it can be. With a uniquely marked golf ball, you can easily spot yours if it gets away from you during play.
Finally, having a unique marking on your golf ball gives you slight edge over the competition. A brightly colored or distinctive marking can be very helpful for lining up shots and giving yourself an edge when playing against opponents with unmarked balls.
Overall, having a uniquely marked golf ball can help improve your game and give you an edge over the competition. It helps you keep track of each shot, makes it easy to find if it’s lost, and provides a slight advantage when competing against others with unmarked balls.
Cleaning the Ball
Before applying any paint or ink to the golf ball, it is important to clean it first. Use a soft cloth and some warm water to remove any dirt and grime that has accumulated on the surface of the ball. Make sure to dry the ball completely before proceeding with painting or inking.
Preparing the Surface
Once the ball is dry, you will need to prepare the surface for painting or inking. Use a soft sandpaper to lightly sand down any irregularities in the surface of the golf ball. This will help ensure that you get an even coat of paint or ink.
Applying Paint or Ink
When you are ready to apply paint or ink, use a small brush and make sure that you are working in a well-ventilated area. Apply multiple thin coats of paint or ink until you get your desired effect. Allow each coat to dry completely before applying another one.
Finishing Touches
Once your painting or inking is complete, you may want to add some finishing touches like a clear coat of protective sealant or even some glittery accents. Make sure that these additional elements are properly adhered before taking your golf ball out for a round of play!
Warning When Marking Your Golf Balls
Golfers often mark their golf balls for easy identification when playing a round of golf. While this is a useful practice, it also carries some potential risks. The most important one is that the marks you make on your ball may be considered illegal by golf course officials. It is important to understand the rules for marking your golf balls before you do so.
First, it is important to note that each golf ball must be marked with a unique identifier before it can be played in a competition or on a course. This identifier must not be hidden from view and must be easily identifiable when your ball lies on the ground. The USGA and R&A have specific guidelines regarding what type of markings are acceptable, so check with the local rules committee before marking your golf balls.
Second, it is important to understand that any markings made on a golf ball must not interfere with the ball’s performance characteristics. This means that marks cannot be made in such a way that they affect the flight or spin of the ball when struck. Also, no permanent markers or paints should be used as these can damage the cover of the ball and reduce its performance capabilities.
Finally, remember that any markings made on your ball should be done carefully and with respect for other players. Offensive symbols or language should never be used as these can cause offense and may result in disciplinary action from the local rules committee. Marking your golf balls can help you keep track of them during play but make sure you do so responsibly and within the regulations set out by governing bodies such as the USGA and R&A.

Conclusion
Having a clearly-marked golf ball is essential for any golfer, whether playing recreationally or in a tournament. It’s important to ensure that your golf ball is properly identified as yours on the course. There are several methods and techniques for marking a golf ball, including stamping, writing, engraving and using adhesive materials.
Whichever method you choose, be sure to make the markings as visible and distinct as possible so that there is no question about whose golf ball it is when it’s in play. Additionally, make sure to follow all applicable rules and regulations when marking your golf ball.
Remember that having a marked golf ball can save you time on the course and help to ensure fairness between competitors. With this knowledge about how to mark your golf ball, you’ll be ready to hit the links with confidence!


