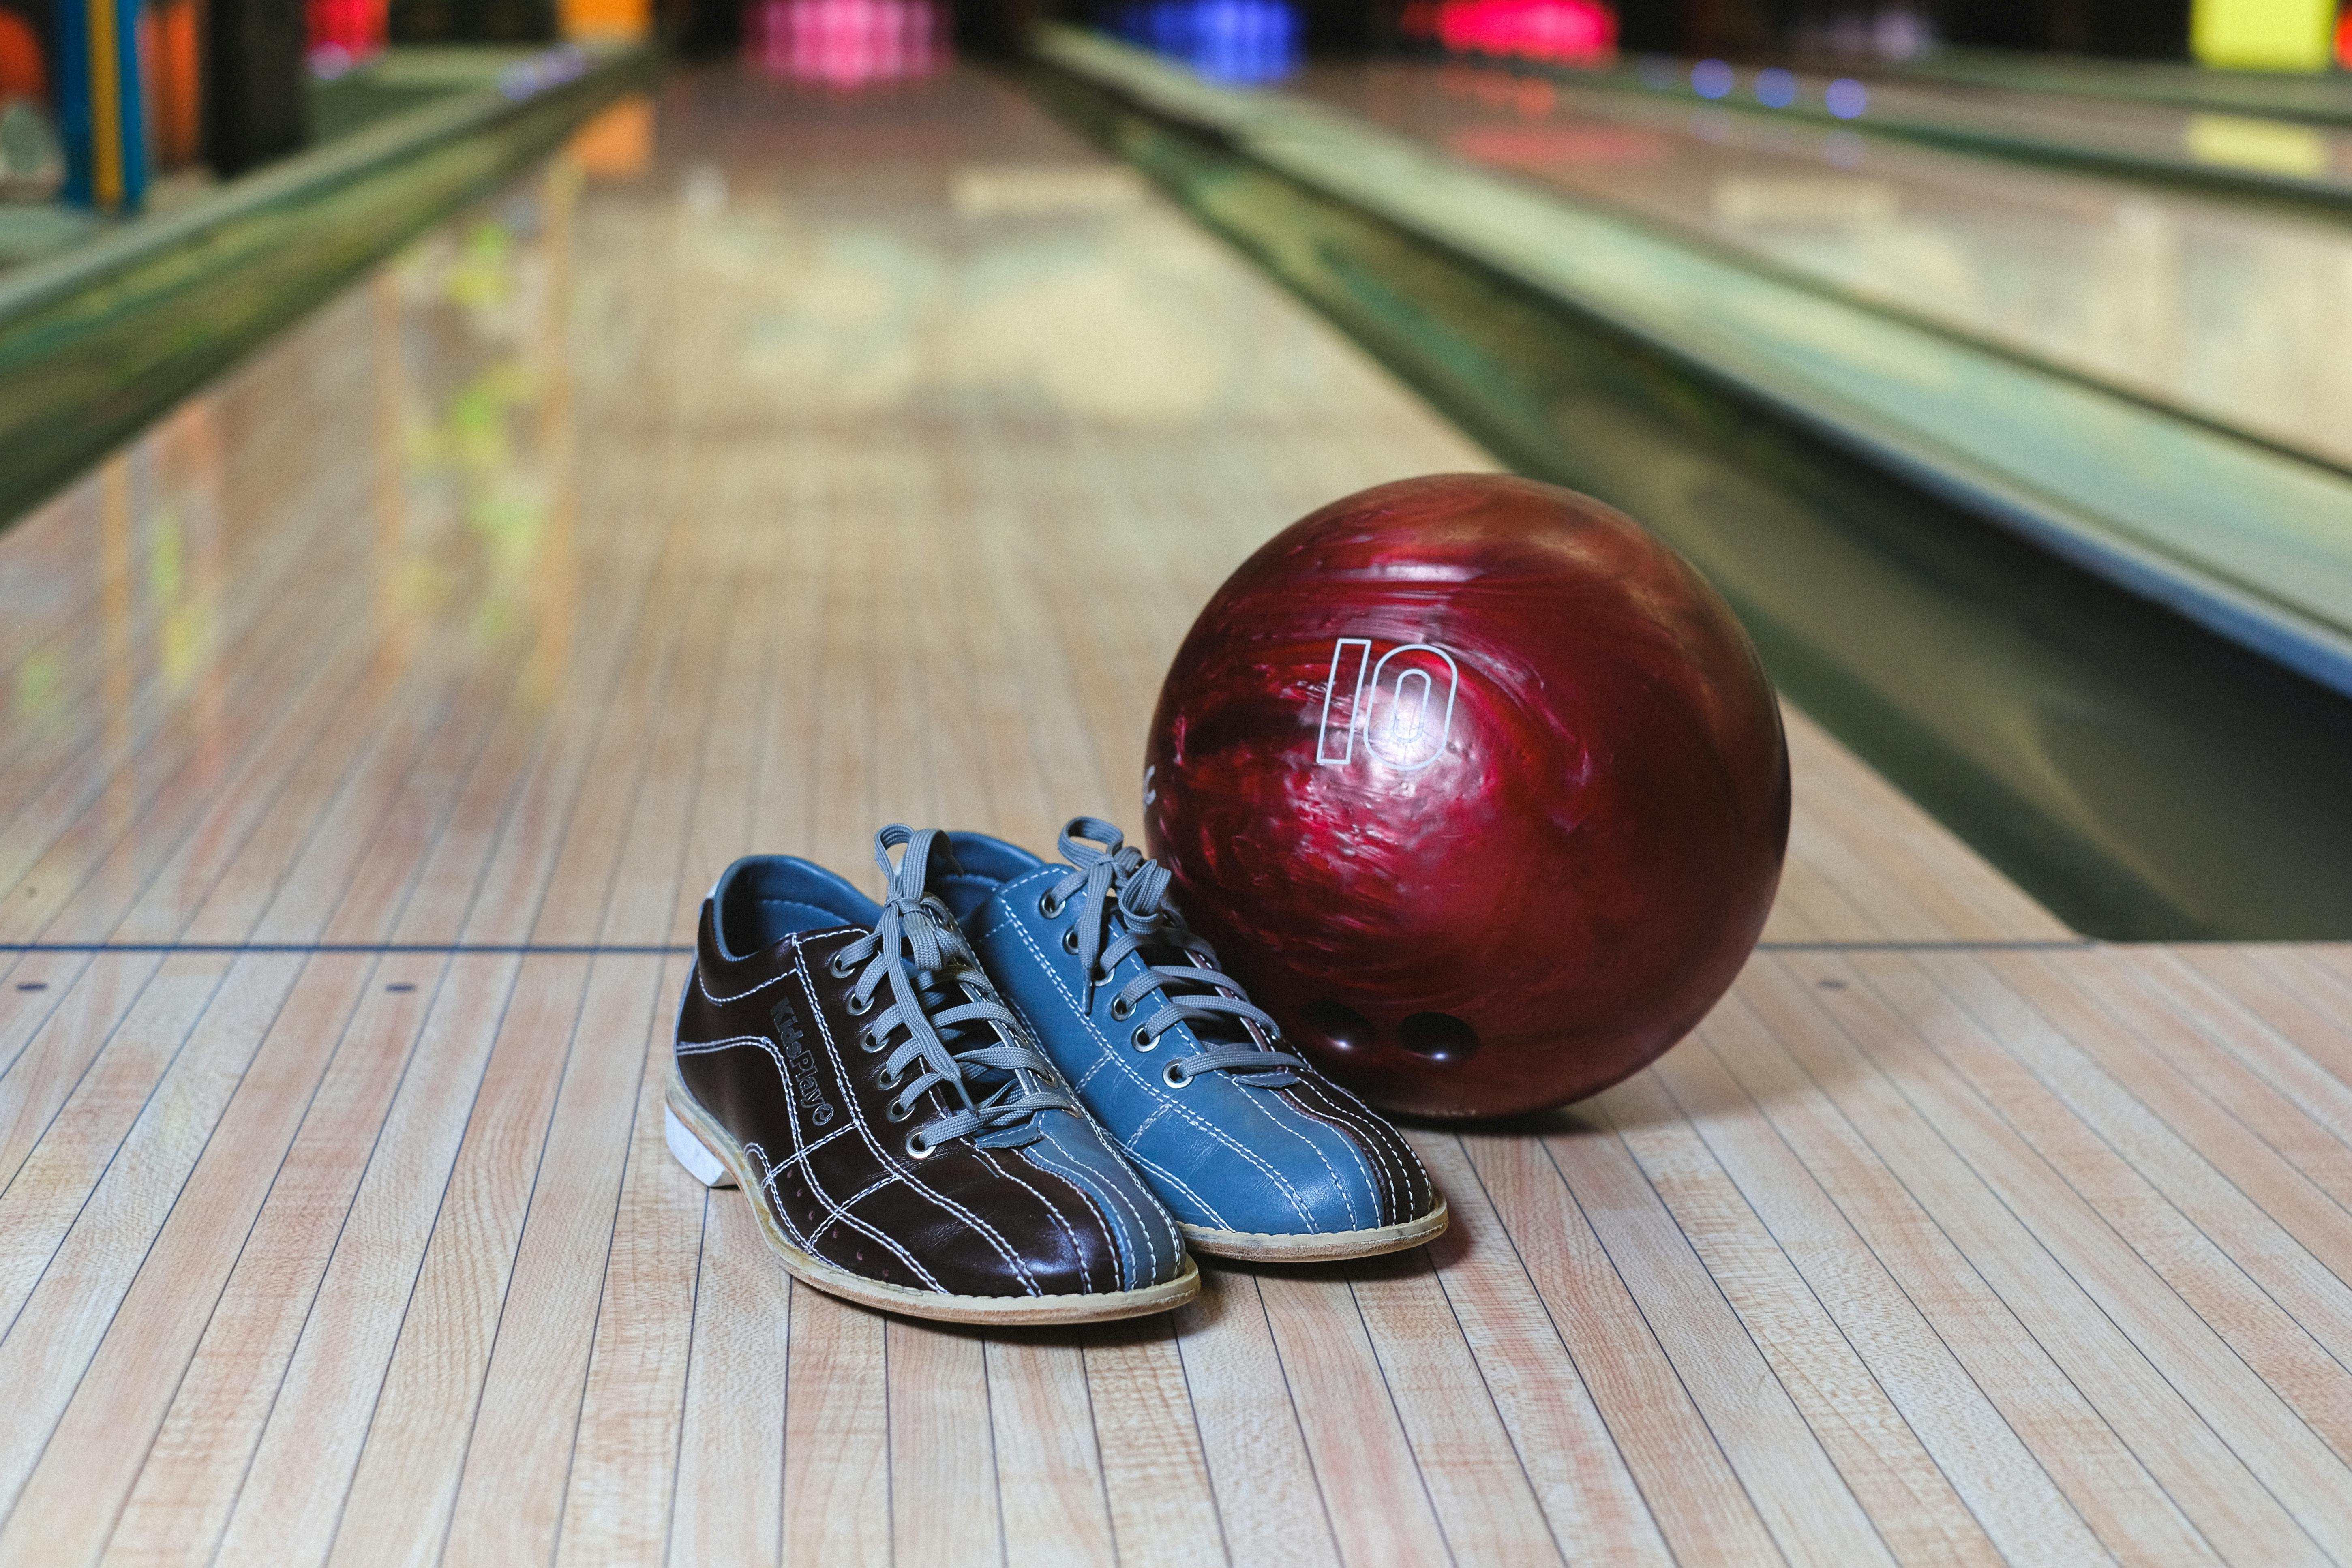
Polishing a bowling ball is an important part of keeping your ball in top condition. Not only does polishing make your ball look great, but it also helps to keep the surface of the ball clean, which can help to improve performance. In this guide, we will show you how to properly polish a bowling ball so that you can keep your ball looking and performing its best.To clean a bowling ball, you should first remove any dirt or debris from its surface. Using a damp cloth and some mild detergent, gently scrub the surface of the ball to remove any dirt or grime. Once the dirt is removed, rinse the ball with clean water and dry it off with a soft towel. Finally, use an approved bowling ball cleaner to restore the original shine of your bowling ball.
Polishing a Bowling Ball
Polishing a bowling ball is an important step in the process of maintaining your ball for optimal performance. With regular maintenance and polishing, your ball will last longer and perform better. Here are the steps to polish a bowling ball:
1. Begin by cleaning the surface of the bowling ball with a mild detergent and warm water. Allow it to dry completely before proceeding with the polishing process.
2. Apply a light coating of bowling ball polish on the surface of the ball using a clean cloth or sponge. Make sure you cover all areas evenly, but do not over-polish, as this could lead to dullness.
3. Allow the polish to set for 15-20 minutes before buffing with a soft cloth or brush. Use a circular motion when buffing, and be sure to cover all areas evenly until you have achieved an even shine on all parts of the ball.
4. Finally, apply another light coating of bowling ball polish and allow it to sit again for 15-20 minutes before repeating the buffing process one more time for best results.
By following these steps regularly, you can keep your bowling ball looking great and performing at its peak for years to come!
Removing Excess Polish From The Surface
Polishing a surface can be a tricky task. You want to ensure that the surface has an even shine and is free of dust and dirt, but you don’t want to end up with too much polish on the surface. Removing excess polish from a surface doesn’t have to be a difficult process. Here are some tips for removing excess polish from the surface:
The first step is to use a soft cloth or brush to remove any excess polish that is still wet. This will help prevent the polish from drying onto the surface, making it more difficult to remove. Once the excess polish has been removed, use an abrasive cleaner to scrub away any remaining residue. Make sure to use a gentle cleaner so that you don’t damage the surface.
If there are still some stubborn spots of excess polish left on the surface, you can try using an automotive detailing clay bar or clay mitt. These are designed specifically for removing stubborn dirt and grime from car surfaces, so they should work just as well for your surfaces. Simply rub the clay bar or mitt over the area until all of the residue is gone.
Finally, use a polishing compound to buff out any scratches or marks left behind by the excess polish. This will help restore shine and luster to your surfaces and make them look as good as new! With these tips in mind, you should have no problem getting rid of any excess polish on your surfaces in no time.
Adding Finishing Touches On The Bowling Ball’s Surface
Once the bowling ball has been molded to the desired shape, it is time to add finishing touches to the surface. The first step is to sand the ball with a fine-grit sandpaper. This removes any rough spots that may have been caused during the molding process. The sanded surfaces should then be polished with a soft cloth; this will give the ball a smooth and glossy finish. After polishing, a sealant or finishing glaze can be applied to protect the ball from wear and tear.
The next step is to apply graphics or designs on the surface of the ball. This can be done either by hand painting or with specialized equipment such as plotter printers that can print out intricate designs directly onto the bowling ball’s surface. Once these designs have been applied, they need to be sealed in order to protect them from fading or peeling over time.
Lastly, any existing blemishes on the surface of the bowling ball can be removed by buffing it with an abrasive cloth or by using a polishing compound. This will make sure that all blemishes are removed and that the surface of the ball is free from any imperfections.
Once all of these steps have been completed, your bowling ball should have a beautiful finish that looks great and stands up to wear and tear over time. With these finishing touches, you’ll be sure to impress your friends at your next bowling outing!

Conclusion
Polishing a bowling ball is a simple, straightforward process. However, it requires patience and practice to get the best results. Before you start polishing, make sure you have the right tools and supplies. When polishing, always use gentle, circular motions and do not over-polish. Be sure to clean your bowling ball thoroughly after each use to keep it looking its best. Finally, remember to re-apply polish every few games for maximum performance and protection.
If you follow these steps carefully when polishing your bowling ball, you can look forward to improved performance and a better overall game. Good luck!


